|
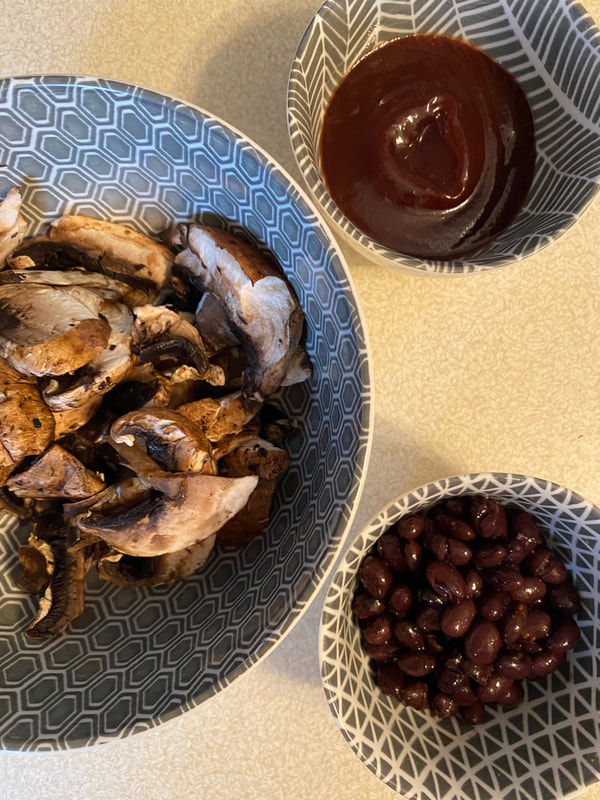
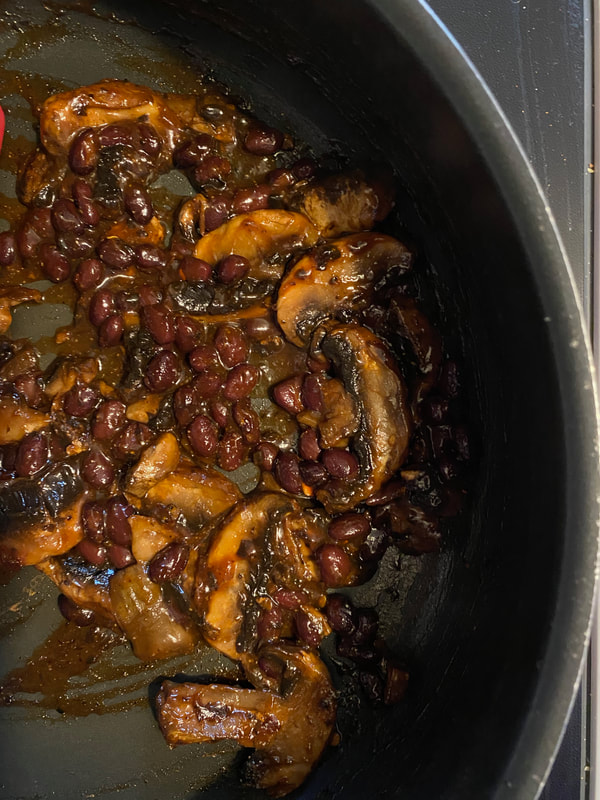
Do you need an easy, delicious idea for meatless Monday? I've got a perfect solution for you! I'm a big fan of mushrooms in just about anything. Mushrooms are a great replacement for meat if you are trying to make some healthier choices or just trying to be more budget friendly. I will often add diced mushrooms to ground beef when making tacos or lasagna - the textures are very similar and when mixed with spices, sauces, etc, they blend really well together. Last week, BBQ mushroom tacos were created in an effort to use the mushrooms in my refrigerator that were looking a little sad. You could absolutely add ground beef or shredded chicken to this dish if you have some. These quick little street tacos were a hit at my house! BBQ Mushrooms Tacos (makes 6 street tacos) 2 cups sliced mushrooms 1 cup black beans - drained and rinsed 1/3 cup BBQ sauce of your choice 2 tsp olive oil 1/2 tsp salt 1/4 tsp pepper 1/4 tsp smoked paprika Pinch of cayenne pepper Slaw Topping: 2 cups shredded slaw mix - you could use traditional cole slaw mix, broccoli slaw mix, or make your own combination. I love cabbage, carrots, and broccoli together. Dressing: 1/3 cup mayo 2 tsp white vinegar 2 tbsp sugar 1 tsp spicy brown mustard 6 corn tortillas (street taco size) for serving For topping: queso fresco crumbles, fresh cilantro, pickled onions or jalapenos, lime wedges 1. Wipe the mushrooms with a paper towel and slice. Drain and rinse the black beans. 2. Heat a large skillet over medium heat and add 2 tsp of olive oil. Add the mushrooms and saute until starting to soften (3-5 minutes). 3. Lower the heat and add the black beans. Add BBQ sauce and stir to coat the mushrooms and beans well. Season with salt, pepper, smoked paprika, and a pinch of cayenne pepper. Lower the heat to a simmer. Let the mixture cook until heated through. 4. While the mushrooms and beans are cooking, prepare the slaw. 5. Wash, peel, and shred vegetables if using fresh. If using bagged, pre-cut slaw, wash and drain well. Add to a medium mixing bowl. 6. In a separate bowl, whisk together the mayonnaise, vinegar, sugar, and spicy mustard. 7. Pour the dressing over the slaw and mix to coat well. 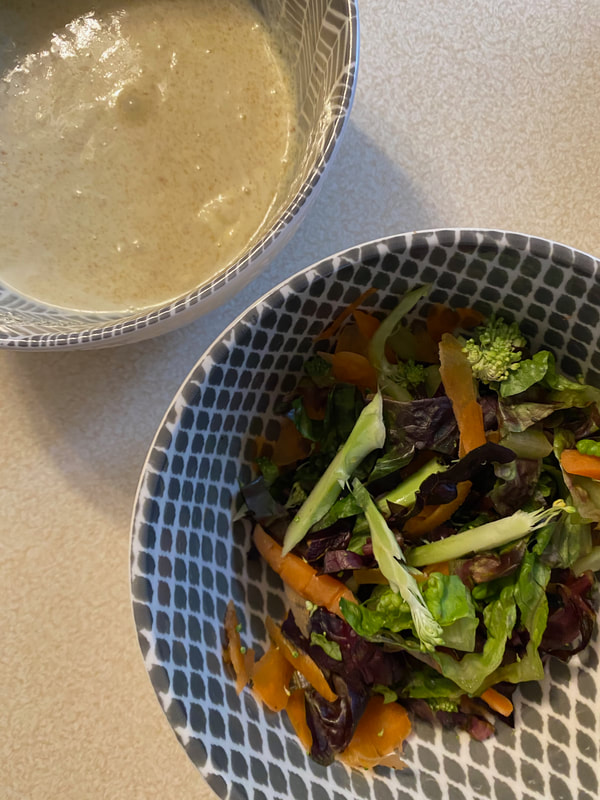 8. In a small skillet over medium heat, warm the corn tortillas. 9. Once the mushroom mixture is heated through, divide amongst the 6 corn tortillas. 10. Top each taco with slaw. Garnish with queso fresco crumbles, fresh cilantro, and pickled onions or jalapenos. Serve with a squeeze of fresh lime juice. 
0 Comments
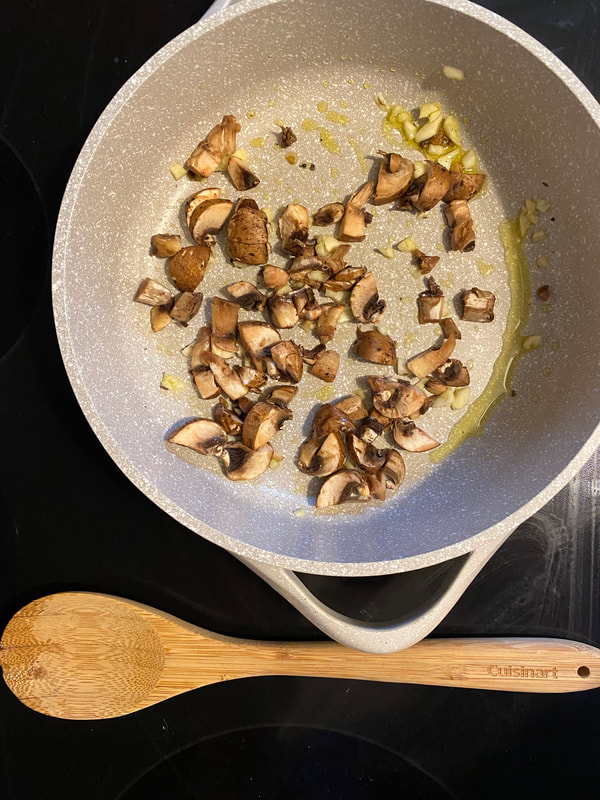
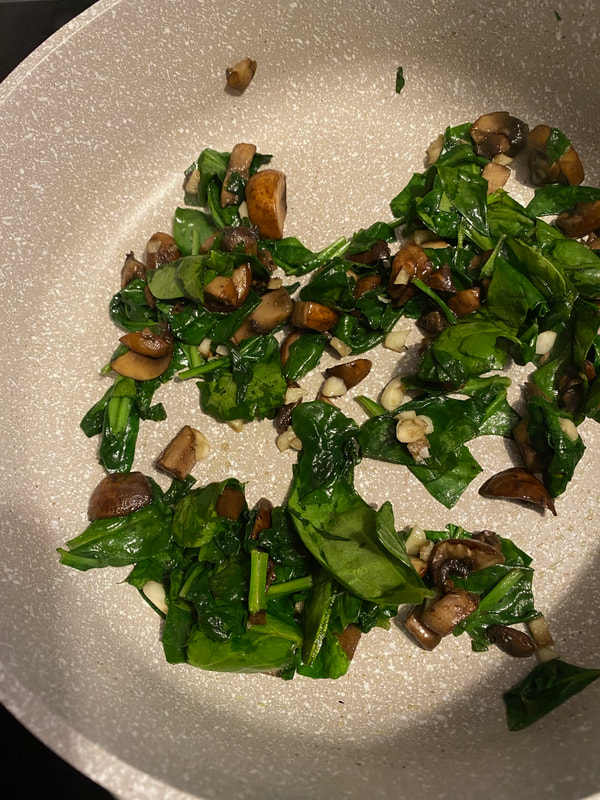
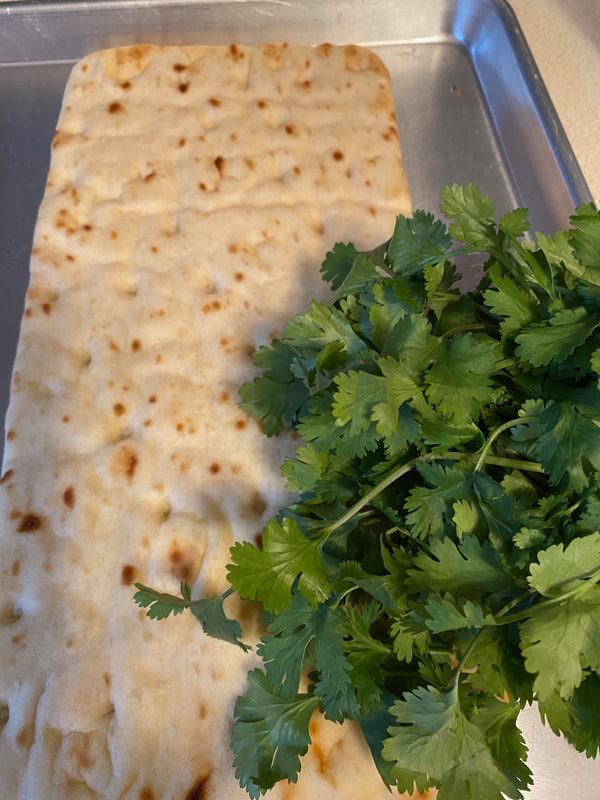
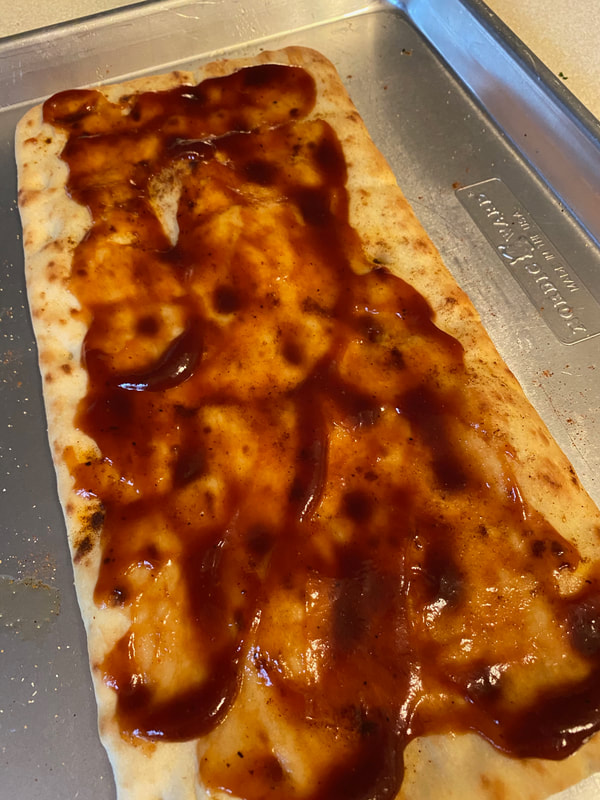
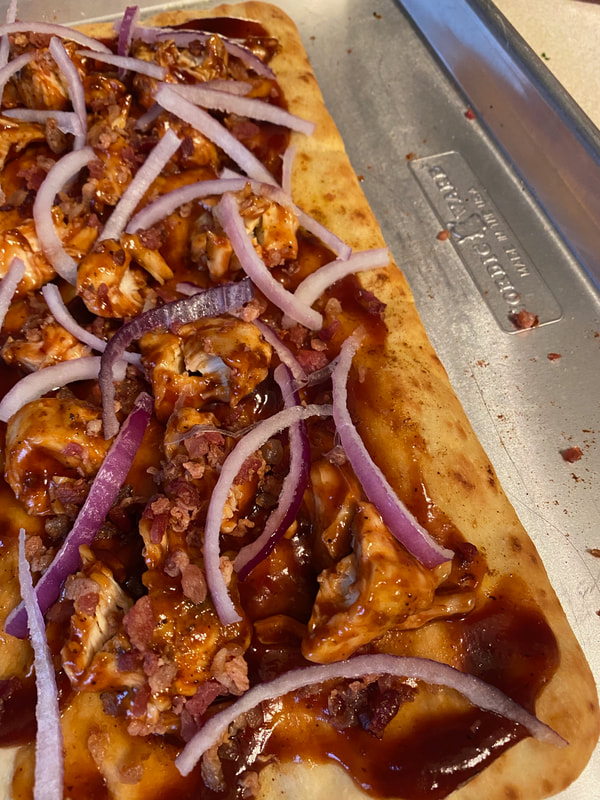
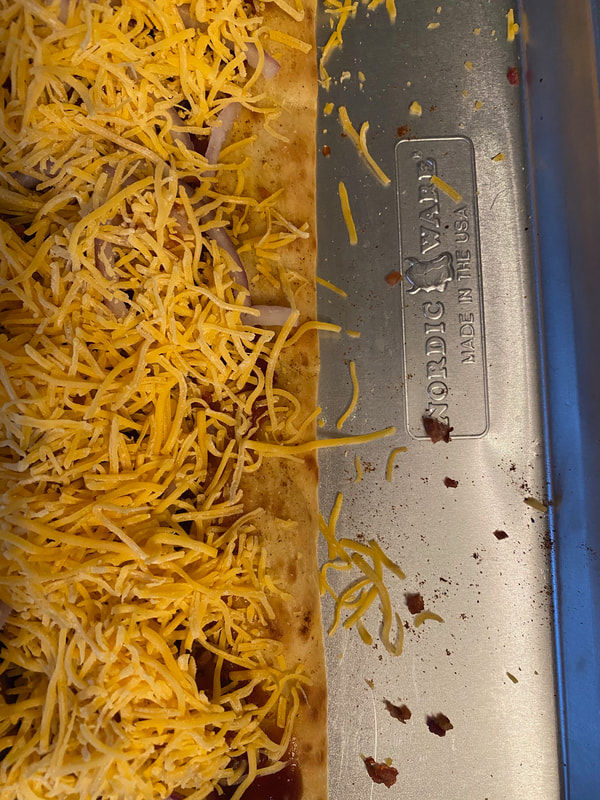
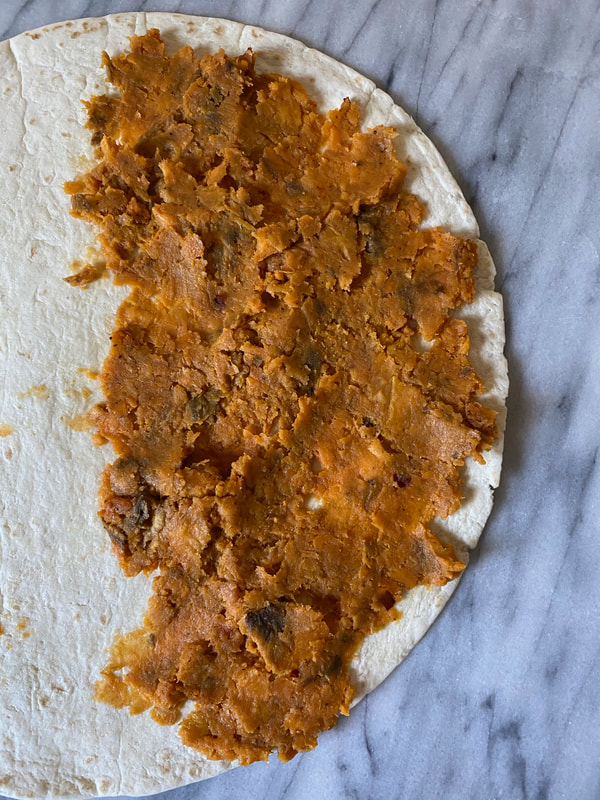
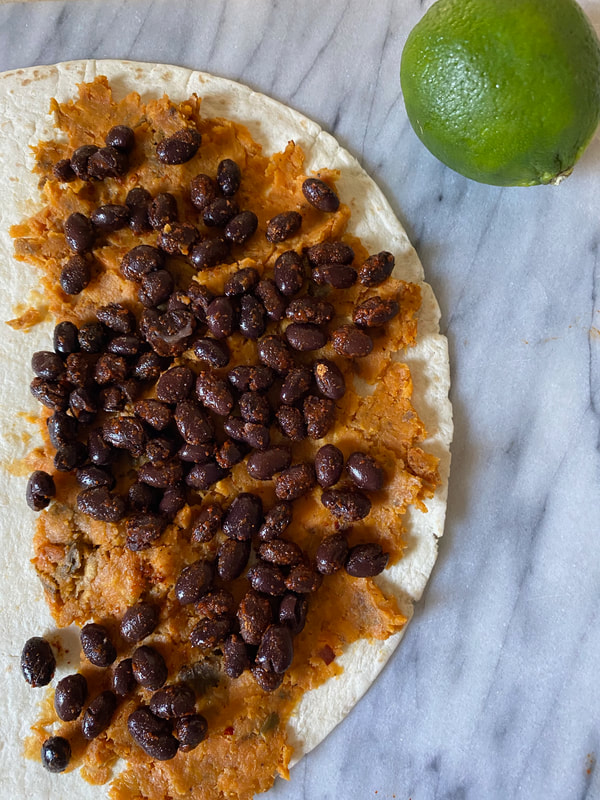
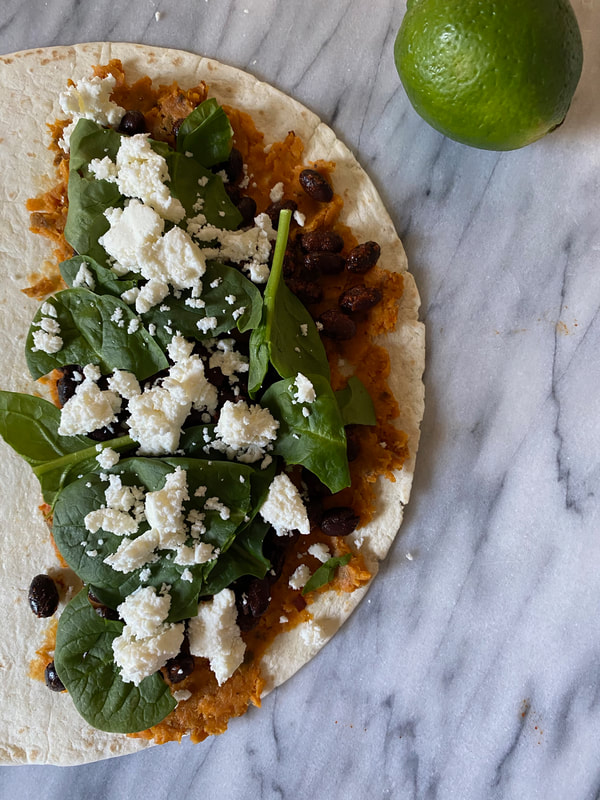
Good morning, friends! Sundays in my house are usually for cooking all of the things. This Sunday is no exception, I have a quick breakfast frittata in the oven as we speak. If you have not had a frittata before, may I highly recommend it? They're a great way to use up leftover produce in your refrigerator and they also look pretty fancy so they are a great addition to any brunch or party you may be hosting. Let's get started.... Breakfast Frittata 8 eggs 2-3 garlic cloves - minced 1 tbsp olive oil 1 tsp salt 1/2 tsp black pepper 1/2 tsp paprika Pinch of cayenne pepper 1 cup chopped spinach 1/2 cup chopped mushrooms 1/4 cup bacon bits 3 tbsp green onions - diced 1/2 cup shredded cheddar cheese 1 cup vegetables of your choice - This is a great spot for leftover items. Roasted broccoli is one of my favorite additions to this. This time, I used 1 cup of leftover quesadilla vegetables (peppers, onions, black beans, and corn that had been cooked down previously). For garnish: chopped cilantro, sour cream, diced green onions 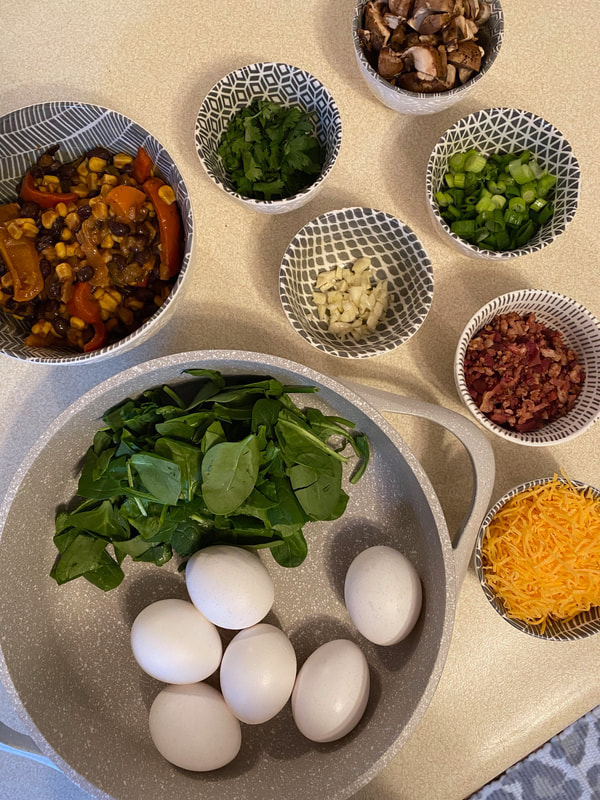 1. Pre-heat your oven to 350 degrees. 2. In a medium, oven-safe, 2"-4" deep skillet, heat 1 tbsp of olive oil and saute chopped mushrooms with garlic. If you are using fresh vegetables for your 1 cup of veggies, add them in as well. Cook until vegetables have started to soften. 3. Add chopped spinach and saute for 2-3 minutes until the spinach has wilted. Season with salt and pepper. If using leftover vegetables, add them to the spinach/mushroom mixture once the spinach is wilted. 4. In a separate mixing bowl, crack the eggs. Whisk together with salt, pepper, paprika, and a pinch of cayenne pepper. 5. Fold in shredded cheese, green onions, and bacon pieces. 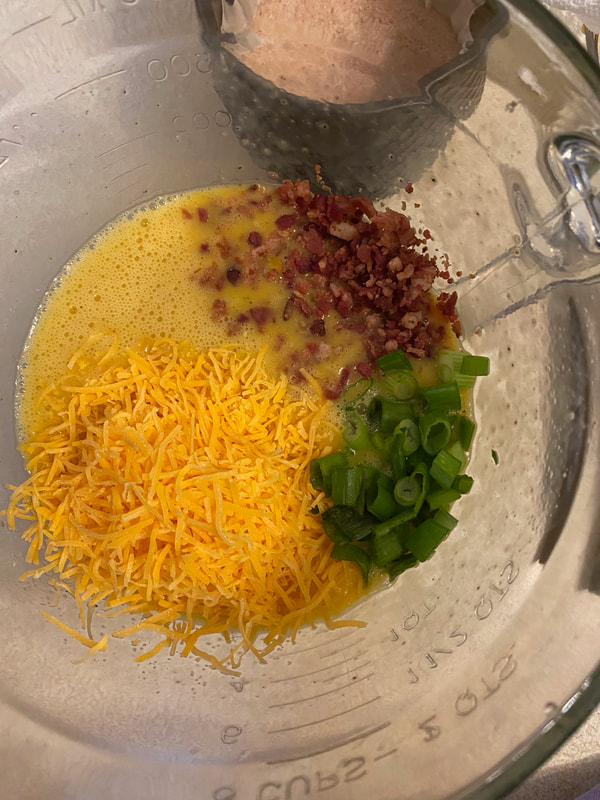 6. Pour the egg mixture over the vegetables making sure ingredients are evenly distributed. 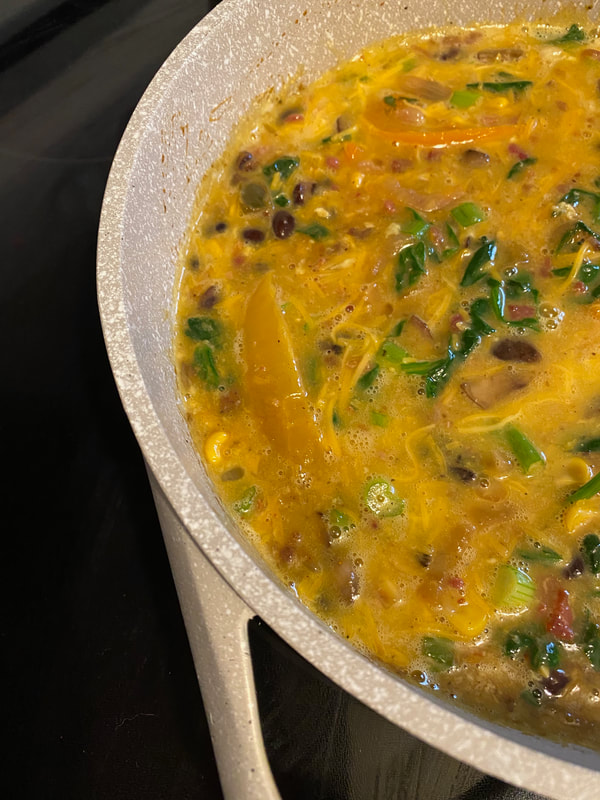 7. Place in the oven and bake for 20-30 minutes until eggs are set and the edges have begun to brown. 8. Allow frittata to rest out of the oven for 10 minutes before serving. Cut into wedges and serve with sour cream, fresh cilantro, and chopped green onions. Yum!  Three years ago my advanced culinary students prepared a spectacular brunch for our culinary competition. Not only did they take first place at competition but they also created one of my favorite menus ever. Take a trip down memory lane here. I thought about that group of students the other day and how much fun we had that semester. Our award wining "breakfast brunch stack" inspired my latest dinner plans. I'm not usually a huge fan of sweet potatoes but this creation sure did change my mind... Sweet Potato Waffle 1/2 cup shredded sweet potato (approx. 1 large) 2 tbsp diced green onion 1/4 cup shredded cheddar cheese 1 slice of bacon - crispy and crumbled 1 egg 1/4 tsp salt 1/4 tsp garlic powder 1/8 tsp pepper 1/8 tsp red pepper flakes For serving: 2-3 bacon slices, 1 egg (fried or scrambled as desired), spring greens 1. Wash, peel, and shred a large sweet potato. Place in a dry dish towel and squeeze out excess water. Place in a medium mixing bowl. 2. Preheat and grease a waffle iron (I have a large, deep waffle iron so this will make 1 large waffle, if your waffle iron is smaller this will make 2 thin waffles). 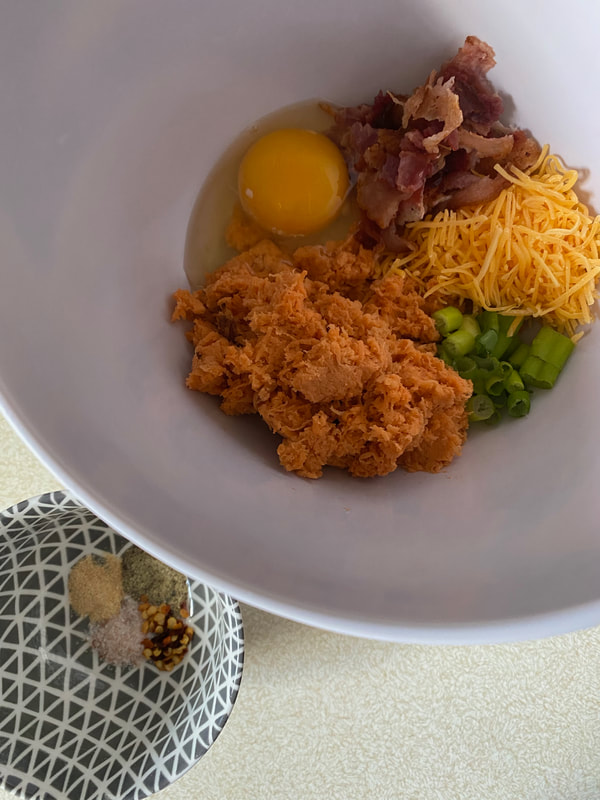 3. Mix sweet potato with green onions, cheese, bacon, and the egg. Add in spices and stir to form a dough texture. 4. When your waffle iron is pre-heated, place the dough in evenly. Close the waffle iron and cook until the waffle is golden, crispy, and cooked through. 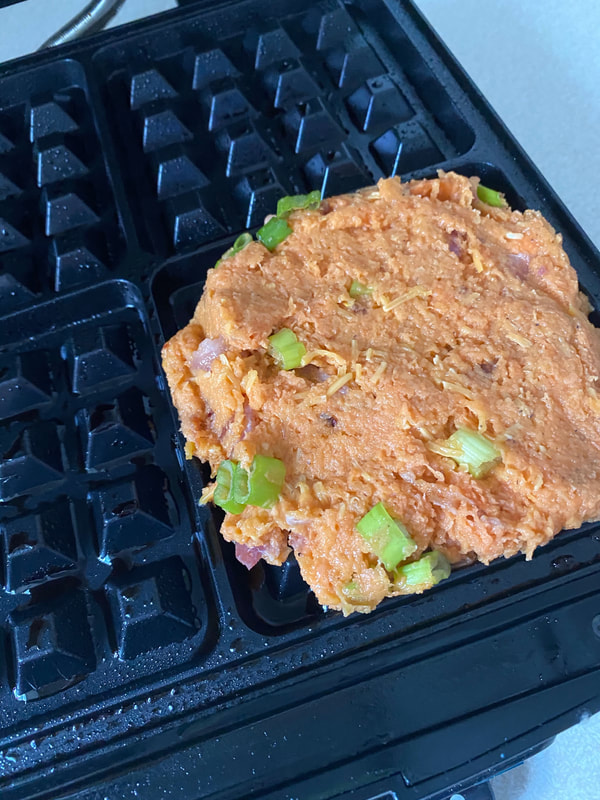 5. While your waffle is cooking, prepare your toppings. 6. When your waffle is finished, remove from the waffle iron and slice in half diagonally. Place bacon slices and spring greens on top. You can also top with avocado and/or tomato slices. 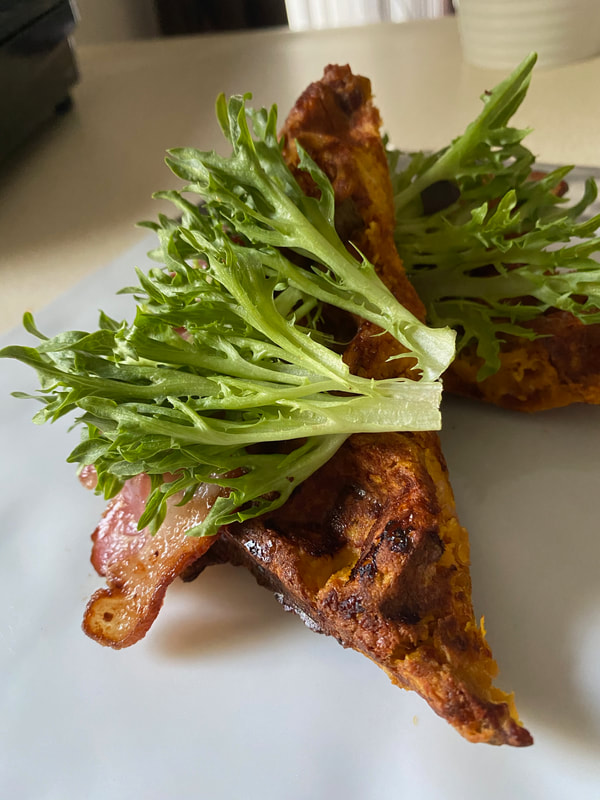 7. Place a fried egg on top of the spring greens. Cut into the fried egg and allow the yolk to run over the waffle when eating. This dish is also delicious when served with salsa. Enjoy!  Hi friends! While cruising the aisles of Aldi awhile back I purchased some of their flatbread crusts and was pleasantly surprised. They're fresh, delicious, and reasonably priced. In preparation for some quarantine cooking, I picked up a few more to create my favorite BBQ chicken pizzas. This recipe can easily be adjusted to fit your preference or items you have on hand. It's easy, it's quick, but more importantly, its delicious! Check it out below. BBQ Chicken Flatbread 2 flatbread crusts (I used the large rectangle ones from Aldi) 1 tbsp olive oil Garlic powder, smoked paprika to taste 1/2 cup BBQ sauce of your choice 1/4 cup BBQ sauce (for coating chicken) 1 cup fully cooked, diced chicken (I like to to use leftover or rotisserie chicken for this) 1/4 cup bacon crumbles 1-2 cups shredded cheddar cheese (depending on size of flatbread/amount of cheese desired) 1/4 cup thinly sliced red onion Fresh cilantro, pickled red onion (recipe below), feta cheese crumbles for garnishing 1. Preheat your oven to 350 degrees. Place your flatbreads on a baking sheet and lightly brush the top with olive oil. Season with garlic powder and smoked paprika. 2. Pre-bake the flatbreads for 10 minutes until they are just slightly browned. 3. Remove the flatbreads from the oven and brush with BBQ sauce. 4. In a separate bowl, toss fully cooked chicken in 1/4 cup of BBQ sauce until coated. Place chicken on flatbread. 5. Sprinkle bacon pieces and red onion slices evenly over chicken. 6. Top the entire flatbread with shredded cheddar cheese. 7. Place flatbreads in the oven and bake for 10-15 minutes until cheese is melted and crust edges are golden brown. 8. Remove flatbreads from the oven and garnish with fresh cilantro, feta cheese crumbles and pickled red onions if desired. Quick pickled red onions: 1 red onion - thinly sliced 3/4 cup white vinegar 1/4 cup water 1 tbsp sugar 1 pinch of salt Mix vinegar, water, sugar, and salt together in a medium bowl. Place sliced onions in and stir to coat evenly. Allow onions to sit in pickling liquid at least an hour before serving. These are delicious on salads, pizzas, and tacos! 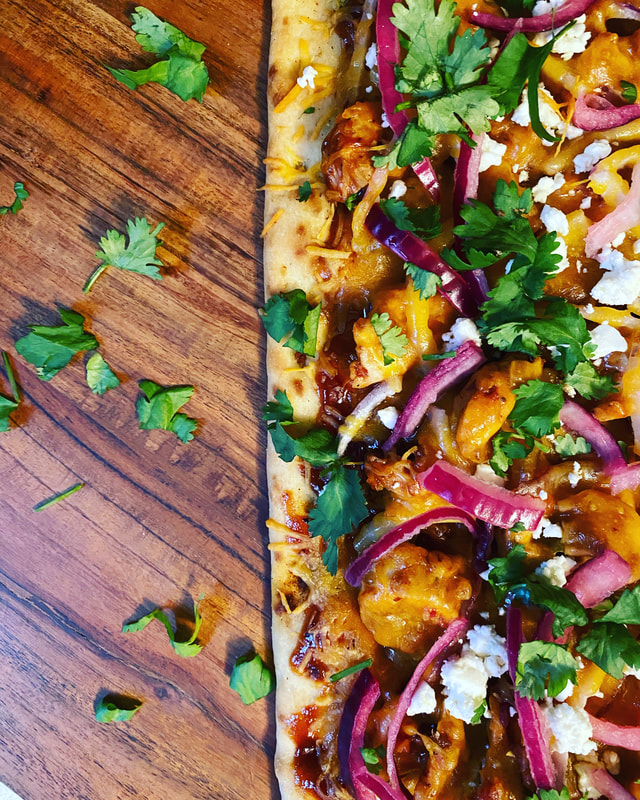 Midway through a quarantine seems like a perfect time to start dropping new blog posts on you guys. Hope everyone is staying safe out there. I have been cooking my way through quarantine and there's no end in sight. Last week as a solution to my excess sweet potato problem, I created some quick, easy quesadillas. No, really, so quick and so easy. Check it out below. 2-3 sweet potatoes (washed, peeled, and cubed) 1 tbsp olive oil 1/2 tsp cumin 1/2 tsp paprika 1/2 tsp garlic powder salt and pepper to taste 1 cup black beans - drained and rinsed 1 cup chopped spinach leaves 1/2 cup queso fresco 2 large flour tortillas Limes, cilantro, salsa, and sour cream for serving 1. Wash, peel, and cube sweet potatoes. Toss sweet potatoes in olive oil, cumin, paprika, garlic powder, and salt/pepper. Place on a baking pan lined with parchment paper and roast at 425 degrees for 15-20 minutes until tender. Once softened, mash sweet potatoes. 2. Spread mashed sweet potatoes on half of 2 large flour tortillas. 3. Top the sweet potatoes with black beans. I added a little taco seasoning to the black beans as well but they are delicious without it too. 4. Place chopped spinach and queso fresco on top of the black beans. 5. Fold the tortilla in half and cook over medium-high heat in a large skillet until golden brown and crispy. 6. Cut each tortilla into 4 wedges and serve with limes, cilantro, salsa, and sour cream. Yum! 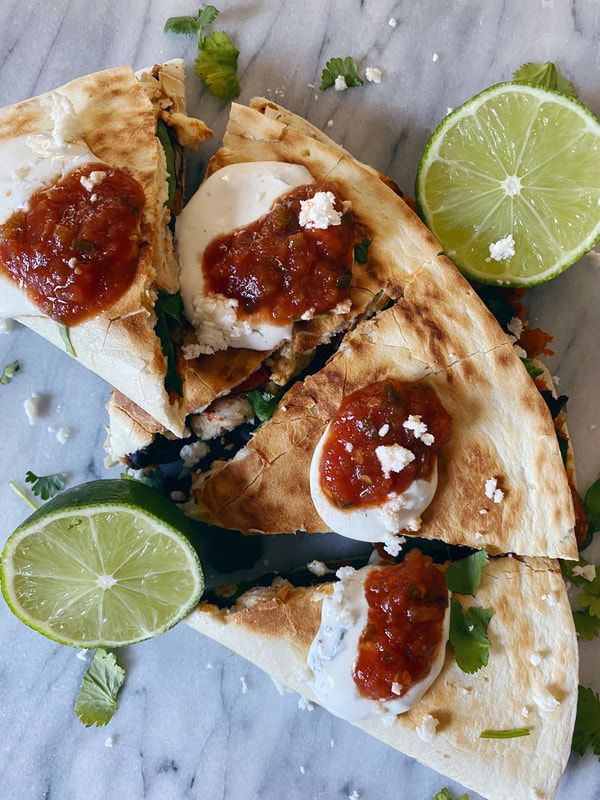 At the beginning of each semester, I always ask my culinary students for menu ideas that they would like to learn to prepare. Much to my surprise, cauliflower pizza crust was high on the list for many students this year. Several students were interested in learning about some healthier choices and many students have allergies in their family. As usual, I was met with a little hesitation when I announced the recipe for the week but many students found that they actually liked the end result. While cauliflower crust doesn't taste EXACTLY like pizza crust, its a lower carb option and perfect for gluten free meals. Check out the instructions below: Cauliflower Pizza Crust 1 bag frozen, riced cauliflower (12oz) - thawed in the refrigerator 1 cup shredded mozzarella cheese 2 tbsp grated parmesan cheese 1 egg ½ tsp salt ½ tsp Italian seasoning ¼ tsp pepper ¼ tsp garlic powder Toppings for pizza
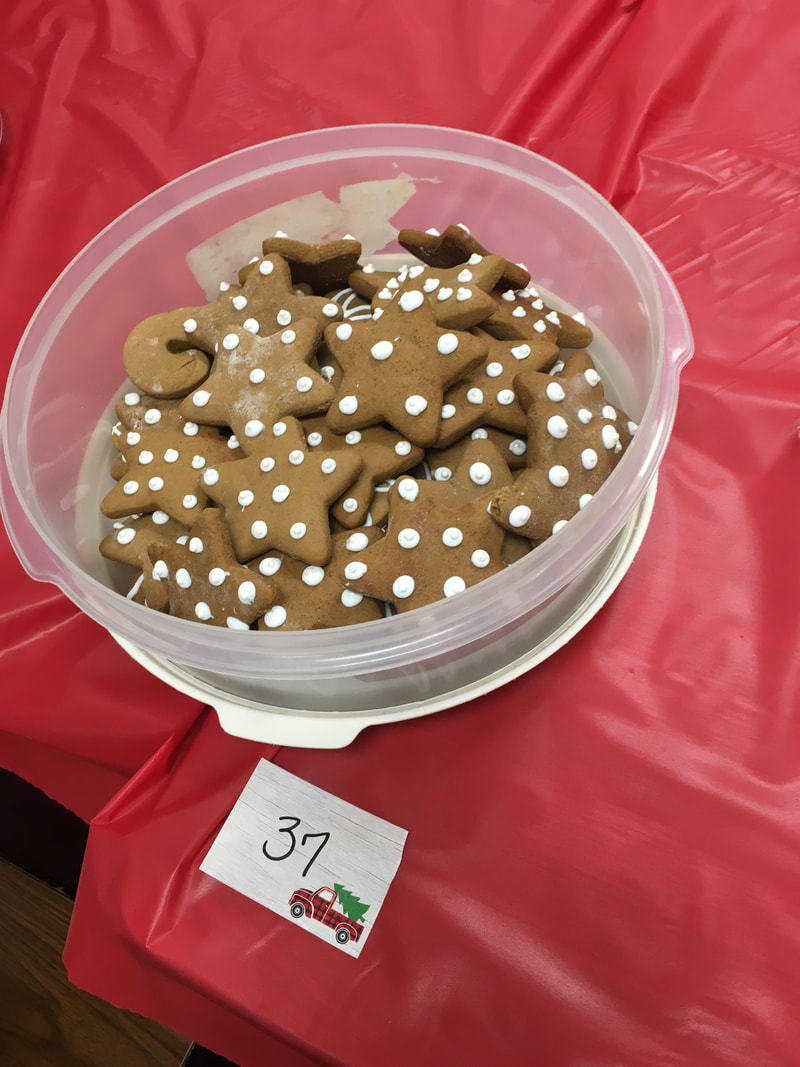
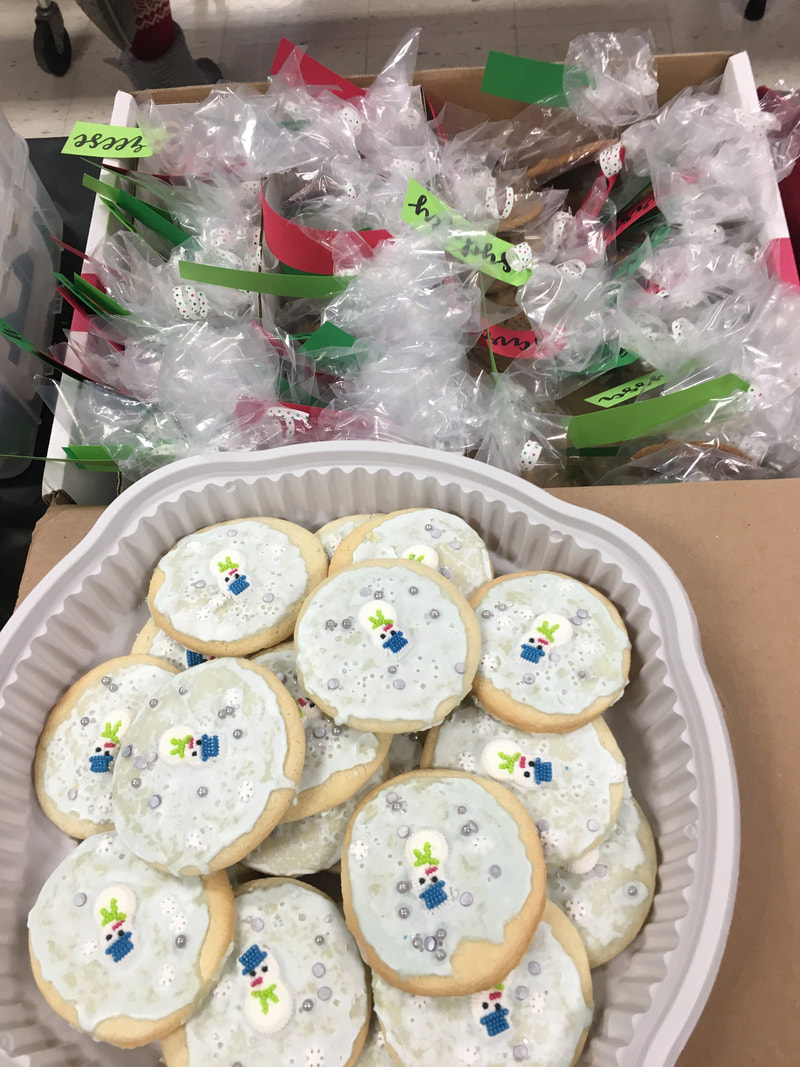
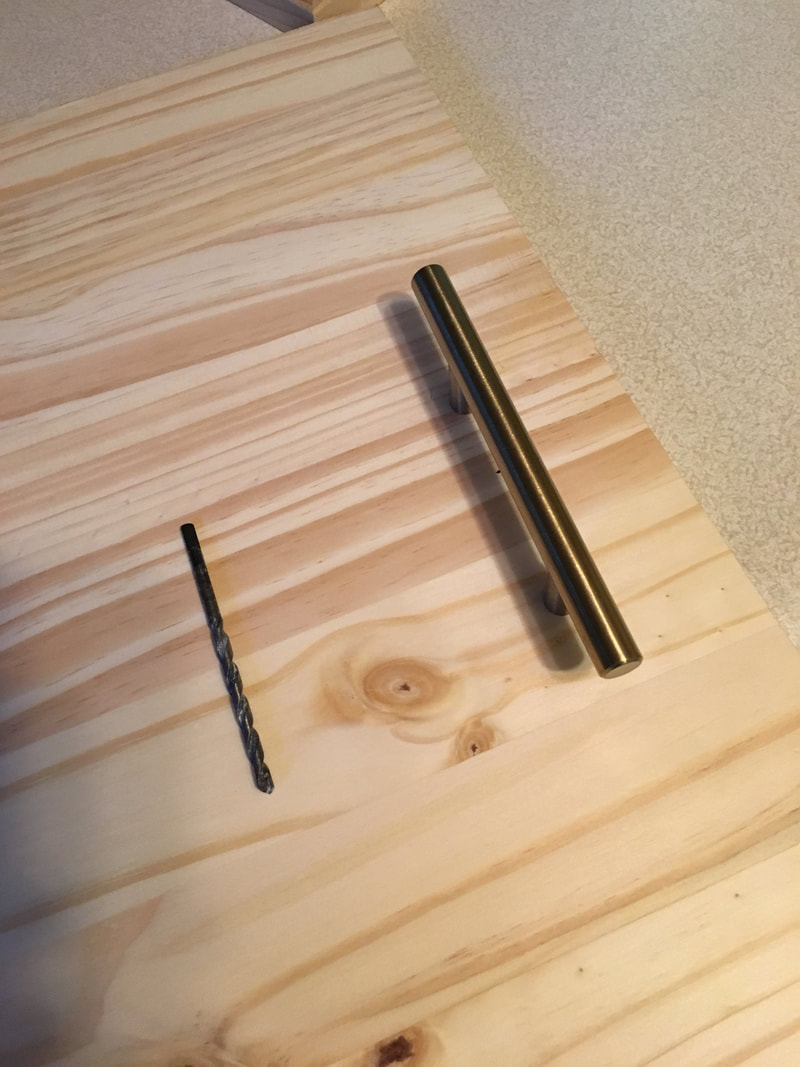
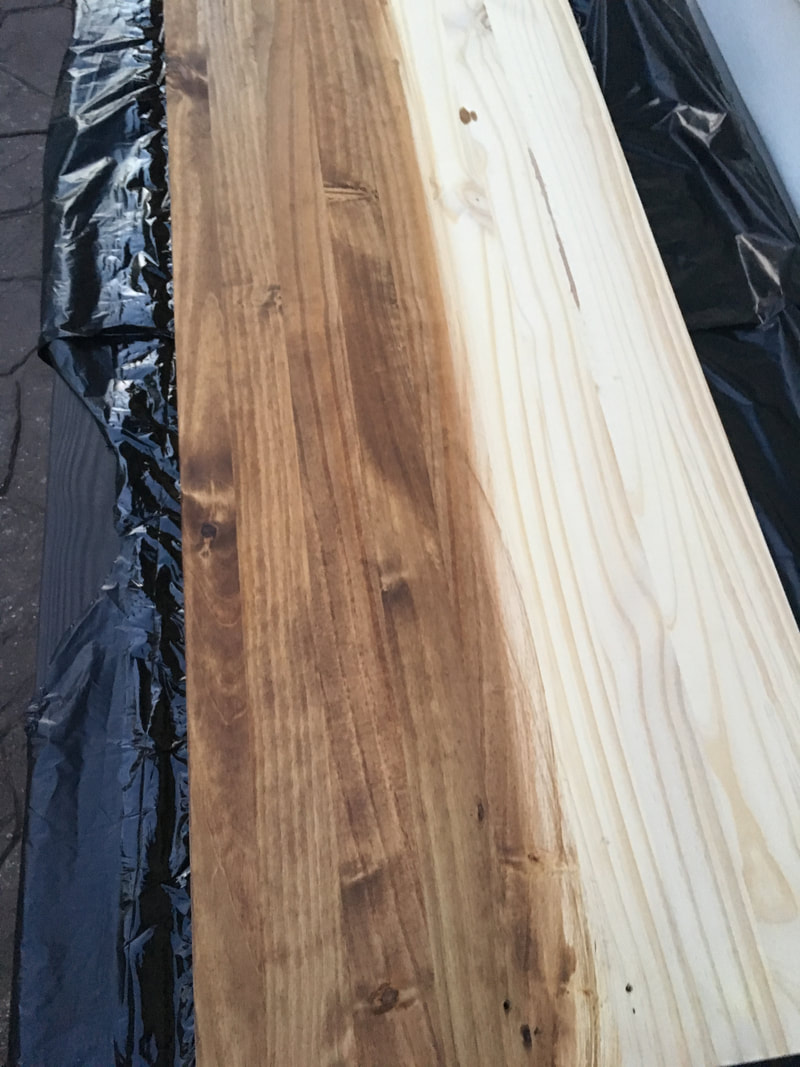
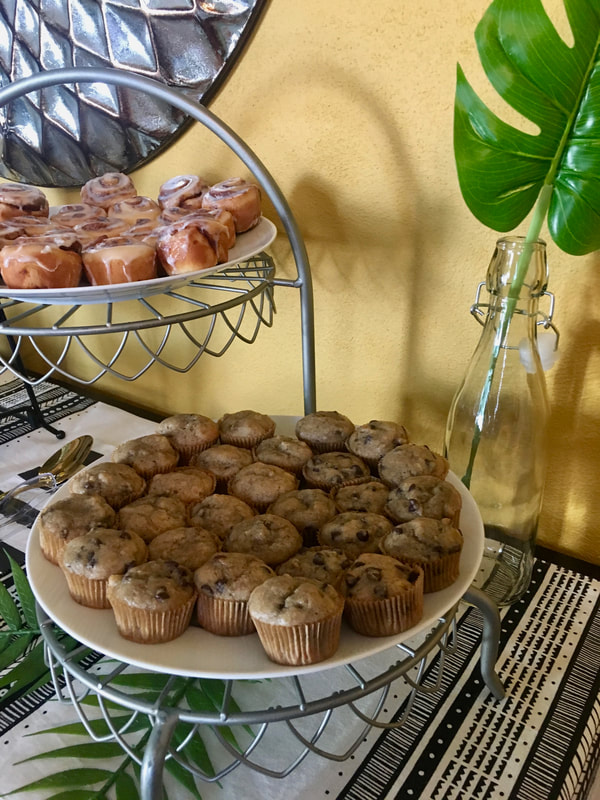
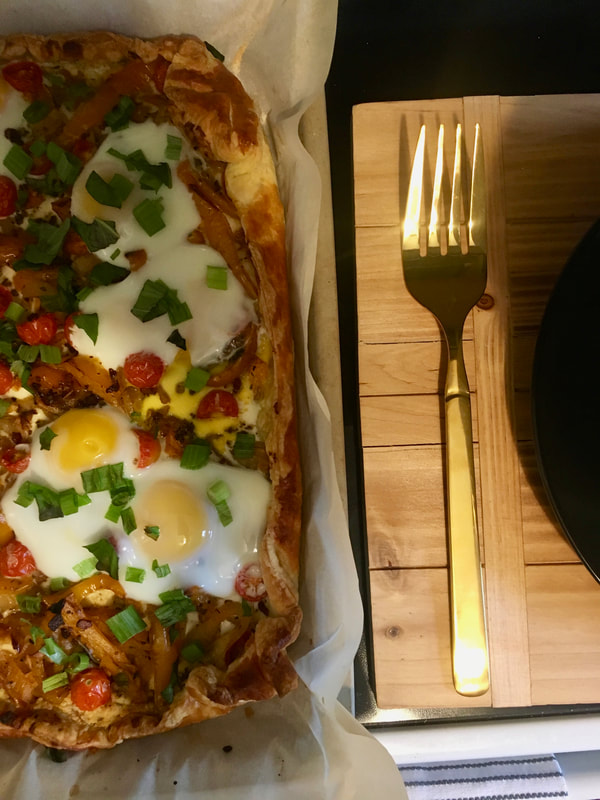
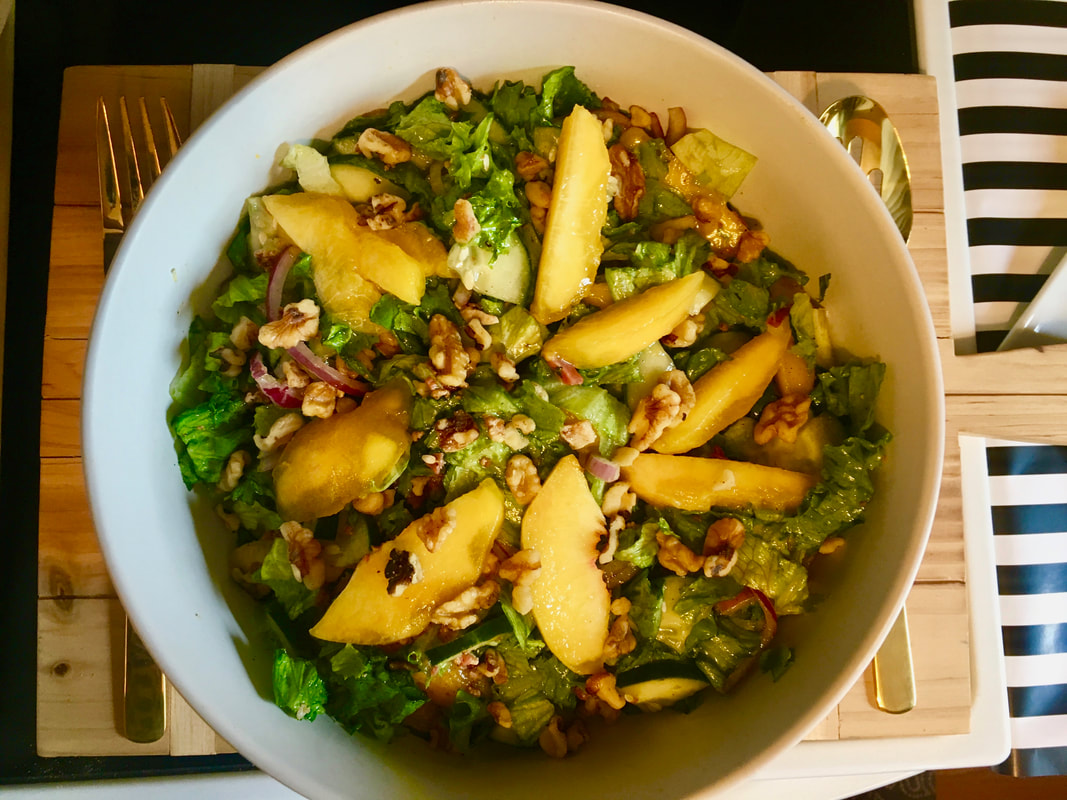
Let cool. Once cooled, you can start with step 1. 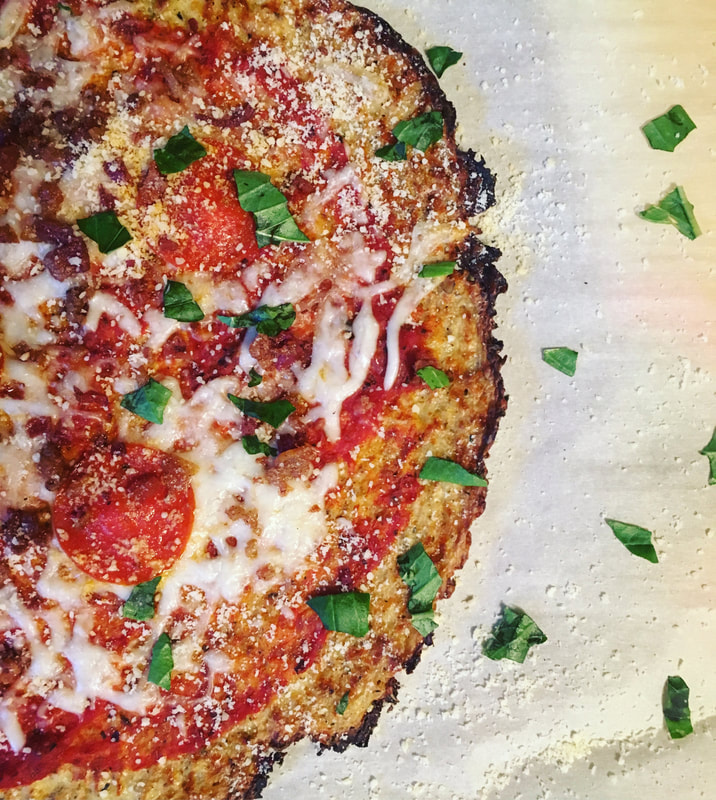 Happy holidays, sweet friends! It's my favorite time of the year and it's time for some details on my favorite holiday event! A few weeks ago I hosted our annual cookie exchange for my FHA club members; if you know me, you know I prepare for this party all year. I have so much fun planning the menu, making decorations, and setting up for our event. Our theme for this years cookie exchange was merry and cozy. Our guests were encouraged to wear their favorite cozy Christmas pajamas and were treated to warm soups with all the toppings for dinner. For dinner, I made large batches of potato soup and taco chili - the potato soup is a recipe I teach in class and is always a favorite and the taco chili is one of my favorite winter dinners to make at home. Details on both of those recipes are coming soon! I decided to make a soup toppings board so everyone could dress up their individual bowls. I picked up a variety of crackers at Aldi - they have such a big selection and are so reasonable in price. I also added chopped green onions, bacon bits, sour cream, and a lot of shredded cheese to top our soups. I arranged our toppings on my large serving tray that I made over the summer. Details on that can be found here.  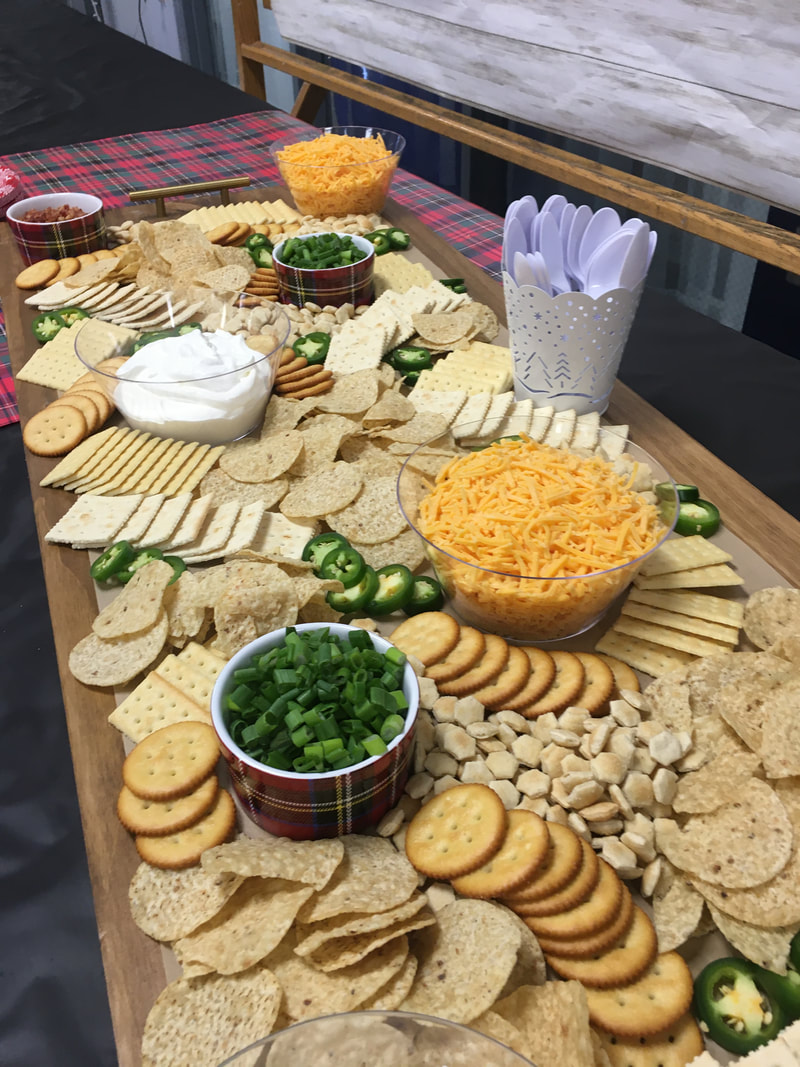 For our serving table backdrop, I covered a large dry erase board in my favorite shiplap bulletin board paper which you can find at Hobby Lobby. I also cut some large letters on the silhouette and draped the top with cookie cutters. Such an easy project and it covered the bare walls of our cafeteria perfectly! 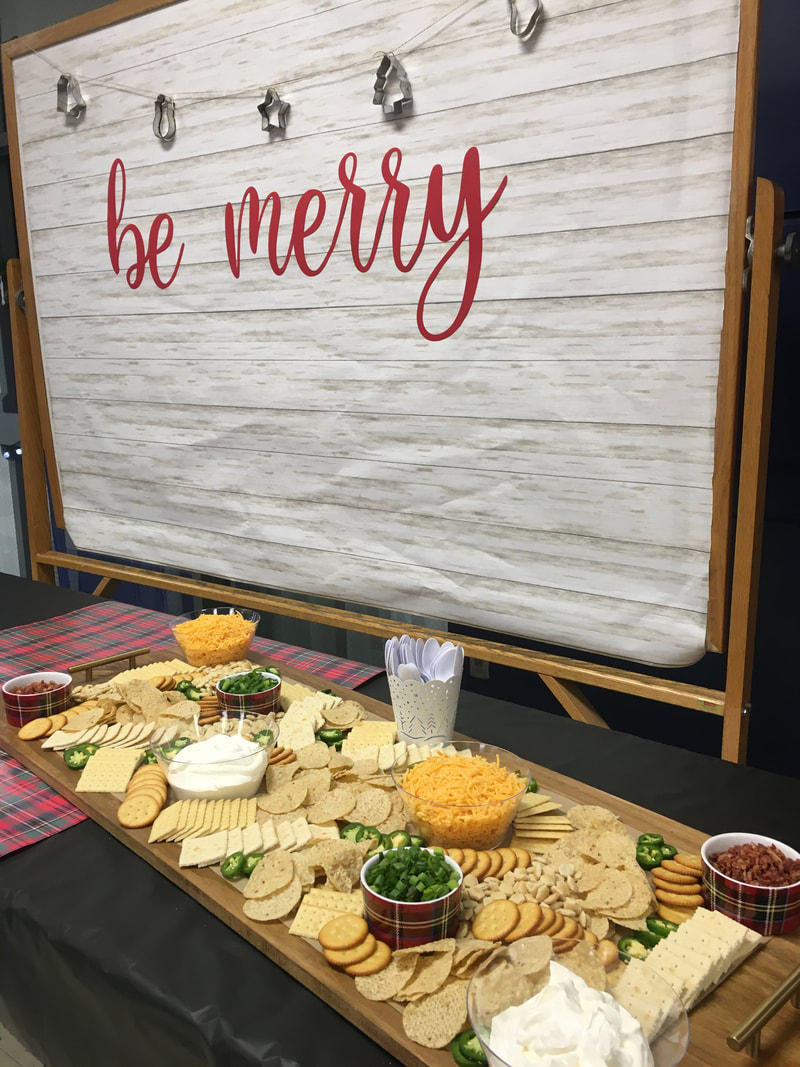 For the cookie exchange portion of our party, each student brings 50 cookies of their choice (one for each person). We have a sign-up sheet so that we don't repeat the same cookie multiple times. I would also suggest having something for your guests to carry their cookies home in. I use these bakery boxes but depending on the size of your party, small treat bags or boxes would also work well. For a little extra fun I always decorate the boxes. This year I used a strip of plaid wrapping paper and a small Christmas tree labeled with each guests' name. 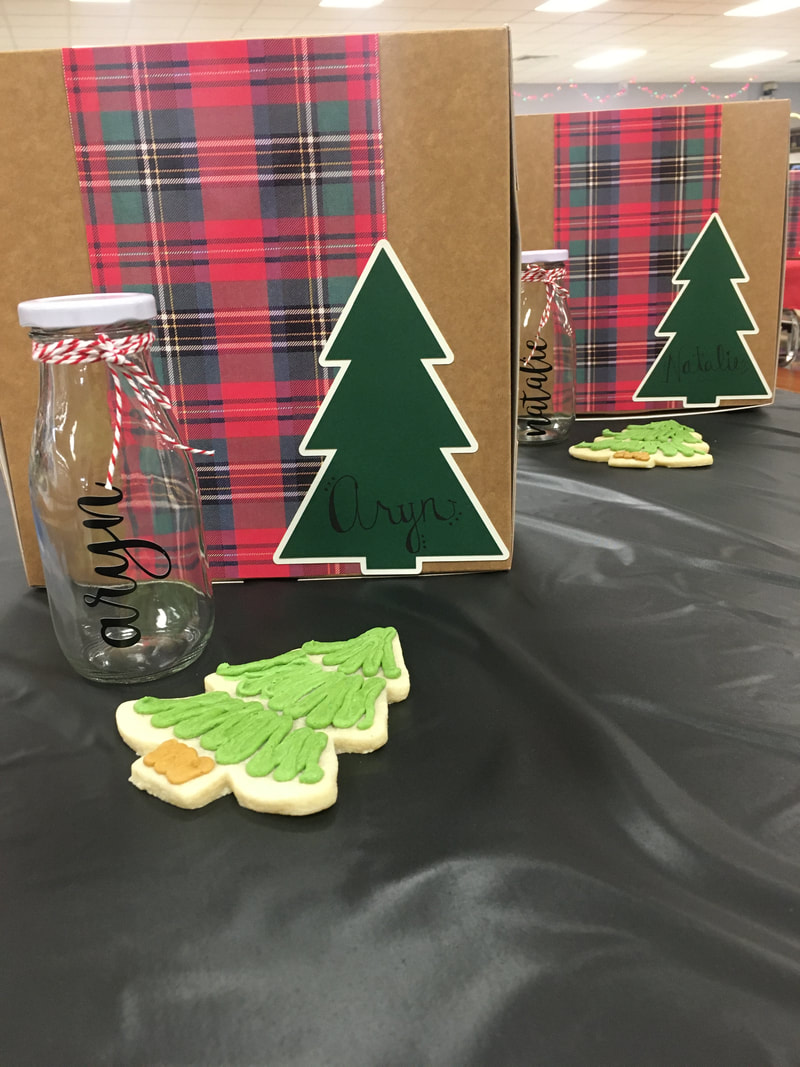 The bakery boxes make it so easy for each person to go through the line and pick up one of each cookie. We also number each cookie to make voting for our prizes much easier. Our winners this year each went home with a movie night basket full of popcorn, candies, and a gift card for movie rentals. Check out how delicious our cookies turned out! And what holiday cookie exchange is complete without a photo backdrop? This year I created this cozy winter scene using a mantle that I purchased second-hand and refinished. Our Christmas tree was decorated with ornaments that I made for each guest. The wood slices were purchased on Amazon. I painted them black, added names using adhesive vinyl, and a big bow on top using ribbon from Hobby Lobby. Didn't it turn out wonderful?  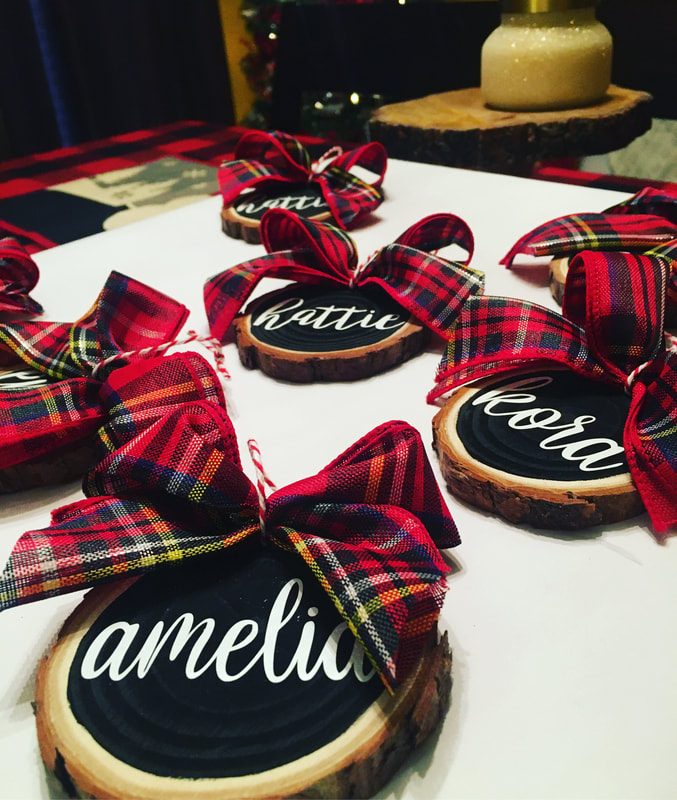 Happy holidays from our little family of friends to yours!  I don't know about you but I am 100% obsessed with wooden serving trays right now. I'm embarrassed to tell you how many I currently own. I think a wooden tray is a perfect styling piece - you can layer them, use them for height and contrast, and most importantly, they add so much warmth to your design. A couple months ago when I hosted brunch for my friends, I wanted to create a bar/drink area for my guests to serve themselves. After some other recent crafty projects, I discovered a section of edge-glued wood boards at Menards - they're inexpensive and come in a variety of sizes that are great for craft projects. I picked another one up and decided to make a wood serving piece for my drink station. Check out below how to make this quick project. Supplies needed: 1 edge-glued board (I selected pine in the 4 foot length) Stain or paint of your choice (I used Minwax in the color Early American) Polyurethane seal (if you plan on using water on the surface) Hardware for decoration Equipment: Brushes or rags for staining Electric drill for creating openings/installing hardware Drop-cloths or trash bags to cover your work surface  Let's get started! 1. Cover your workspace and make sure your area is well ventilated. 2. Lightly sand your board if necessary. Wipe clean. Mark and drill holes for your hardware if you are using any. 3. Stain your board using a staining cloth. Allow to dry. Flip, and stain opposite side. Let dry completely. 4. Lightly brush polyurethane seal on both sides (allowing to dry between sides). 5. Once dried and cured (at least 24 hours), place hardware on and enjoy your new serving piece! I loved using mine as the drink station for brunch and most recently, on my dining table as a fall centerpiece! I love quick and easy projects that fit my vision perfectly! 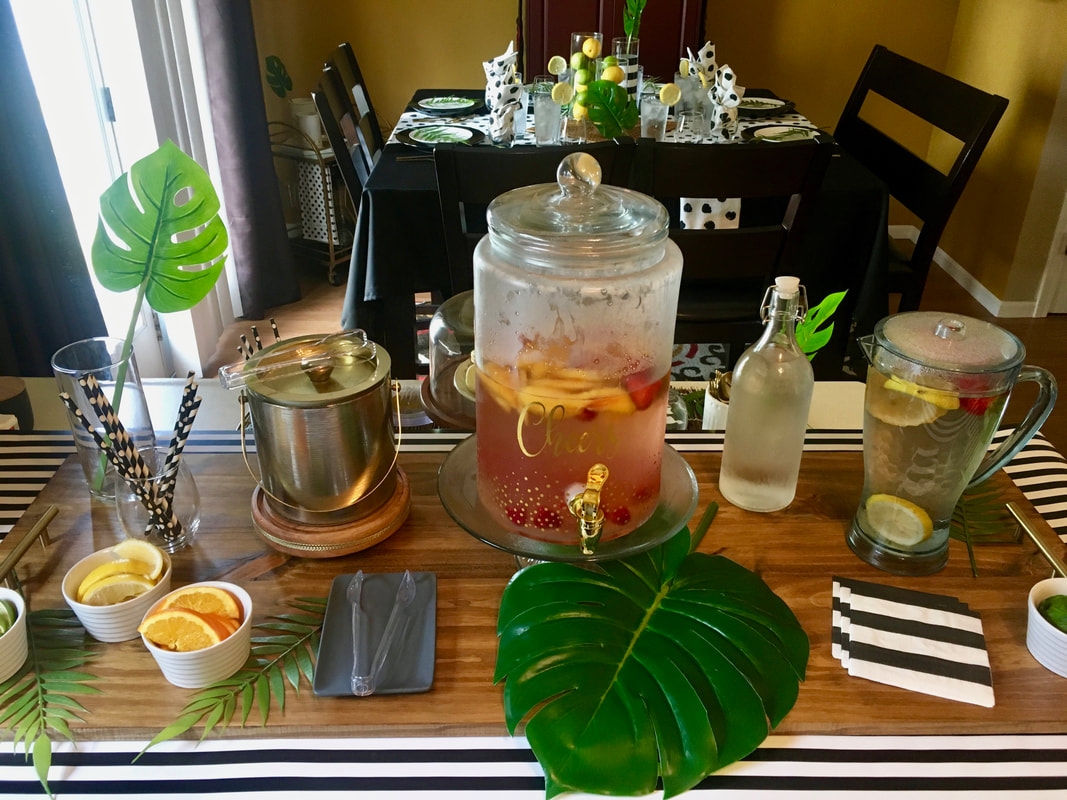 If you know me, you already know that brunch is one of my favorite things in life. I think it's the most wonderful excuse to spend time with good people and enjoy great food. I recently hosted a small brunch to celebrate one of my dearest work friends. She is having a sweet baby boy in the fall and brunch seemed like the perfect opportunity to sprinkle her with some love. Are you searching for some brunch inspiration? I've got some delicious menu ideas and beautiful table settings for you! Let's talk about table settings first. For this brunch I decided to use elements of black and white with accents of bright green. I purchased a black tablecloth at Home Goods that I cut in half and stitched a fabric runner down the center to make the tablecloth fit my table better. I used the same fabric to make some cloth napkins for my guests to use. Black and white plates were layered and topped with a simple faux green stem. The look was clean and simple but still elegant. For centerpieces, fresh florals are always a win in my book - they're effortless and always beautiful. If flowers don't fit your style or budget, fresh fruits and vegetables also make a wonderful centerpiece and they can be used later. I really like using citrus fruits as vase filler - they're bright and cheery and generally inexpensive.  I used elements of black and white as well as green in other locations in my kitchen to make the theme consistent. Monstera leaves are so on-trend right now and you can find the giant faux ones everywhere! Hobby Lobby, Target, and Wal-mart all have a great selection of them in store. 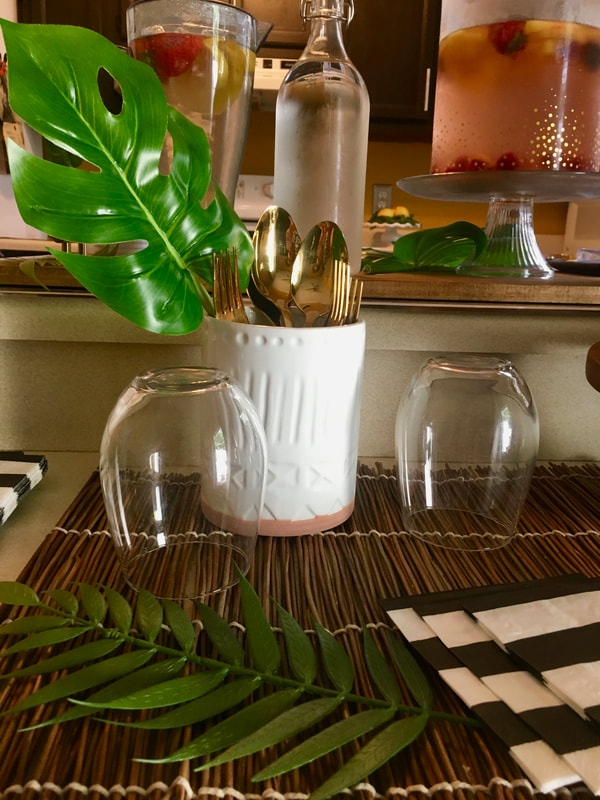 Need some menu ideas for your next brunch? I kept it simple and included a lot of items that could be prepped ahead of time: A yogurt bar - vanilla yogurt with lots of different toppings including fresh fruit, granola, shredded coconut, and sliced almonds. Mini muffins and mini cinnamon rolls - both could be made ahead or purchased from a local bakery. Savory vegetable tart - There is so much opportunity to make it fit your taste preferences and most of this dish can be prepped ahead. More recipe details can be found here. Summer salad - Use what it in season! I prepared a peach and walnut salad and the recipe can be found here. Prep everything ahead and save the dressing for last! Guacamole BLT's - one of my absolute favorite dishes. I prepped the sandwiches the morning of the event and served them at room temperature - they were delicious! More details on guacamole BLT's can be found here. 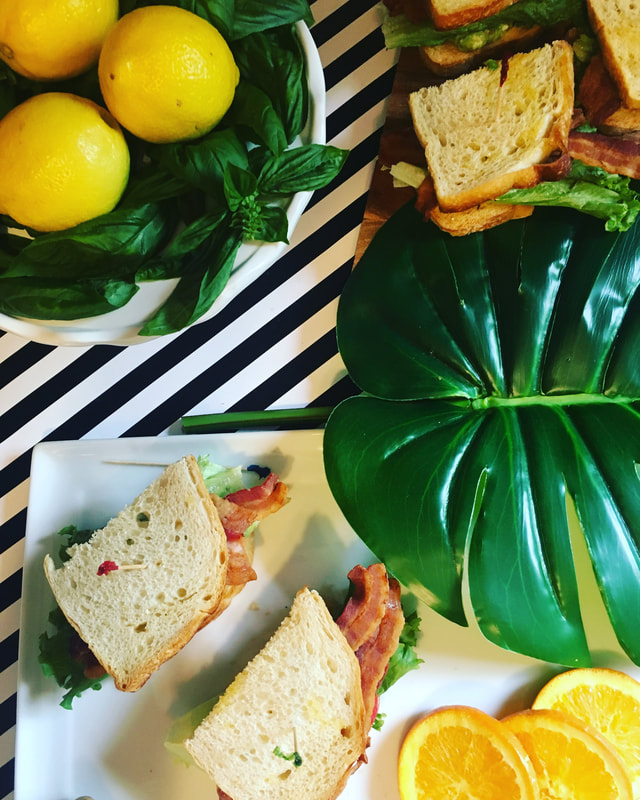 What's brunch without cocktails? I served up some white peach sangria for my guests. For the guests that prefer something non-alcoholic, serve sparkling water with lemons and strawberries. The fruit adds delicious extra flavor! I like to make a drink service area with extra napkins, glassware and straws, and some flavorful garnishes. Citrus fruits and fresh herbs like mint and basil make great drink garnishes. 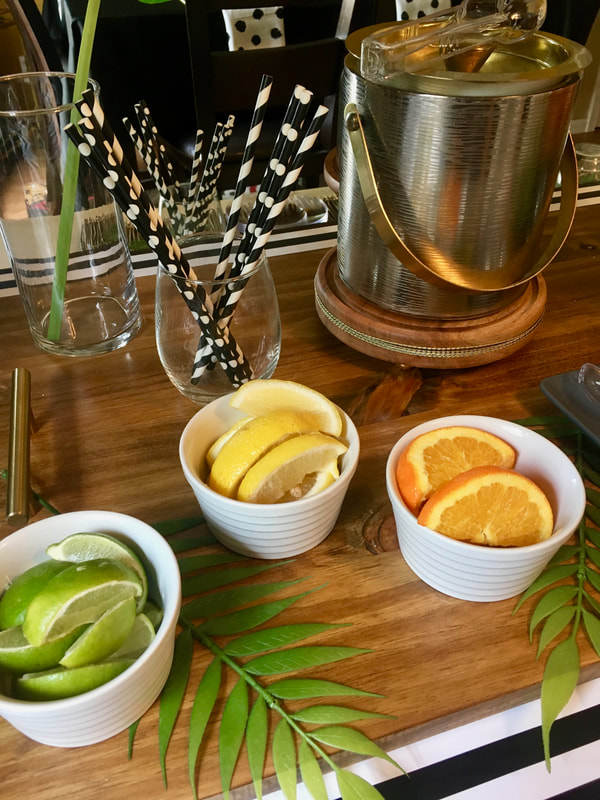 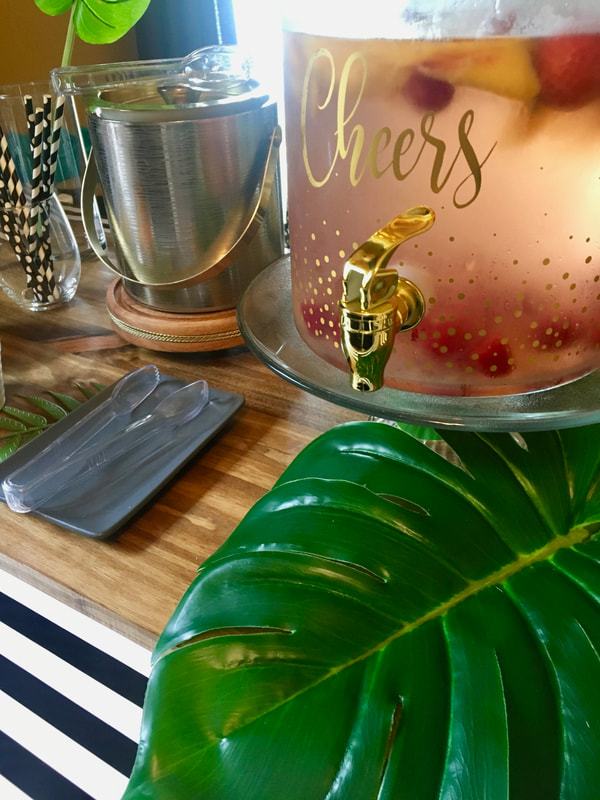 I hope you get to brunch and enjoy some time with your favorite people very soon! Savory tarts have been my recent obsession! I have been using so many beautiful farmers market vegetables to create a variety of different flavors and I might have really found my new favorite brunch dish. Even better, this tart can be prepped ahead and assembled just before baking. Let's get started! You will need: 1 sheet puff pastry dough - thawed 1 egg + 1 tsp. cold water whisked together for egg wash 1 large yellow onion - sliced into strips 2-3 large bell peppers - sliced into strips 2 tbsp. diced jalapeno 3-4 garlic cloves - minced 1/3 cup cherry tomatoes - halved 1/4 cup bacon pieces 2 tbsp unsalted butter salt, pepper, oregano, and thyme for seasoning 6 eggs Fresh oregano, green onions for garnishing Cheese spread: 6 oz feta cheese crumbles - room temperature 4 oz cream cheese - room temperature 1 tbsp olive oil 1 tsp. dried oregano 1 tsp. dried thyme 1/2 tsp garlic powder 1/2 tsp black pepper Juice from half a lemon 1. Prepare the cheese spread. Using an electric mixer, beat cream cheese and feta until semi-smooth. Mixing on low speed, add the olive oil and mix until smooth. Add the spices and mix well. Beat in lemon juice. Refrigerate the cheese spread if not using it right away. Cheese spread should be room temperature for assembly. 2. To prepare veggies: Using a large skillet, melt butter over low-medium heat. Add garlic and cook until fragrant (approx. 1-2 minutes). 3. Add onions and toss in melted butter. Turn on low heat and allow onions to caramelize. Stir periodically for 15-20 minutes. 4. Add jalapeno and bell peppers to the onions. Continue to cook over low-medium heat until vegetables are caramelized and cooked (approx. 15-20 minutes) 5. Season vegetables with salt, pepper, dried oregano, and thyme to taste. Set aside until ready to assemble tart. 6. When ready to assemble the tart, lightly flour your surface and roll out puff pastry slightly larger than a 9x13 baking pan or stone. Transfer puff pastry to a parchment lined pan. Pre-bake puff pastry for 8-10 minutes until starting to brown. Cool slightly. 7. Spread cheese evenly over puff pastry. Top cheese with cooked vegetables, cherry tomatoes, and bacon bits. Stretch edges of the puff pastry to slightly cover the outer the vegetables. 8. Brush edges of puff pastry with egg wash. Bake at 400 degrees for 15-20 minutes until pastry is browned around the edges. 9. Remove from oven and crack 6 eggs on top of vegetables. Return to oven for 10 more minutes until egg whites have set but yolks are still runny. 10. Squeeze fresh lemon juice over veggies and garnish with salt, pepper, fresh oregano or chopped green onions.  |
Archives
April 2020
Categories
All
|


 RSS Feed
