|
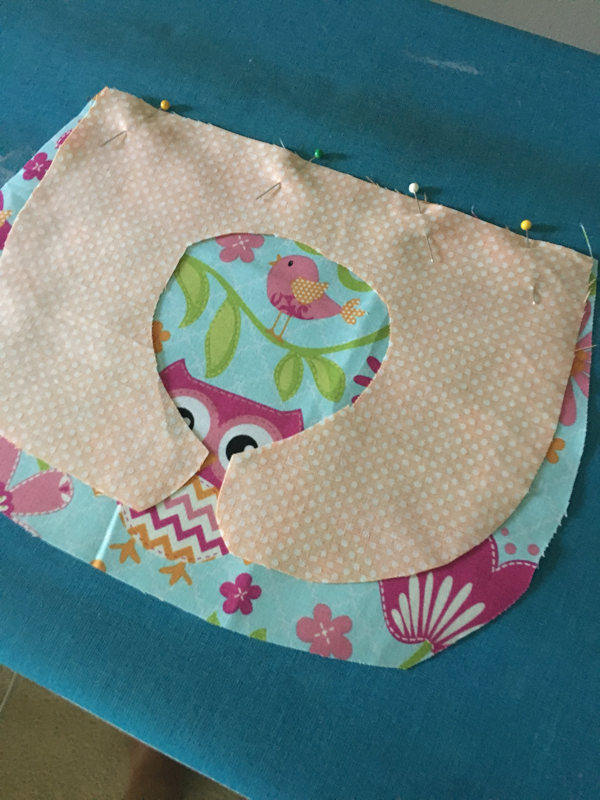
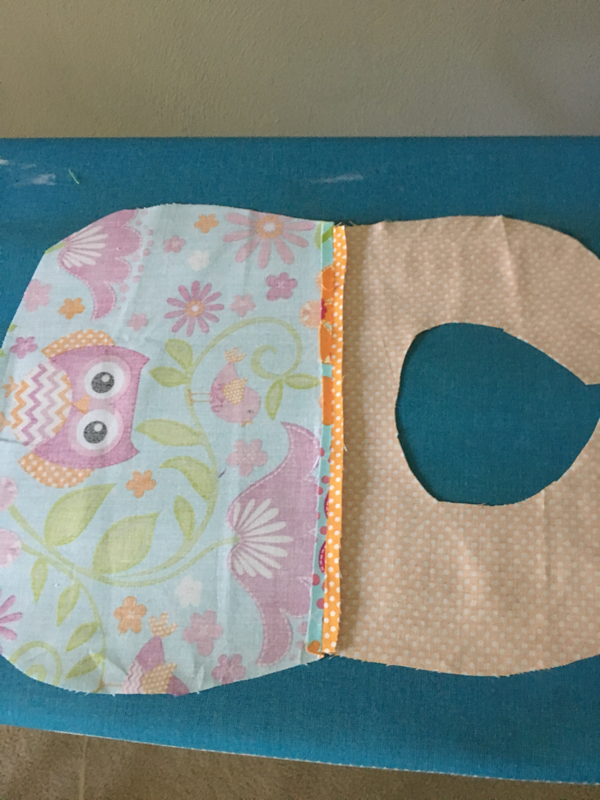
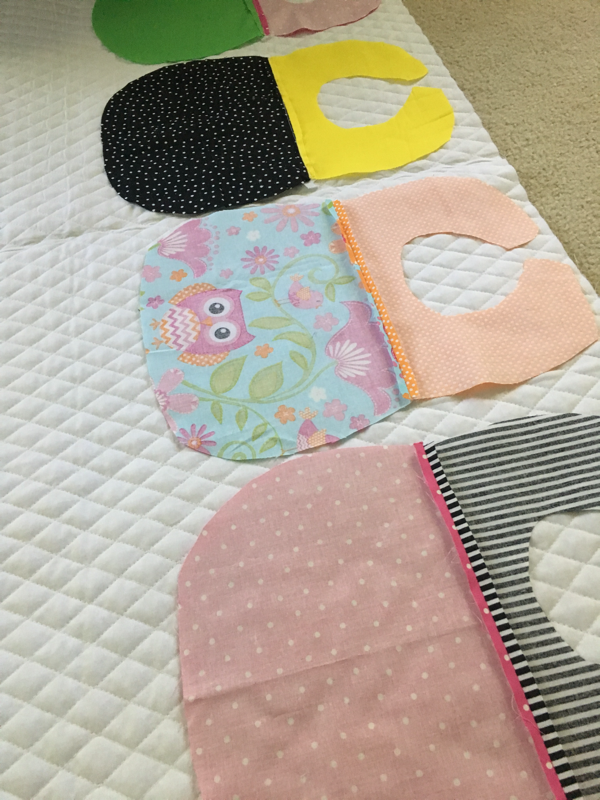
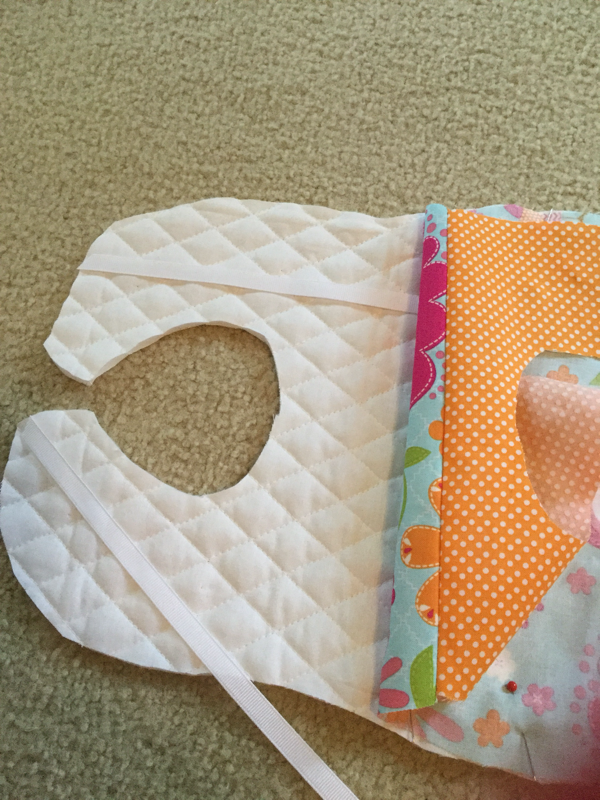
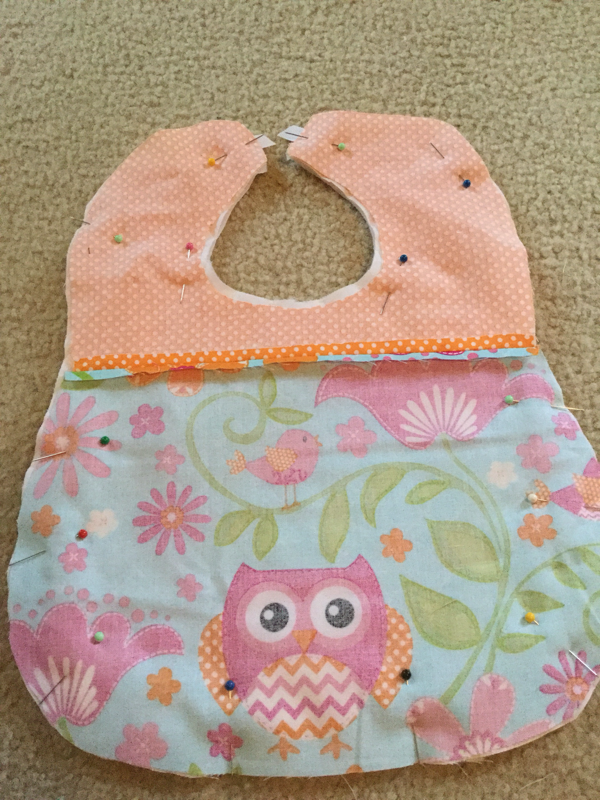
When one of your best friends is pregnant with a sweet baby girl, it's time to get out the swing machine! First up, baby bibs! They're so quick to make and require minimal fabric. If you're like me, you'll get addicted and want to make them all the time! For this project, you will need: 1/3 yard cotton material (I used 2 different fabrics from my scrap bin) 1/3 yard pre-quilted cotton material 24 inches gross grain ribbon (divided in half) coordinating thread 1. Start by making your pattern. I traced a bib I already had and cut it into two sections so I could use two different fabrics. 2. Pin your pattern to your fabric and cut. I typically use a pre-washed cotton material for this project. 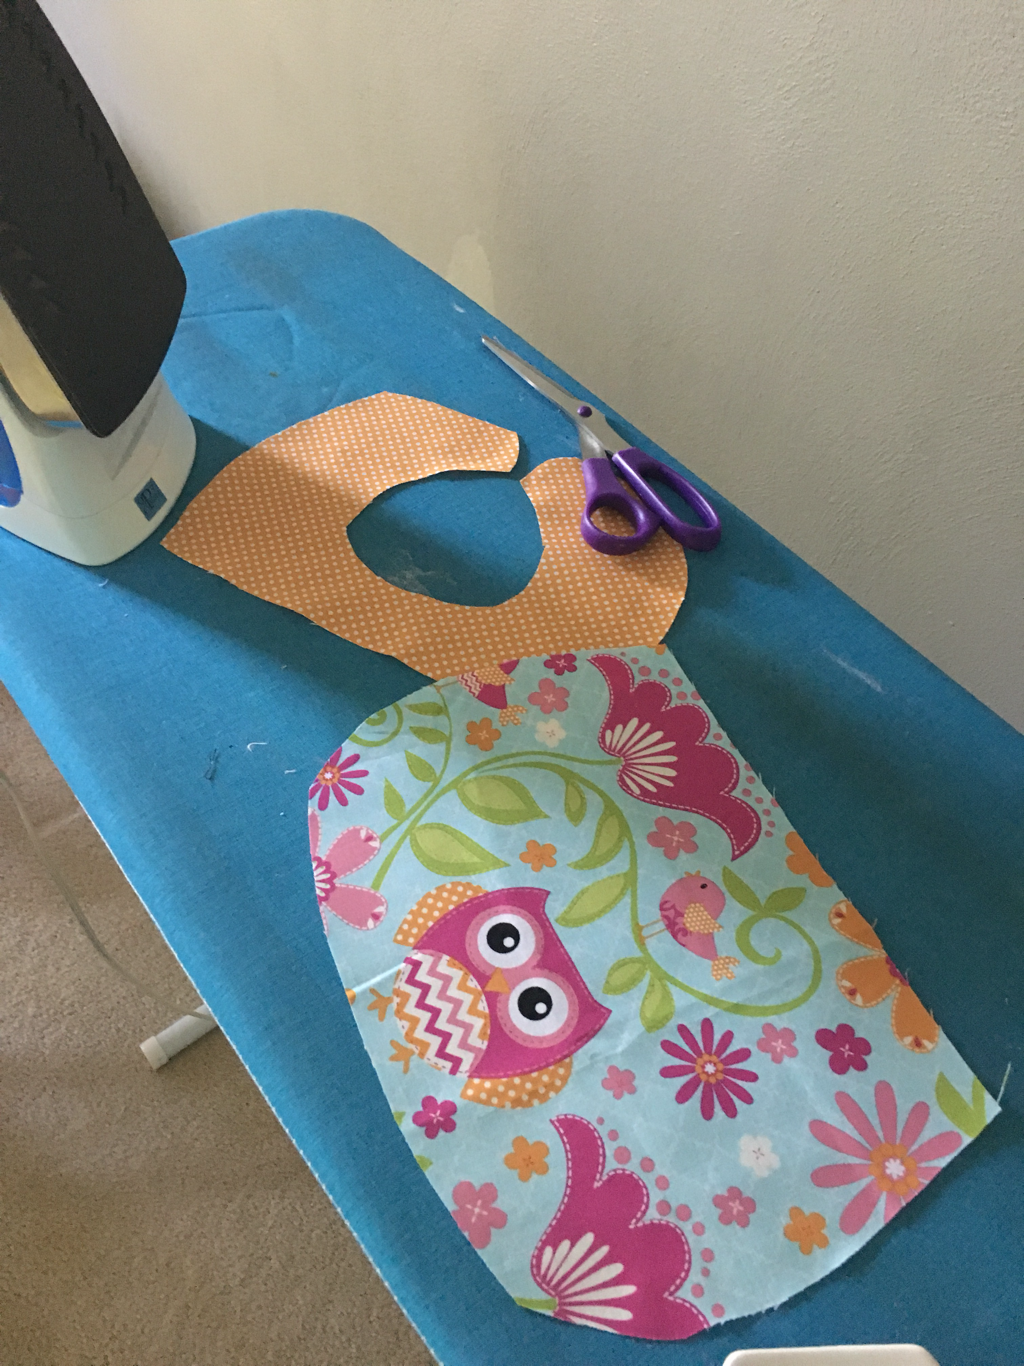 3. After unpinning your pattern, align the straight edges of the material right sides together. Pin and stitch the straight edge. 4. Press the seam open. 5. Place the front of the bib right sides together with your backing material, using the front as a pattern to cut out backing. For the back of the bib, I use a pre-quilted cotton that I purchased at JoAnn Fabrics. 6. After the backing is cut to the correct shape, cut 2 pieces of ribbon to desired length (I did 12 inches for each piece). The 2 fabrics should still be right sides together. Place the ribbon in-between the two layers and secure with a pin. Pin around the entire bib in preparation for stitching. 7. Stitch all around leaving a two inch opening for turning. 8. Trim the seam allowance and clip the curved edge. 9. Turn the bib right side out. 10. Press and pin the opening closed. Topstitch all the way around to finish the bib. 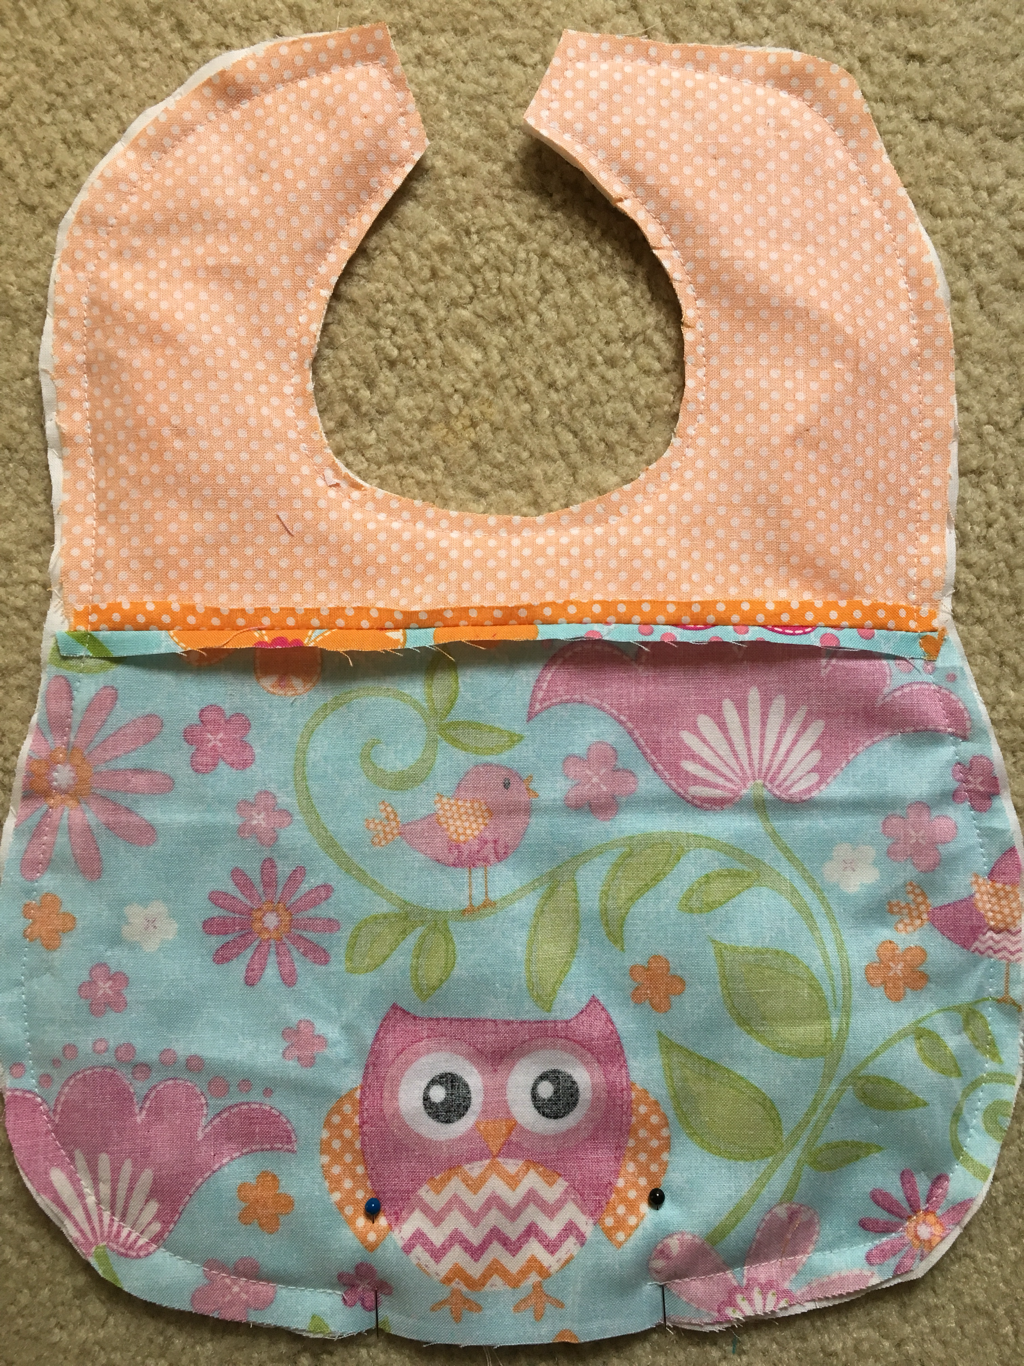 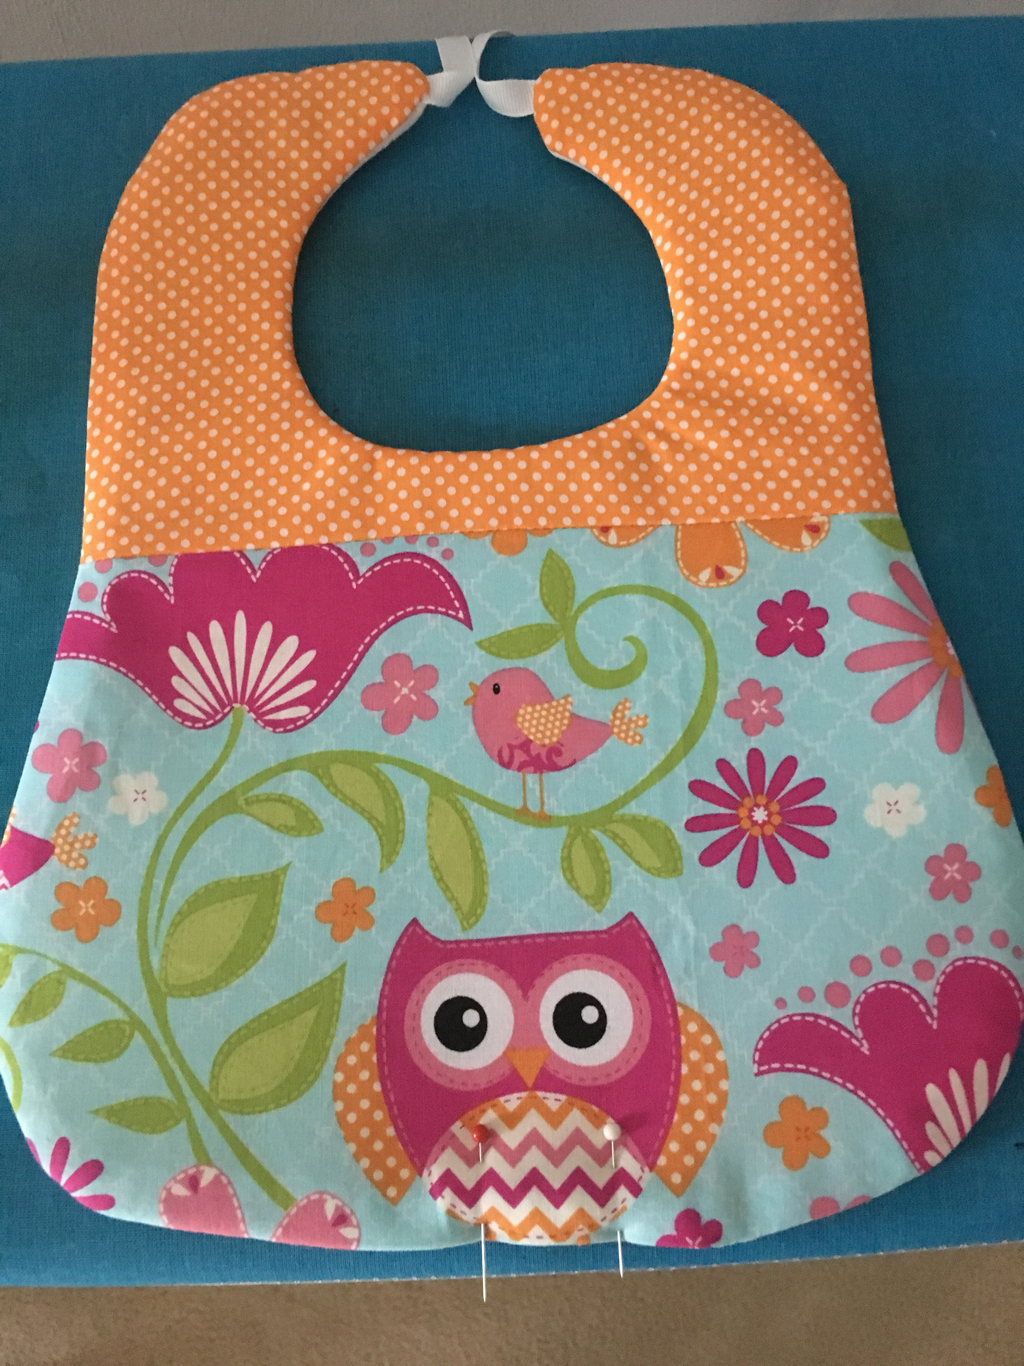 congratulations! Your bib is done! Do you need a burp cloth to match? Come back next week for the tutorial! 
6 Comments
|
Archives
April 2020
Categories
All
|
 RSS Feed
