|
At the beginning of each semester, I always ask my culinary students for menu ideas that they would like to learn to prepare. Much to my surprise, cauliflower pizza crust was high on the list for many students this year. Several students were interested in learning about some healthier choices and many students have allergies in their family. As usual, I was met with a little hesitation when I announced the recipe for the week but many students found that they actually liked the end result. While cauliflower crust doesn't taste EXACTLY like pizza crust, its a lower carb option and perfect for gluten free meals. Check out the instructions below: Cauliflower Pizza Crust 1 bag frozen, riced cauliflower (12oz) - thawed in the refrigerator 1 cup shredded mozzarella cheese 2 tbsp grated parmesan cheese 1 egg ½ tsp salt ½ tsp Italian seasoning ¼ tsp pepper ¼ tsp garlic powder Toppings for pizza
Let cool. Once cooled, you can start with step 1. 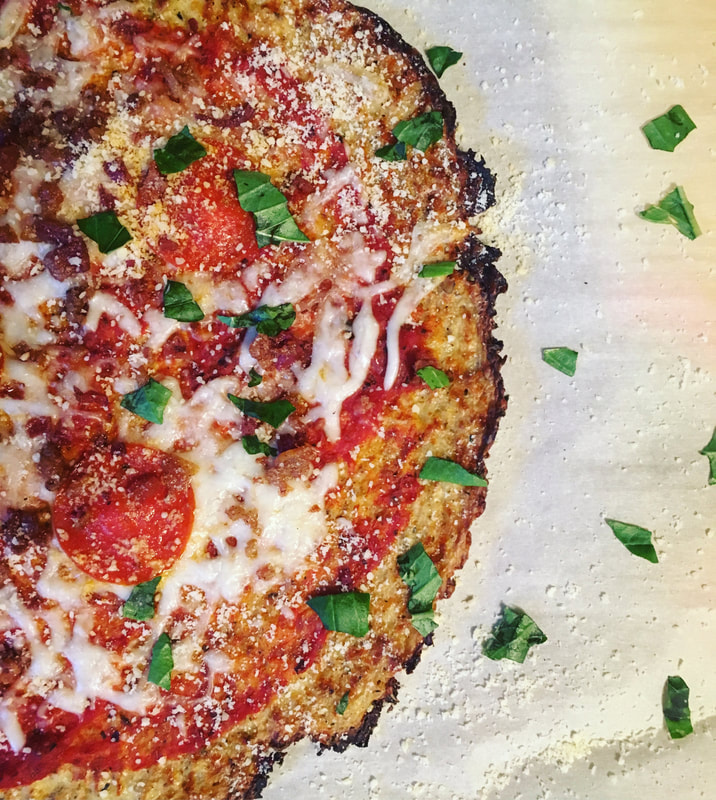
0 Comments
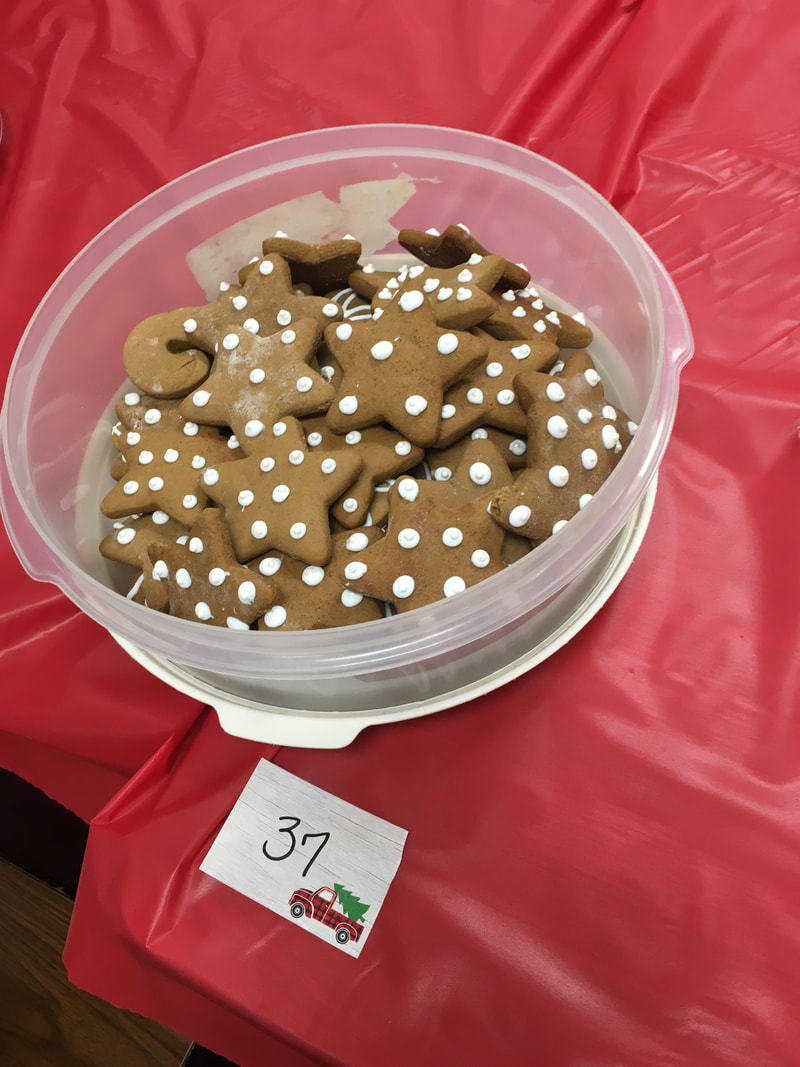
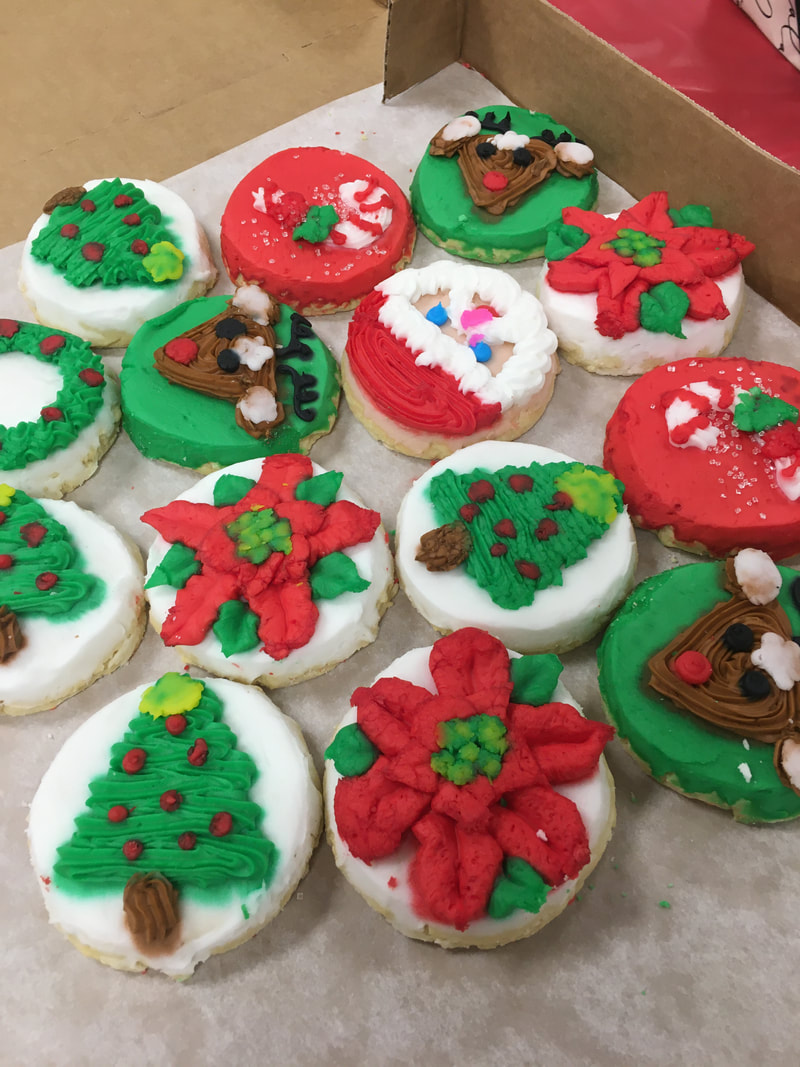
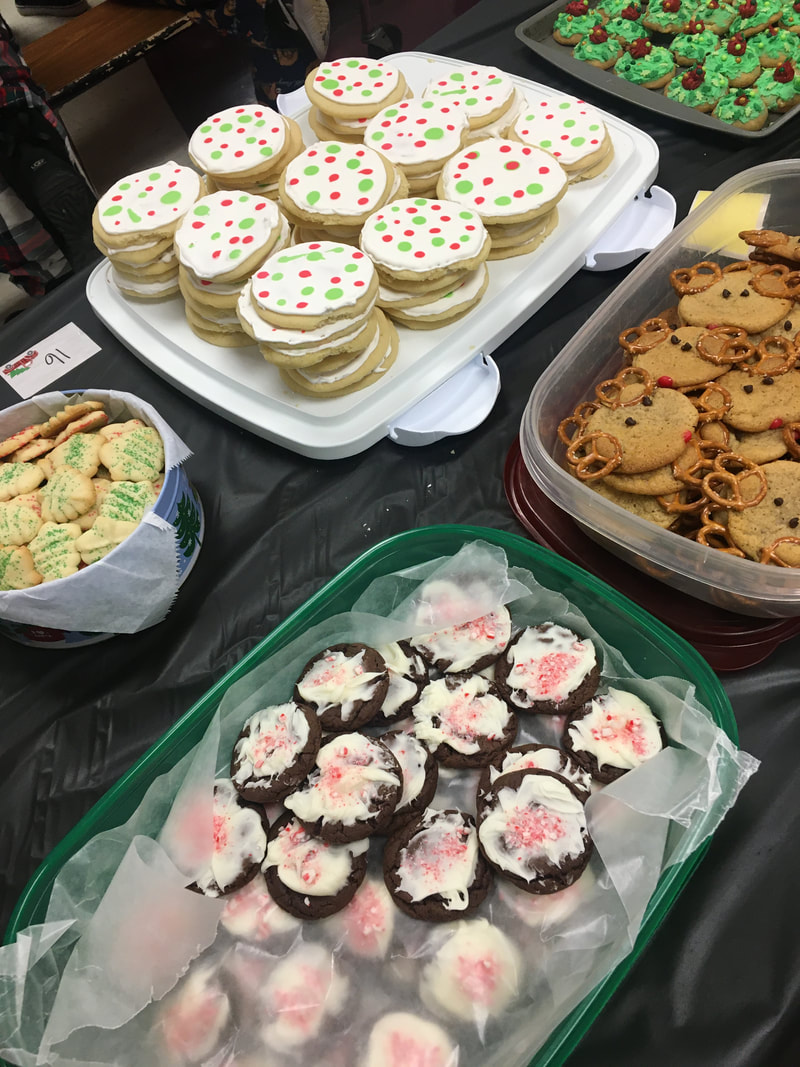
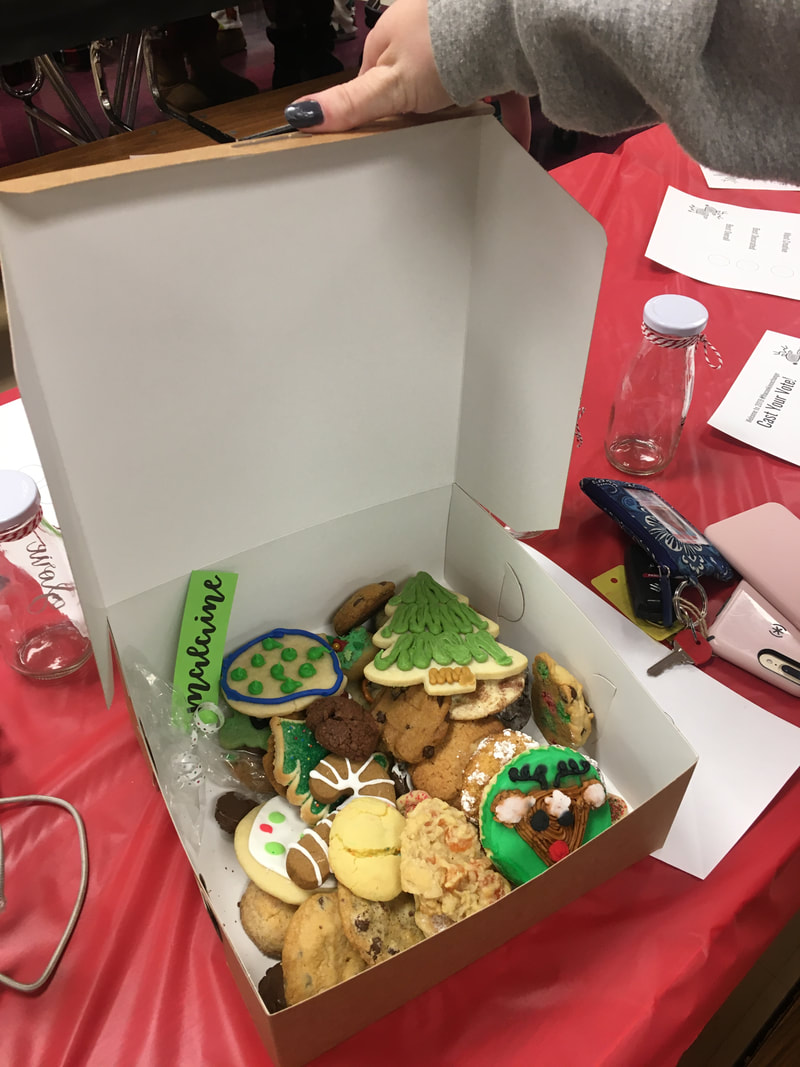
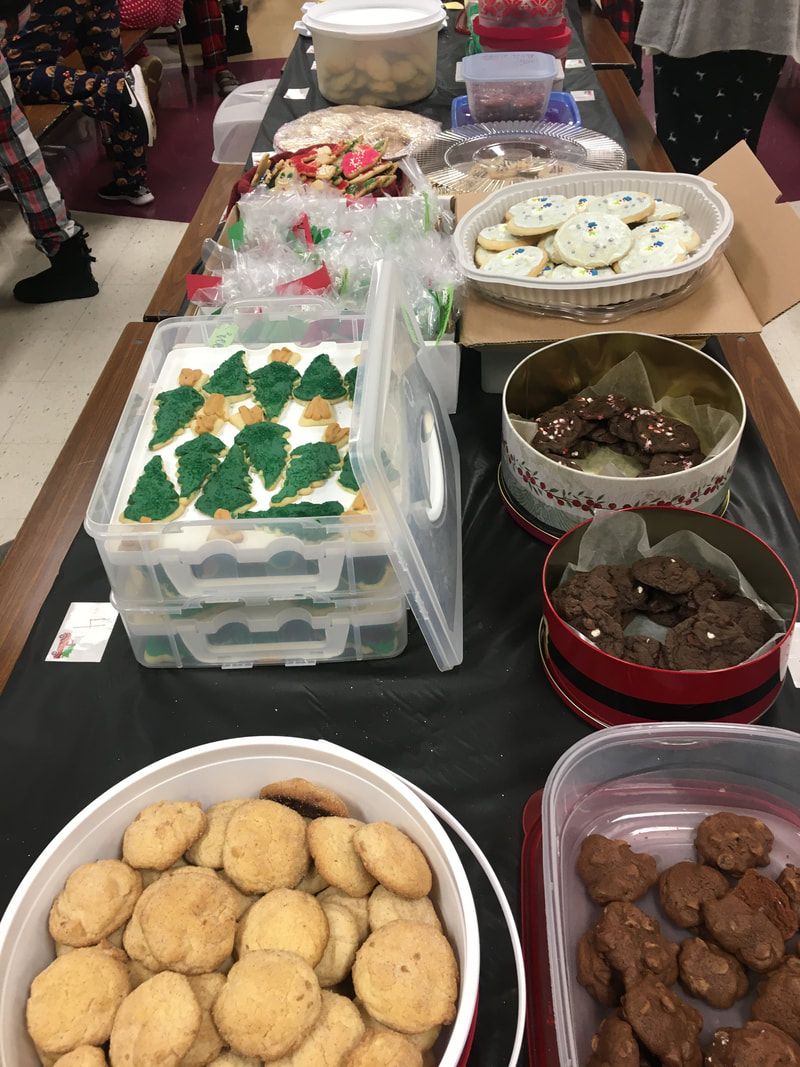
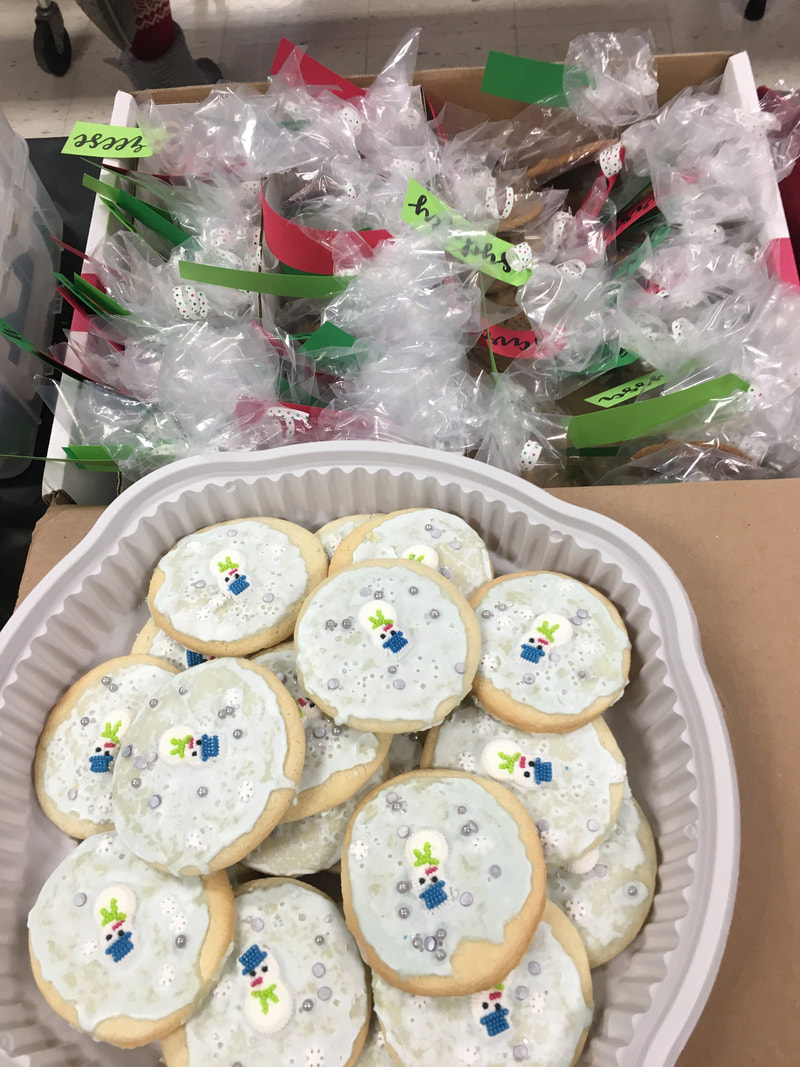
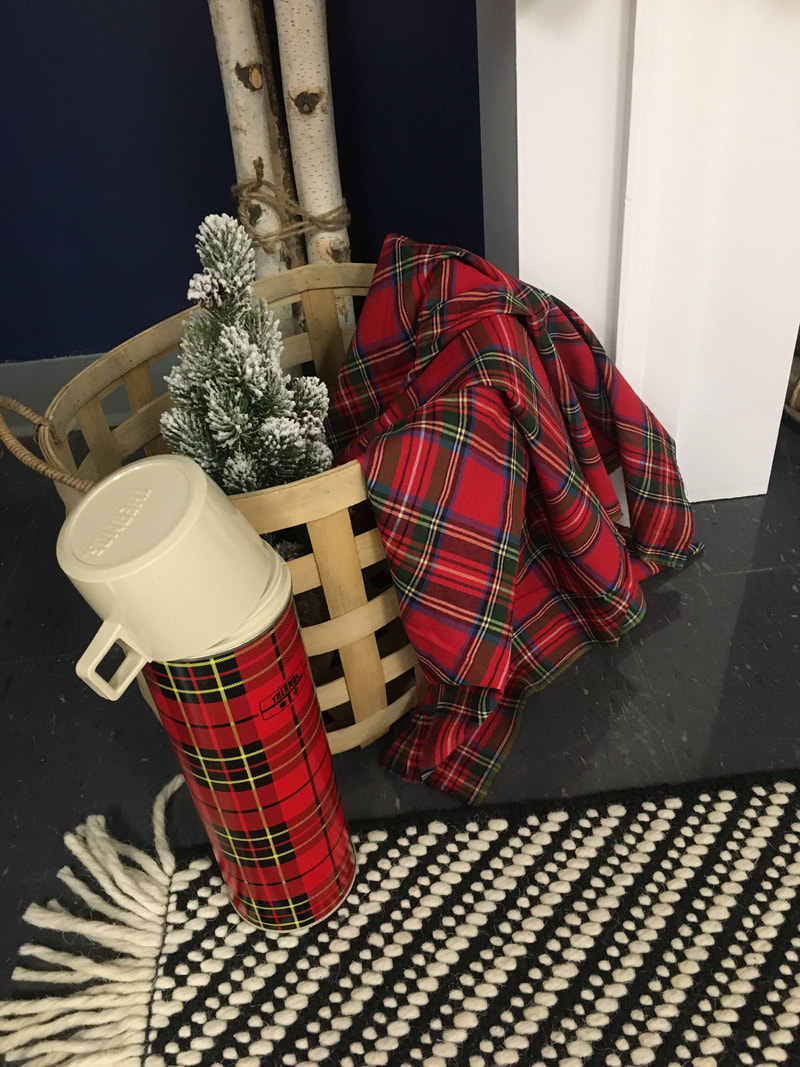
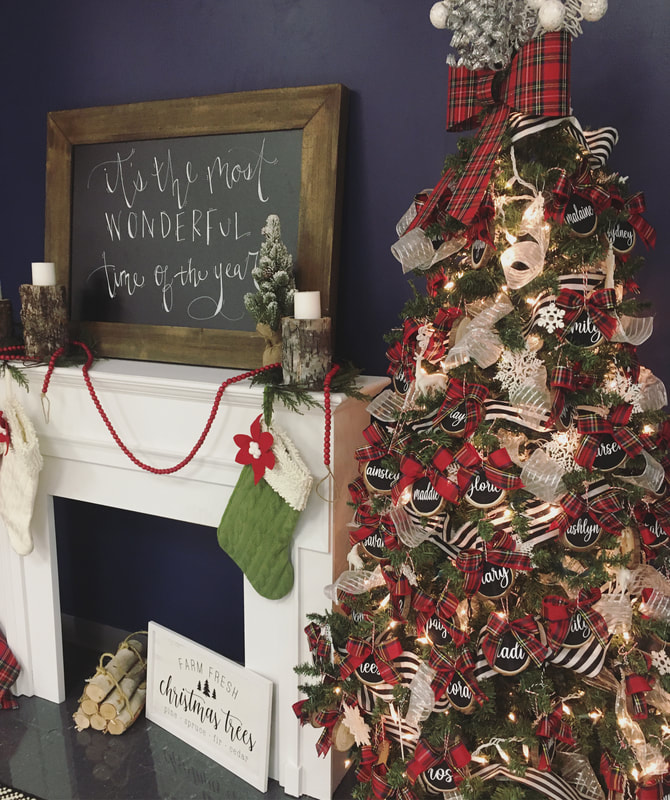
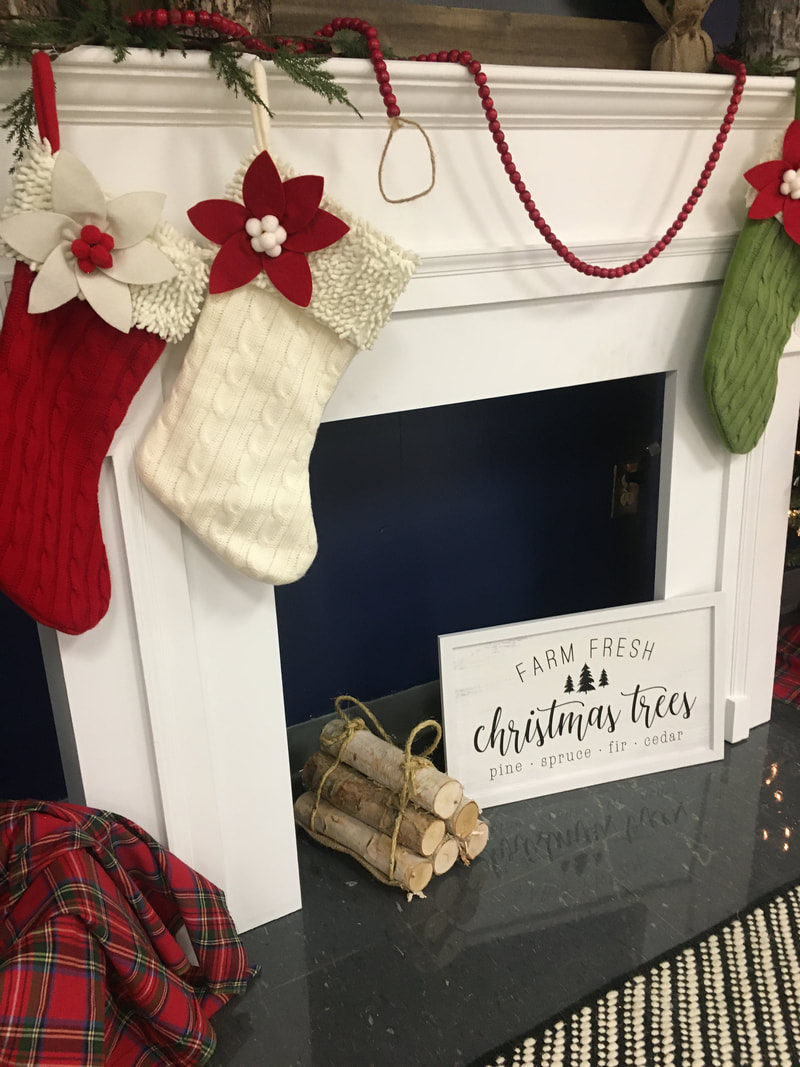
Happy holidays, sweet friends! It's my favorite time of the year and it's time for some details on my favorite holiday event! A few weeks ago I hosted our annual cookie exchange for my FHA club members; if you know me, you know I prepare for this party all year. I have so much fun planning the menu, making decorations, and setting up for our event. Our theme for this years cookie exchange was merry and cozy. Our guests were encouraged to wear their favorite cozy Christmas pajamas and were treated to warm soups with all the toppings for dinner. For dinner, I made large batches of potato soup and taco chili - the potato soup is a recipe I teach in class and is always a favorite and the taco chili is one of my favorite winter dinners to make at home. Details on both of those recipes are coming soon! I decided to make a soup toppings board so everyone could dress up their individual bowls. I picked up a variety of crackers at Aldi - they have such a big selection and are so reasonable in price. I also added chopped green onions, bacon bits, sour cream, and a lot of shredded cheese to top our soups. I arranged our toppings on my large serving tray that I made over the summer. Details on that can be found here. 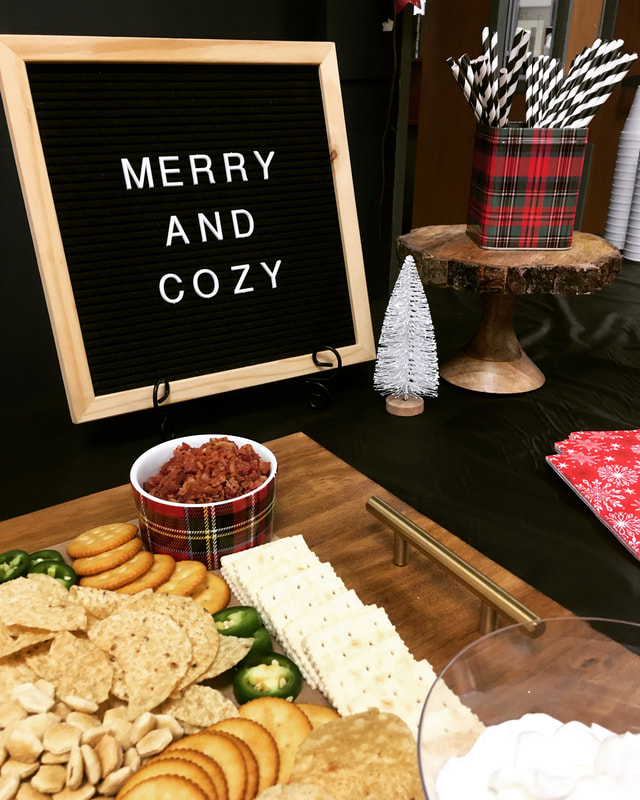 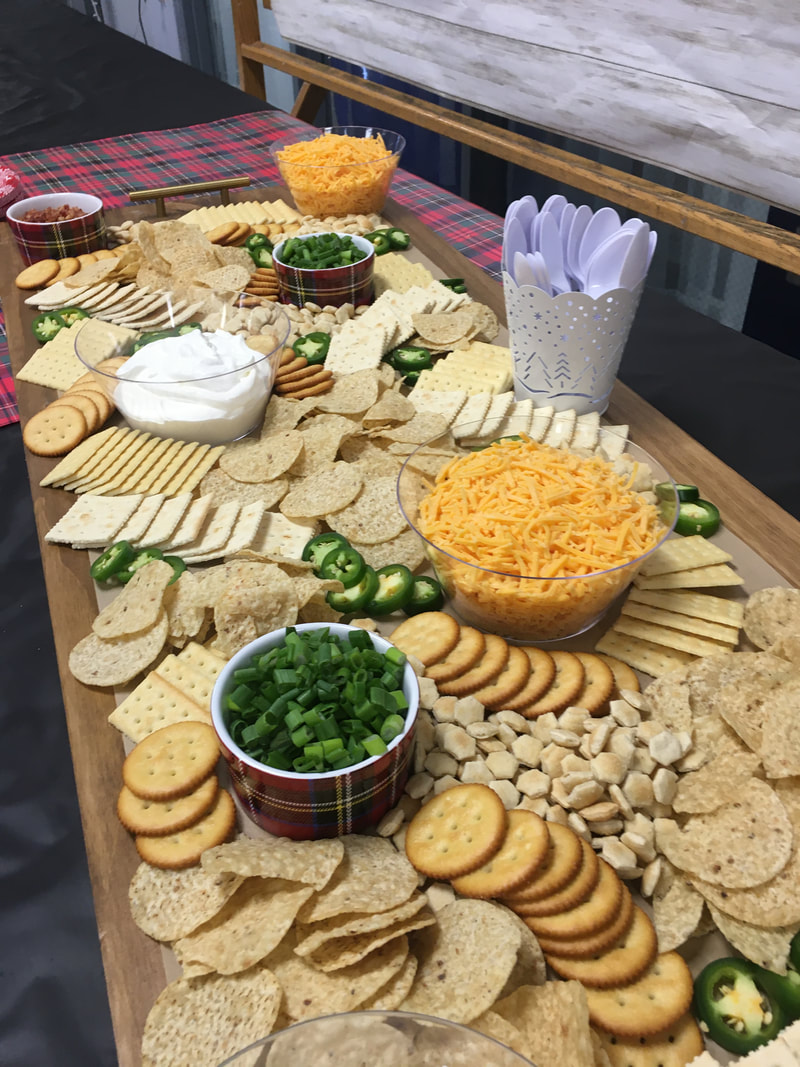 For our serving table backdrop, I covered a large dry erase board in my favorite shiplap bulletin board paper which you can find at Hobby Lobby. I also cut some large letters on the silhouette and draped the top with cookie cutters. Such an easy project and it covered the bare walls of our cafeteria perfectly! 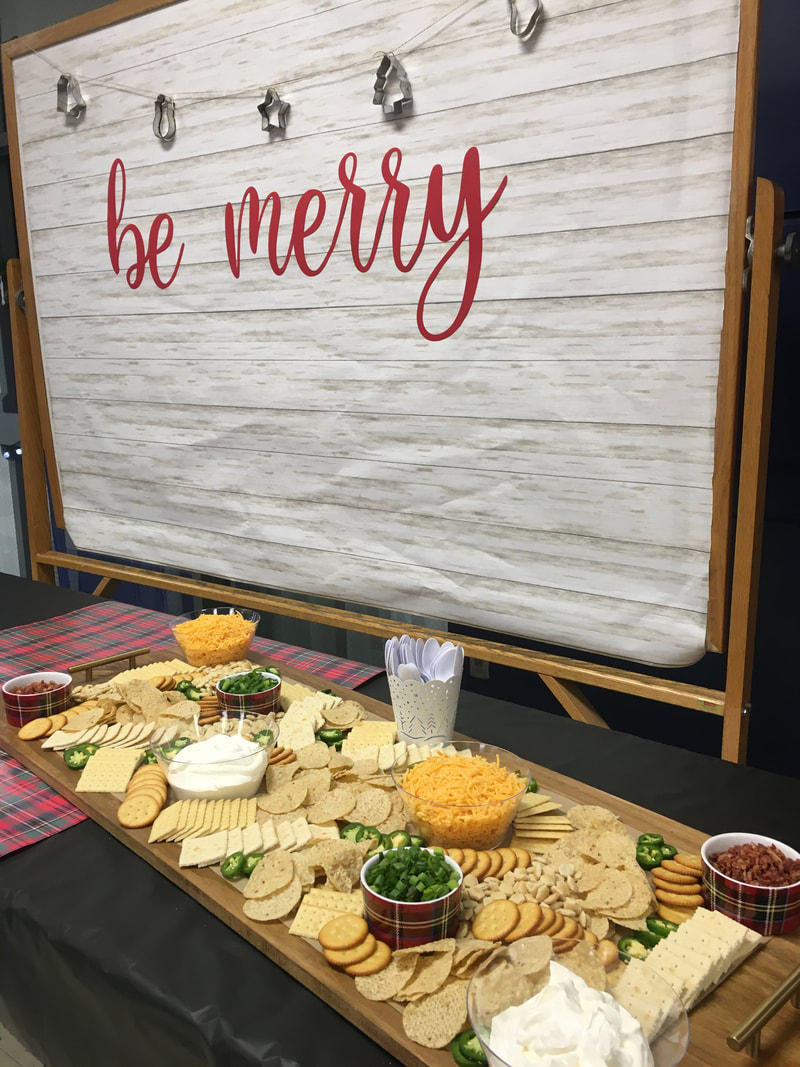 For the cookie exchange portion of our party, each student brings 50 cookies of their choice (one for each person). We have a sign-up sheet so that we don't repeat the same cookie multiple times. I would also suggest having something for your guests to carry their cookies home in. I use these bakery boxes but depending on the size of your party, small treat bags or boxes would also work well. For a little extra fun I always decorate the boxes. This year I used a strip of plaid wrapping paper and a small Christmas tree labeled with each guests' name. 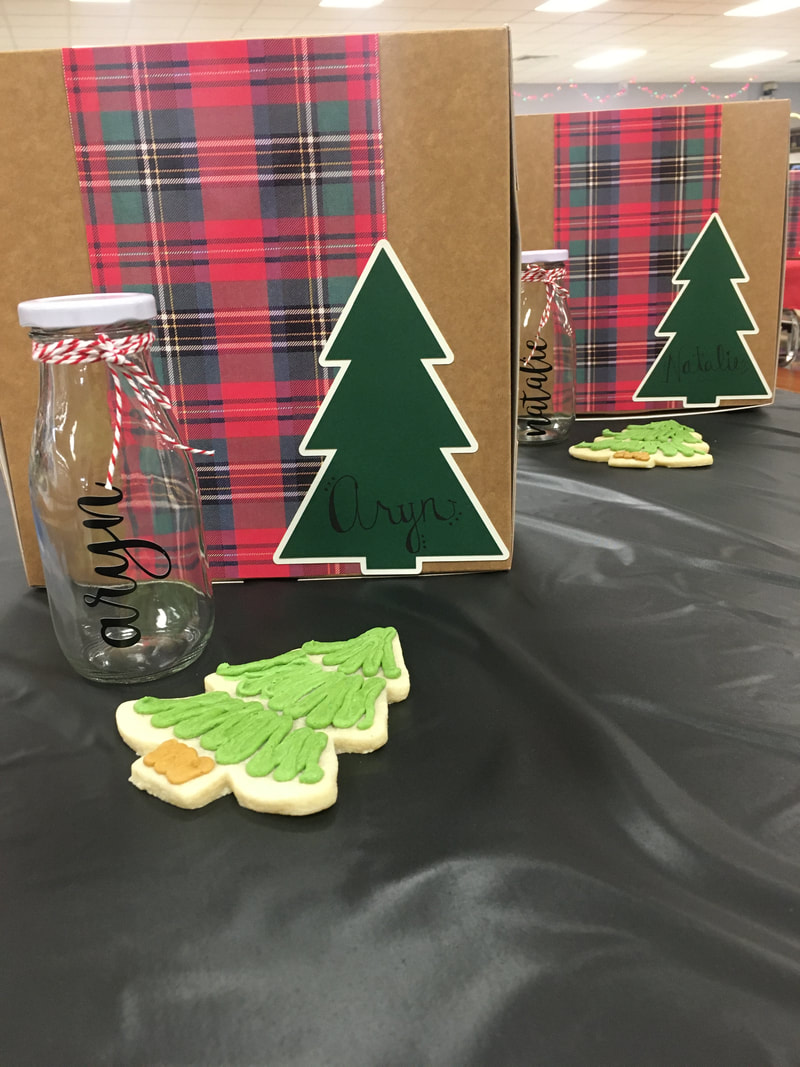 The bakery boxes make it so easy for each person to go through the line and pick up one of each cookie. We also number each cookie to make voting for our prizes much easier. Our winners this year each went home with a movie night basket full of popcorn, candies, and a gift card for movie rentals. Check out how delicious our cookies turned out! And what holiday cookie exchange is complete without a photo backdrop? This year I created this cozy winter scene using a mantle that I purchased second-hand and refinished. Our Christmas tree was decorated with ornaments that I made for each guest. The wood slices were purchased on Amazon. I painted them black, added names using adhesive vinyl, and a big bow on top using ribbon from Hobby Lobby. Didn't it turn out wonderful? 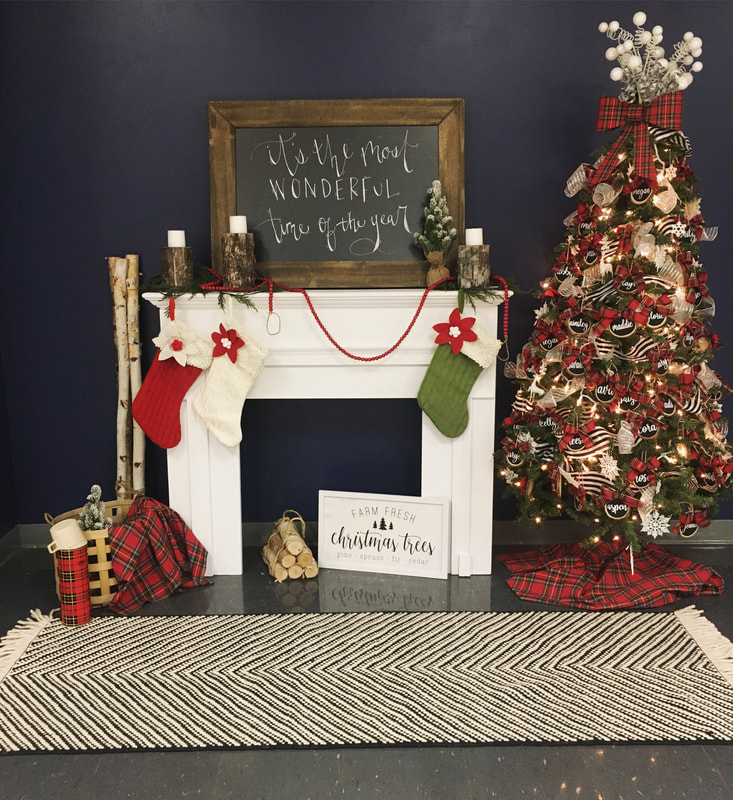 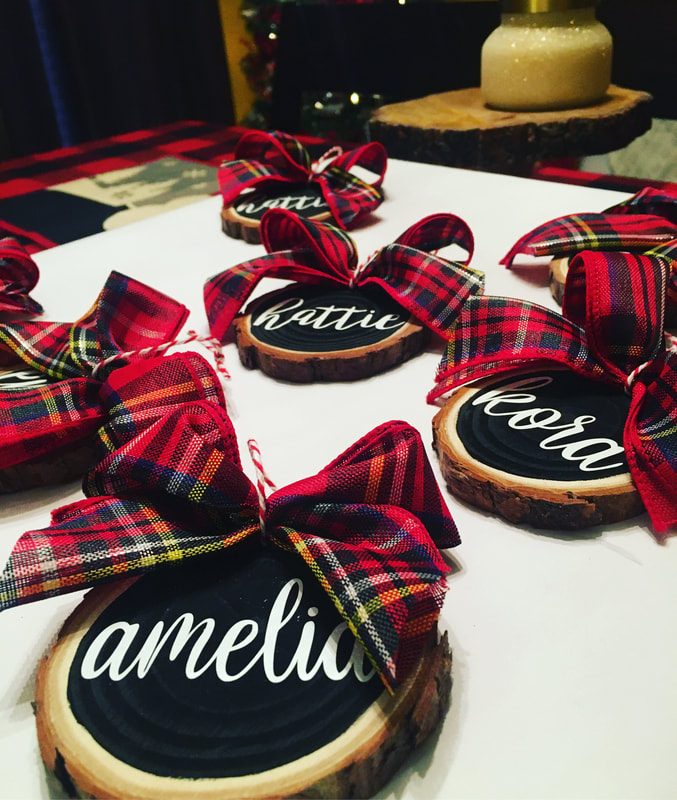 Happy holidays from our little family of friends to yours! 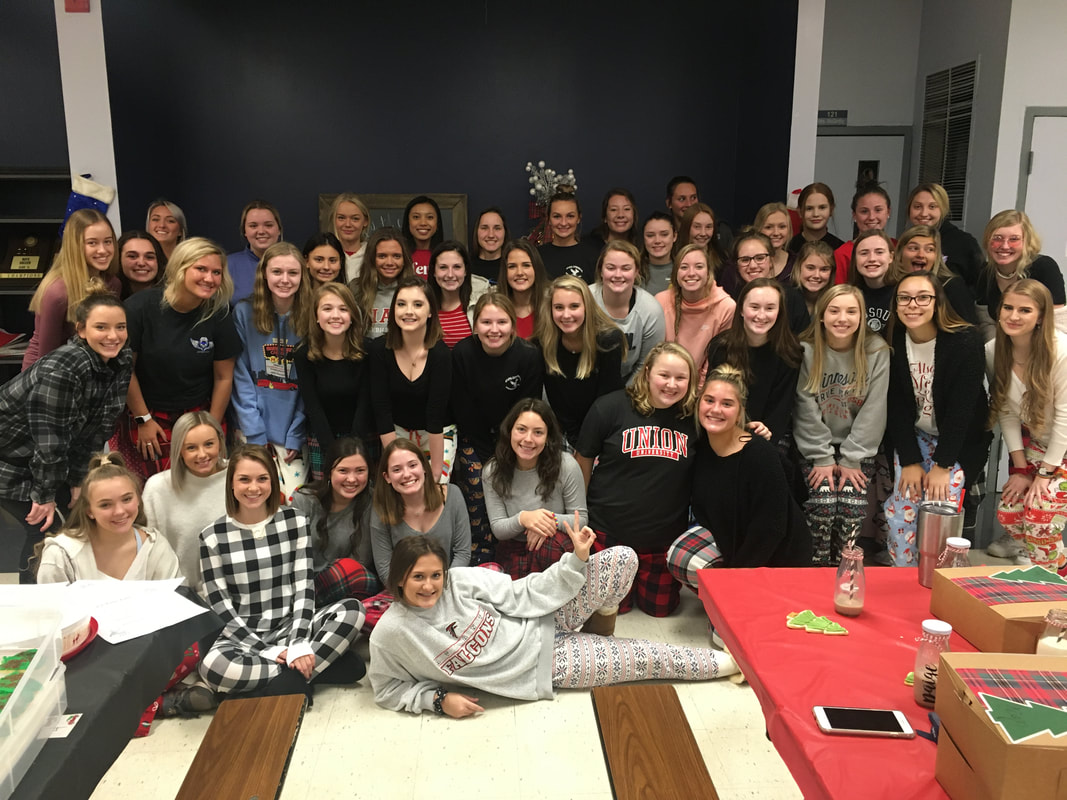 |
Archives
April 2020
Categories
All
|


 RSS Feed
