|
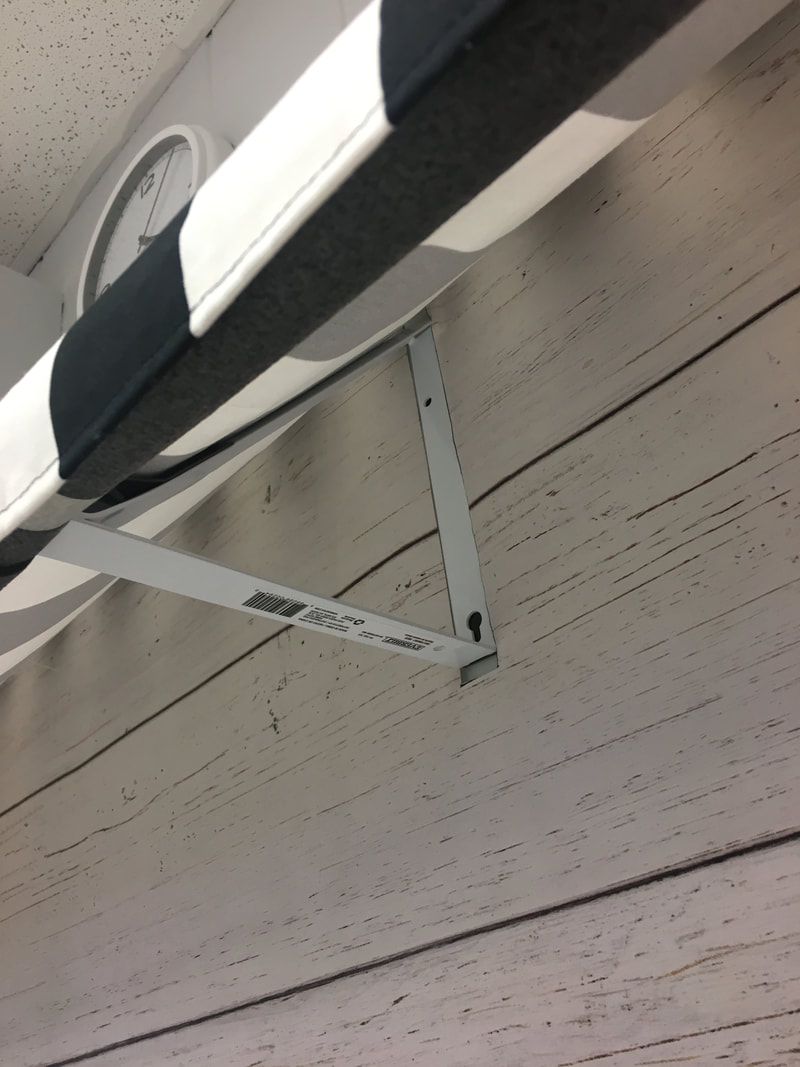
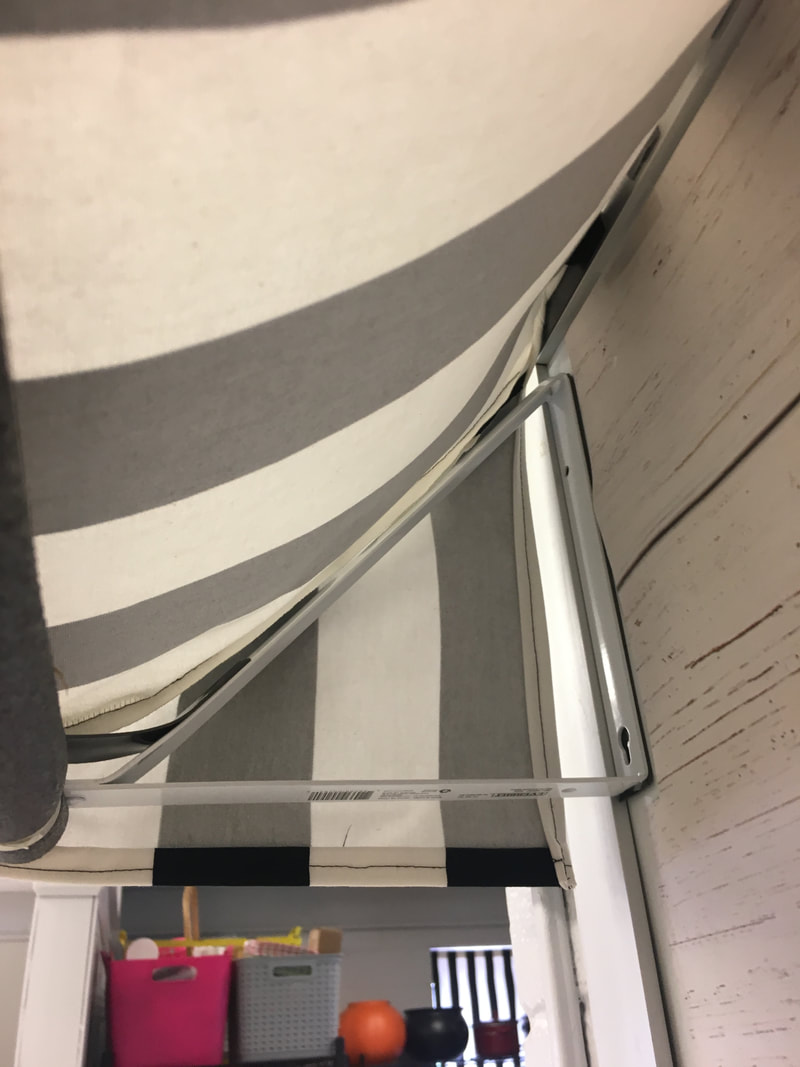
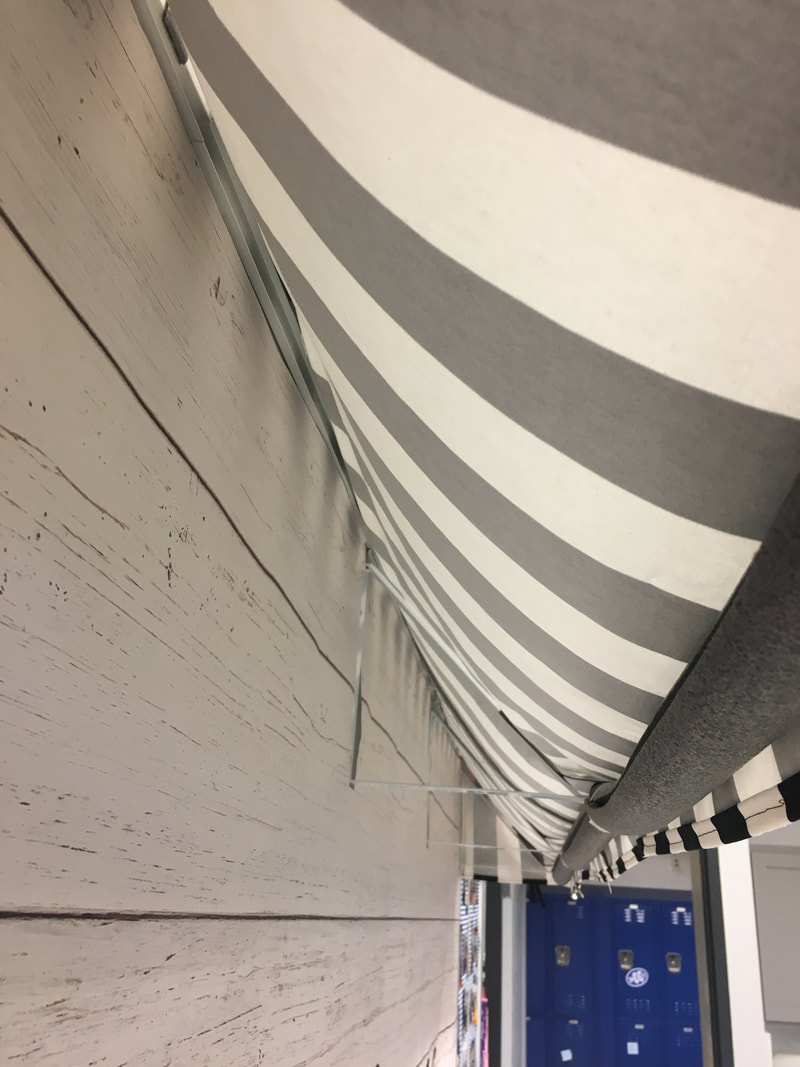
I have a dry erase board in my classroom kitchen that rarely gets used. It’s basically a giant white space that occasionally gets written on when students get ahold of a marker. Last summer I started thinking: if my classroom is getting a transformation, shouldn’t my dry erase board get a facelift too? I considered many options for the blank space including banners, garlands, and paper flowers but nothing really seemed to fit in the updated space. I had a moment of brilliance in the middle of Hobby Lobby and the awning idea was born. I was inspired by visions of sweet little French patisseries adorned with black and white stripes. It took a little planning but was actually very easy to put together! Supplies needed: 3-4 closet shelf brackets (depending on the length of your space. I used 4) fabric or paper of your choice mounting tape or screws to attach brackets to the wall (I used gorilla tape since this was going on my dry erase board) pvc pipe/insulation pipe/dowel rod - Any will work to support and create the correct shape. 1. Measure the length of your space. Add 1-2 inches to accommodate seam allowance. 2. I decided to have an awning with a length of 16 inches. My brackets were 14 inches tall. 3. Cut the fabric the length and width desired. To make the panels for the sides, I used the bracket as a diagram. Cut the triangle slightly larger that the bracket in order to have room for the seam allowances. 4. Attach the side panels to the main portion of the fabric. I placed mine right sides together and stitched. I aligned the side of the fabric with the long edge of the side panel. 5. I also hemmed all edges of the fabric for a finished look. If you are using paper, you can staple or glue paper to attach and finish edges. 6. To attach the awning, I taped the brackets to my dry erase board placing 1 on each end and 2 in the center of each half for additional support. 7. The fabric awning is taped directly to the dry erase board and rests against the brackets. 8. In order to create the correct "rolled edge" shape, I used a pipe insulator. It rests against the brackets and fabric and creates the appropriate shape. 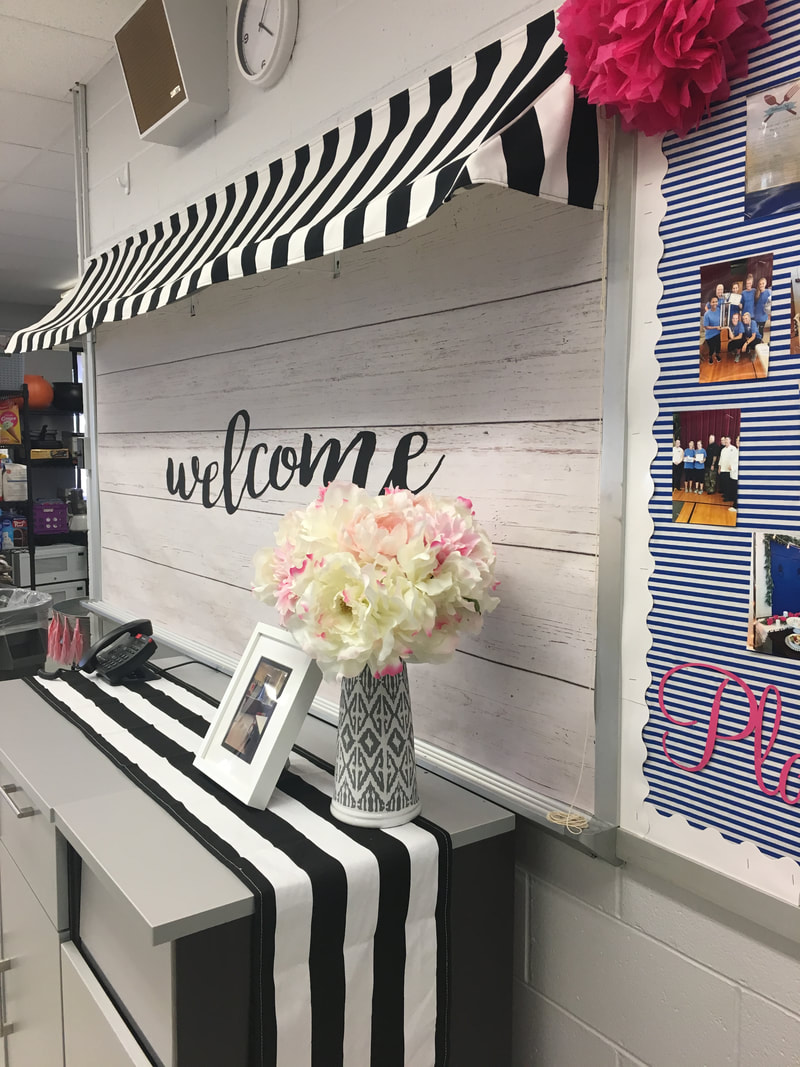 How easy was that? I'm so excited that it made such a big impact with a little price tag. Have you made your own classroom awning? Share your photos below!
3 Comments
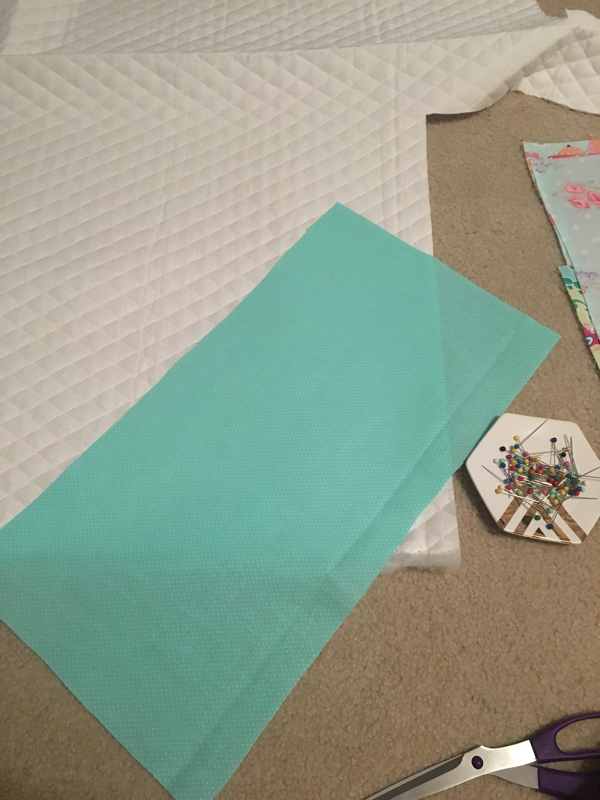
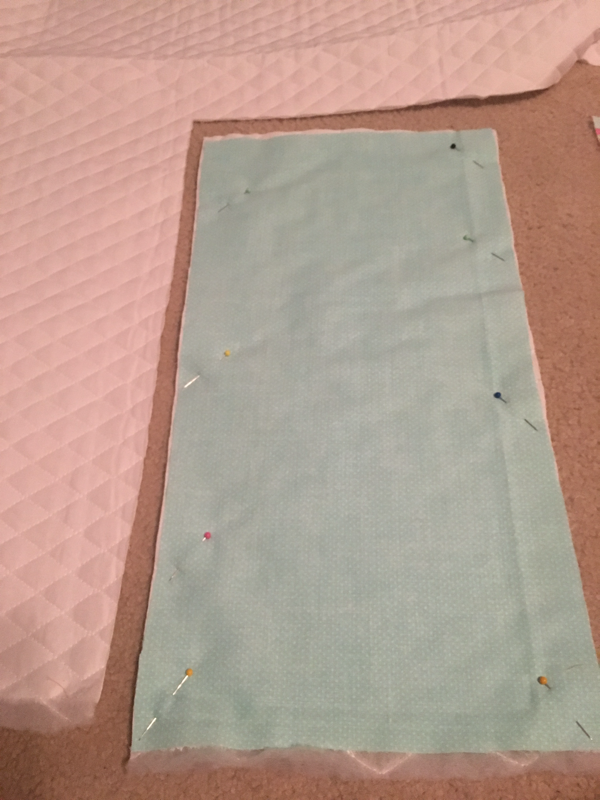
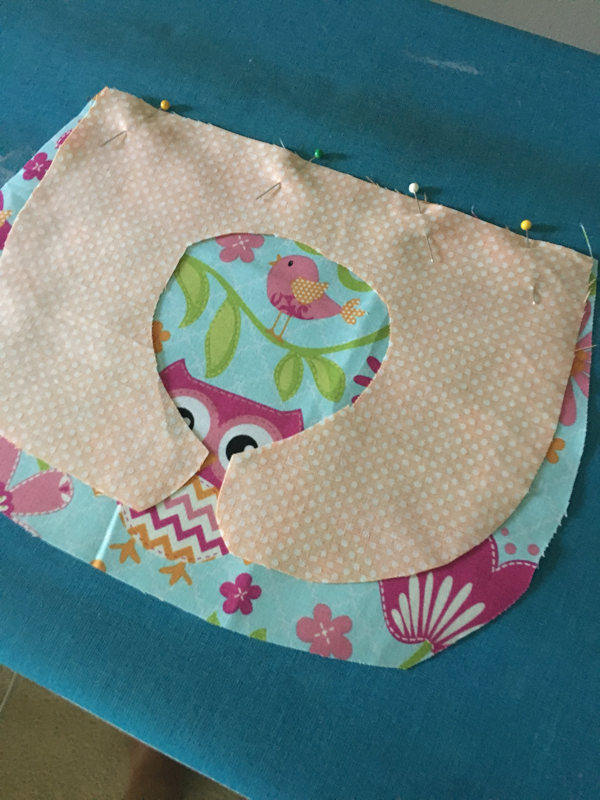
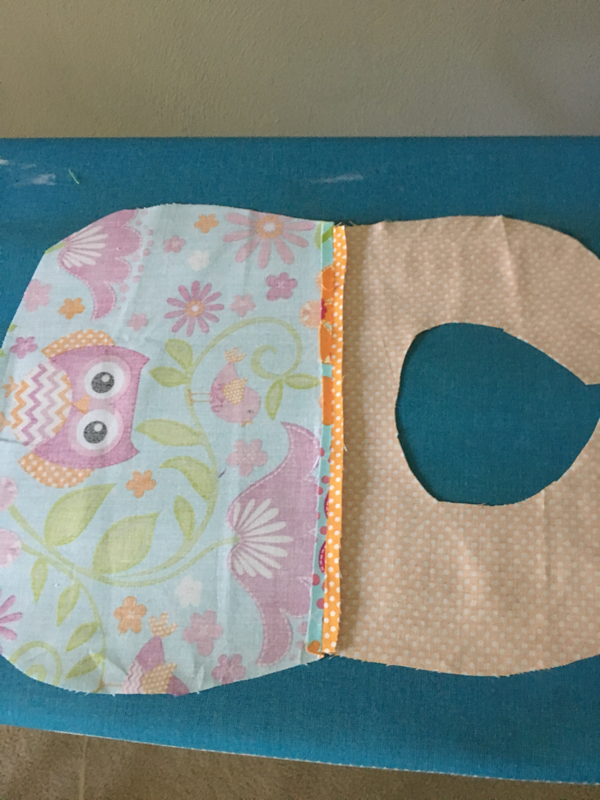
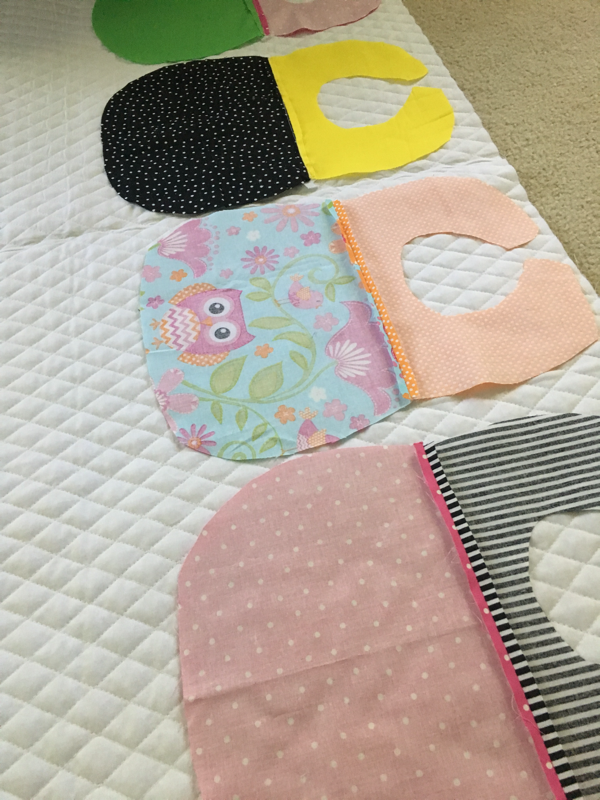
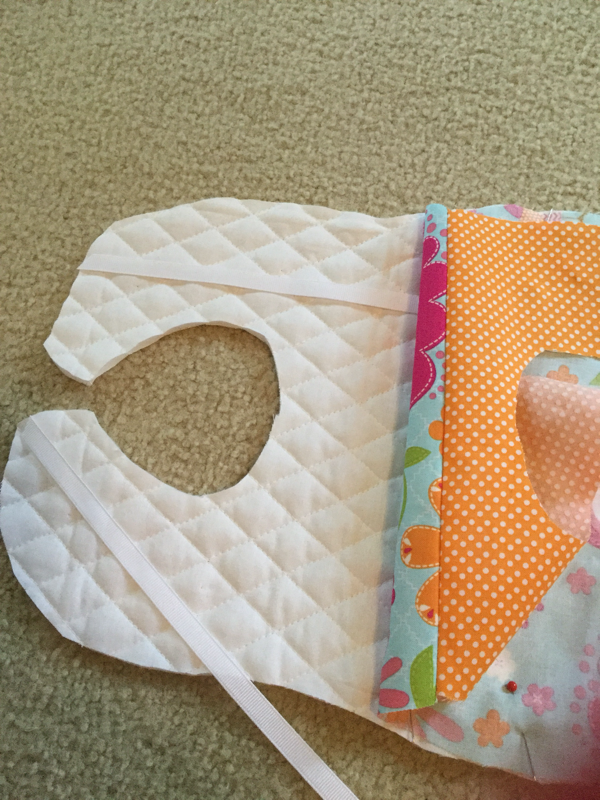
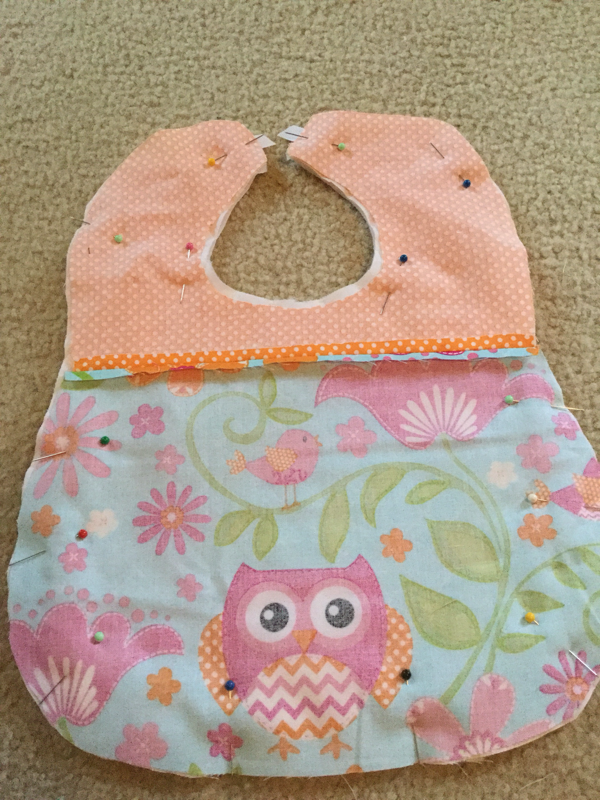
Remember those sweet little baby bibs we made a few weeks ago?? Do you need a burp cloth to match? If so, this tutorial is for you! Materials needed: pre-washed cotton fabric (cut to 10"x 18") backing material - I used the same pre quilted material I used for the bibs ( cut to 10"x 18") thread, scissors, sewing machine, and an iron 1. Begin by cutting your front and back material to the correct size. 2. Place the two materials right sides together and pin all around the perimeter. 3. Stitch all around the edge leaving a 2"-3" opening for turning right side out. 4. Trim the excess material on the edges and clip the corners. 5. Turn the burpcloth right side out and press making sure to press the opening closed. Top stitch the entire edge and press one last time. You're all finished! This is such a quick and easy project to complete. Combine it with a baby bib from part 1 and it also makes the sweetest little baby gift! 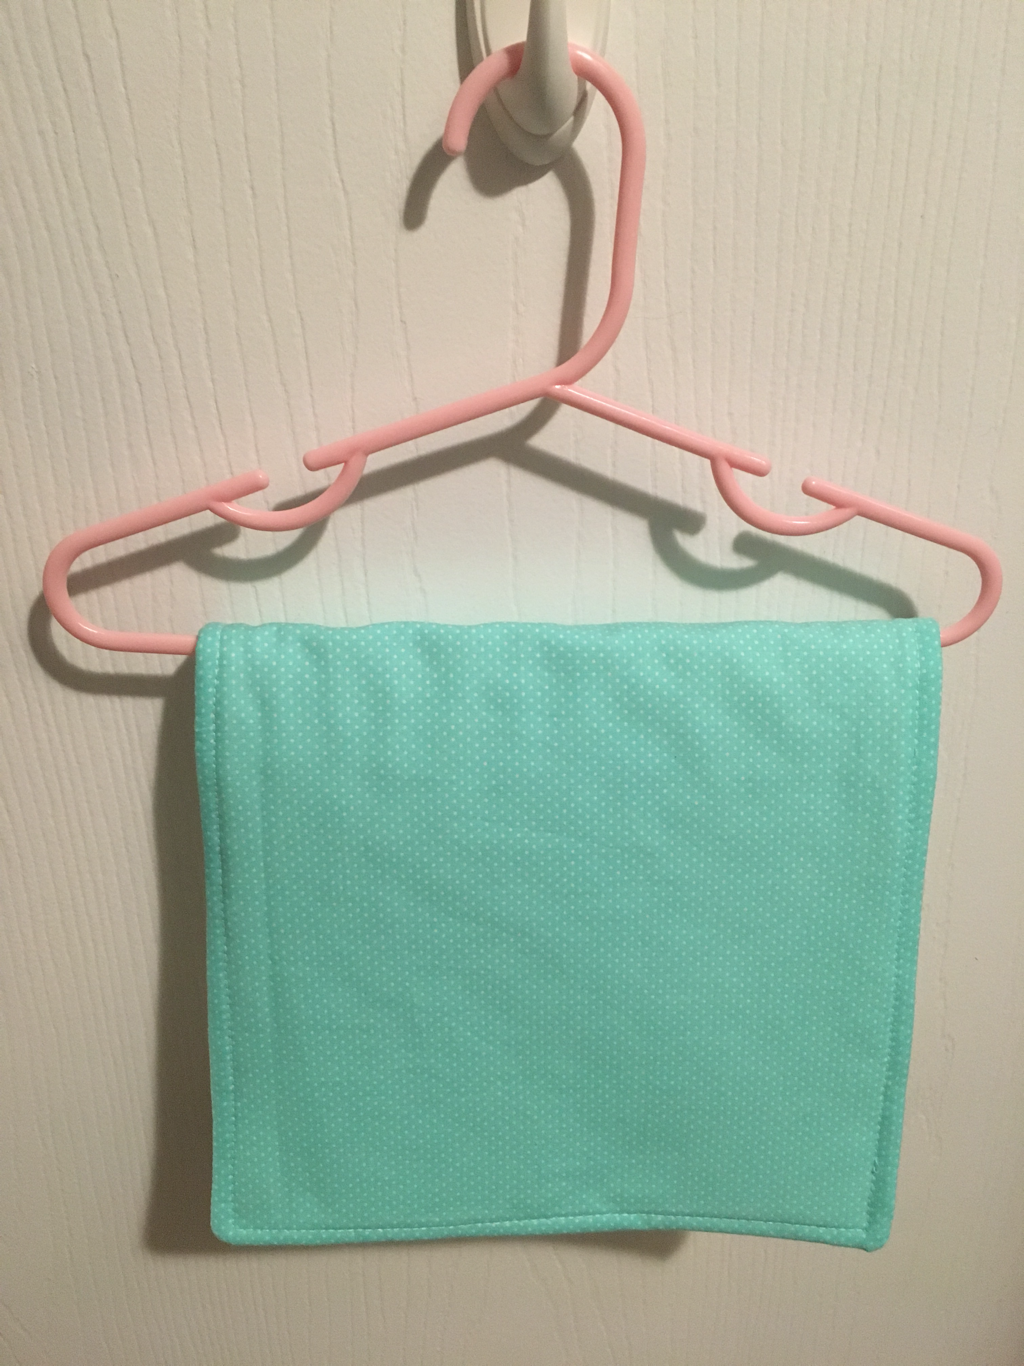 When one of your best friends is pregnant with a sweet baby girl, it's time to get out the swing machine! First up, baby bibs! They're so quick to make and require minimal fabric. If you're like me, you'll get addicted and want to make them all the time! For this project, you will need: 1/3 yard cotton material (I used 2 different fabrics from my scrap bin) 1/3 yard pre-quilted cotton material 24 inches gross grain ribbon (divided in half) coordinating thread 1. Start by making your pattern. I traced a bib I already had and cut it into two sections so I could use two different fabrics. 2. Pin your pattern to your fabric and cut. I typically use a pre-washed cotton material for this project. 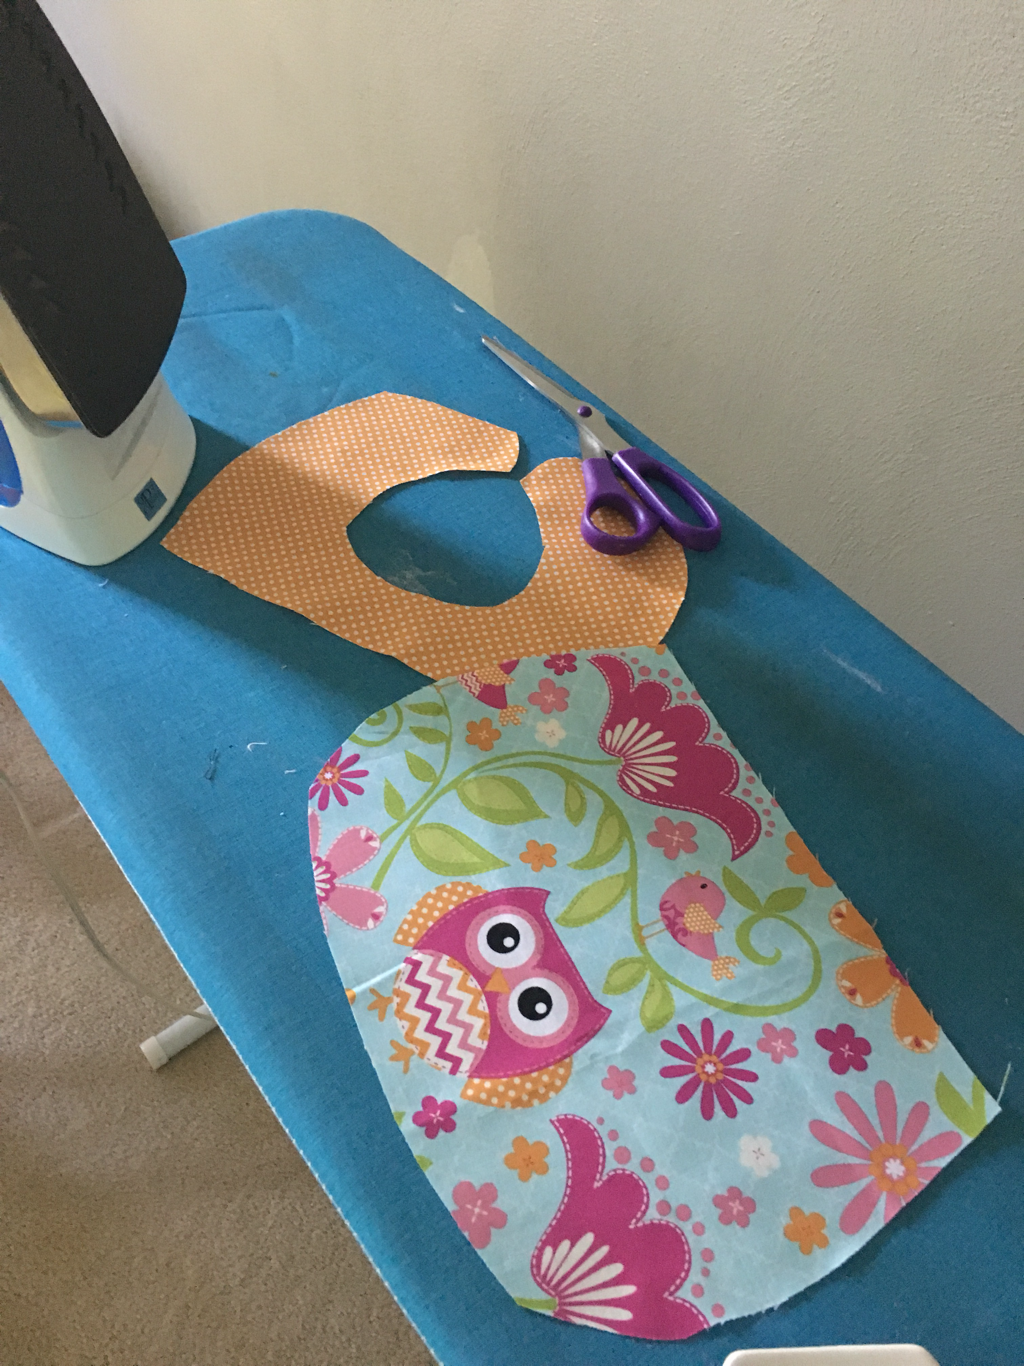 3. After unpinning your pattern, align the straight edges of the material right sides together. Pin and stitch the straight edge. 4. Press the seam open. 5. Place the front of the bib right sides together with your backing material, using the front as a pattern to cut out backing. For the back of the bib, I use a pre-quilted cotton that I purchased at JoAnn Fabrics. 6. After the backing is cut to the correct shape, cut 2 pieces of ribbon to desired length (I did 12 inches for each piece). The 2 fabrics should still be right sides together. Place the ribbon in-between the two layers and secure with a pin. Pin around the entire bib in preparation for stitching. 7. Stitch all around leaving a two inch opening for turning. 8. Trim the seam allowance and clip the curved edge. 9. Turn the bib right side out. 10. Press and pin the opening closed. Topstitch all the way around to finish the bib. 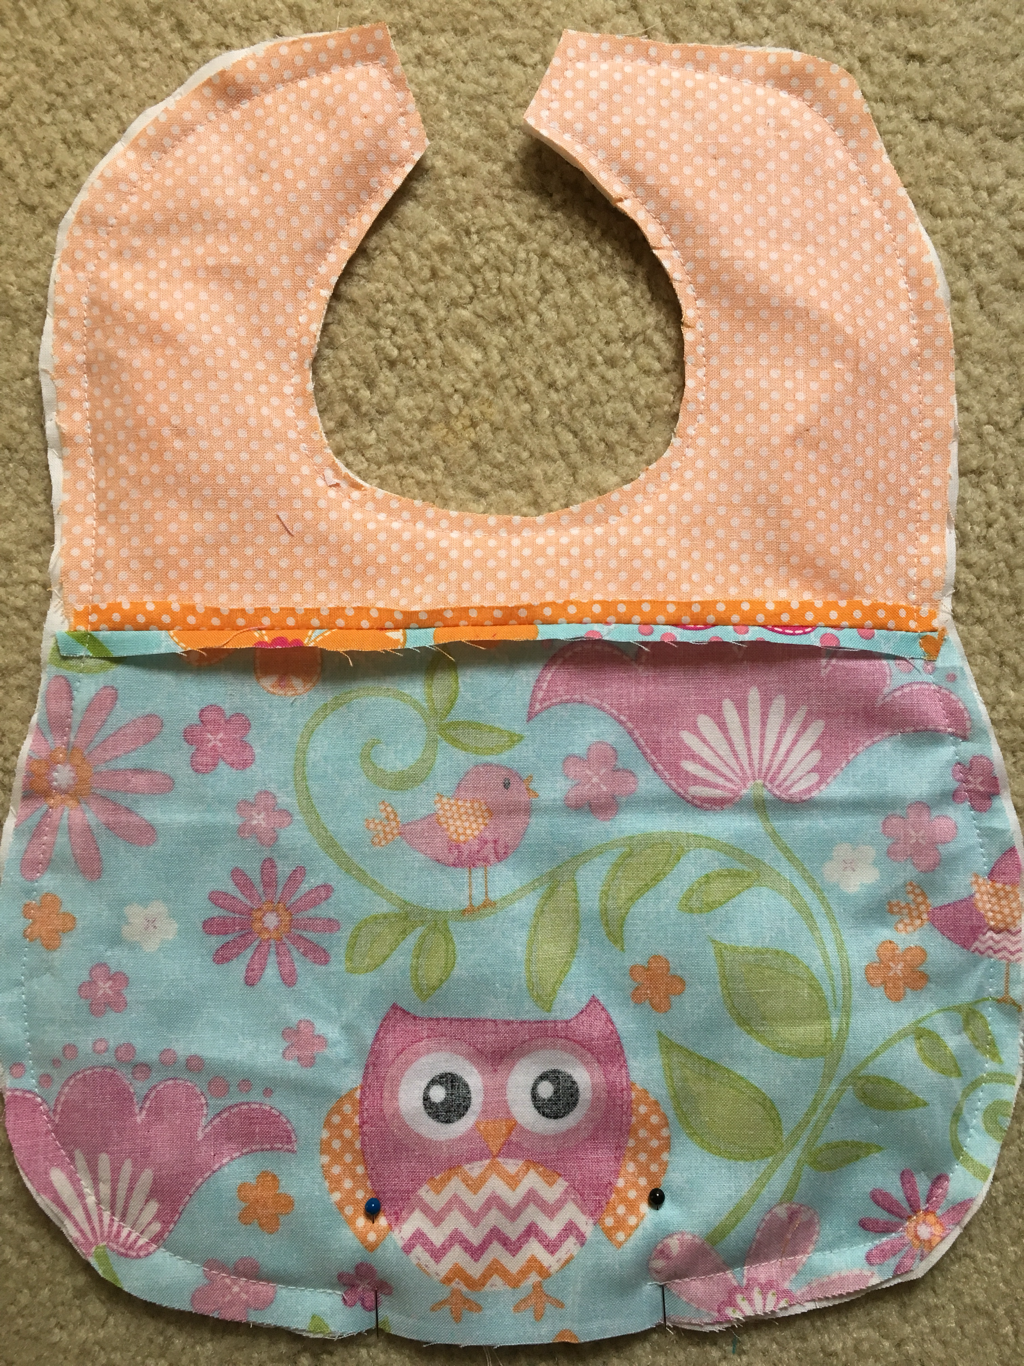 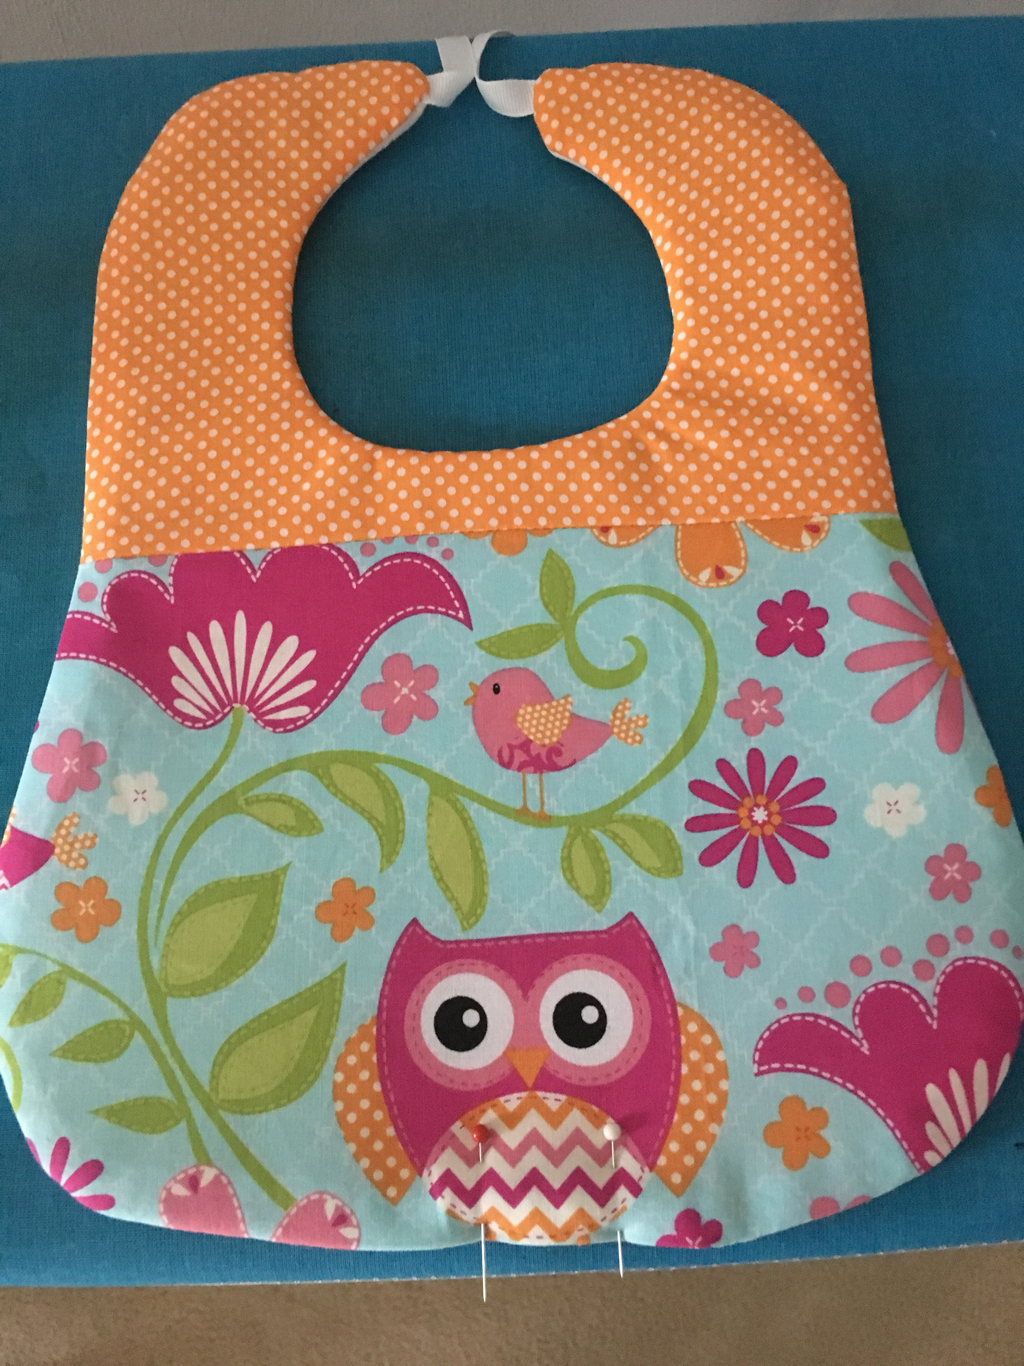 congratulations! Your bib is done! Do you need a burp cloth to match? Come back next week for the tutorial!  Whether it's for groceries, a day at the beach or everyday necessities, everyone needs a tote bag for their treasures. Reusable bags are great for our planet and a super stylish addition to your everyday travels. The finished size of this bag is: 20wx18h but the dimensions can be adjusted to meet your needs. The inside pockets are great for smaller items such as lipstick and change. The dimensions of the pockets are: small (2)- 4 1/2 w x 6 1/2 h zipper pocket- 9 w x 6 h Hobby lobby is my favorite place on the planet so of course I purchased my materials there. I selected 2 cotton prints in my favorite colors and styles but a variety of materials will work well for this - cotton, canvas, duckcloth or even oilcloth. Consider what you are planning on using the bag for before purchasing your fabric. I will be using the black and white stripe for the outside of my bag and the lining of my zipper pocket. The pink polka dot will be for my bag lining and my 2 small pockets. 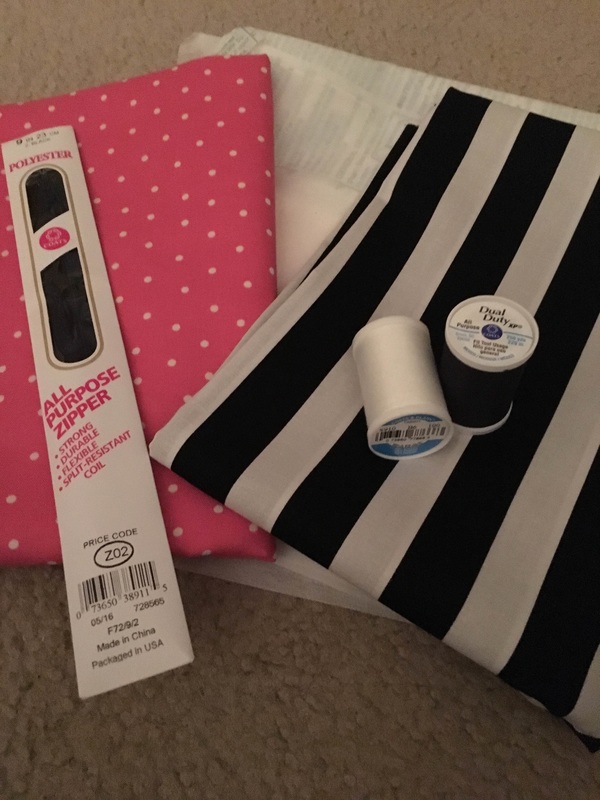 Materials needed: 1 yard for outer bag 1 yard for lining 2 yards of nylon webbing for straps ( you could also use ribbon but it is less durable) 9 inch zipper in a coordinating color 2 ½ yards fusible interfacing (medium weight is my favorite) - interfacing is also optional, I like to use it to help stabilize my material but it may not be necessary if you are using a heavier material such as canvas. Coordinating thread Fabric tape such as wonder tape (optional)
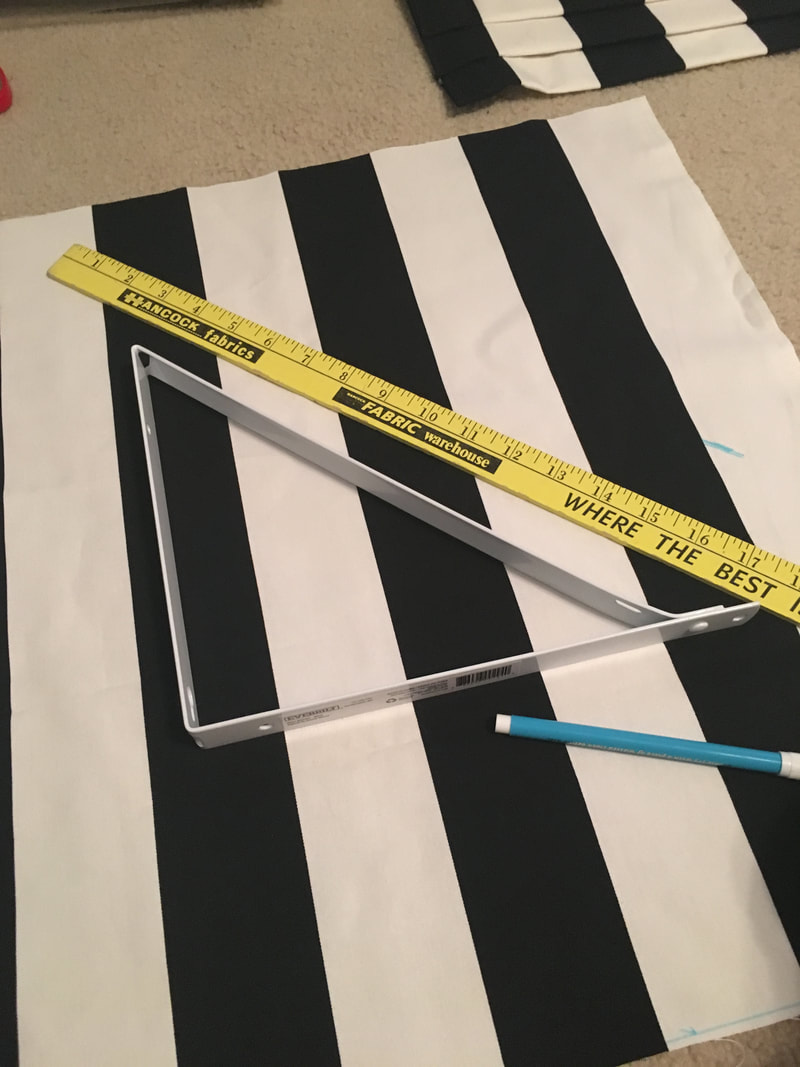
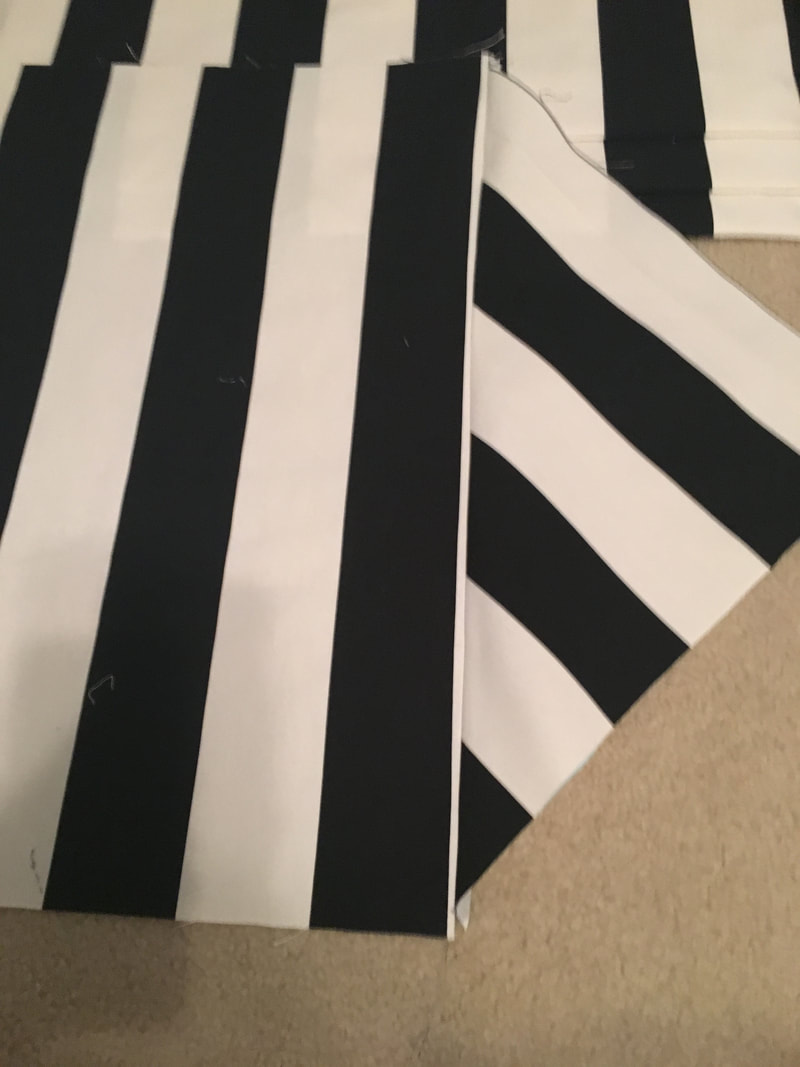
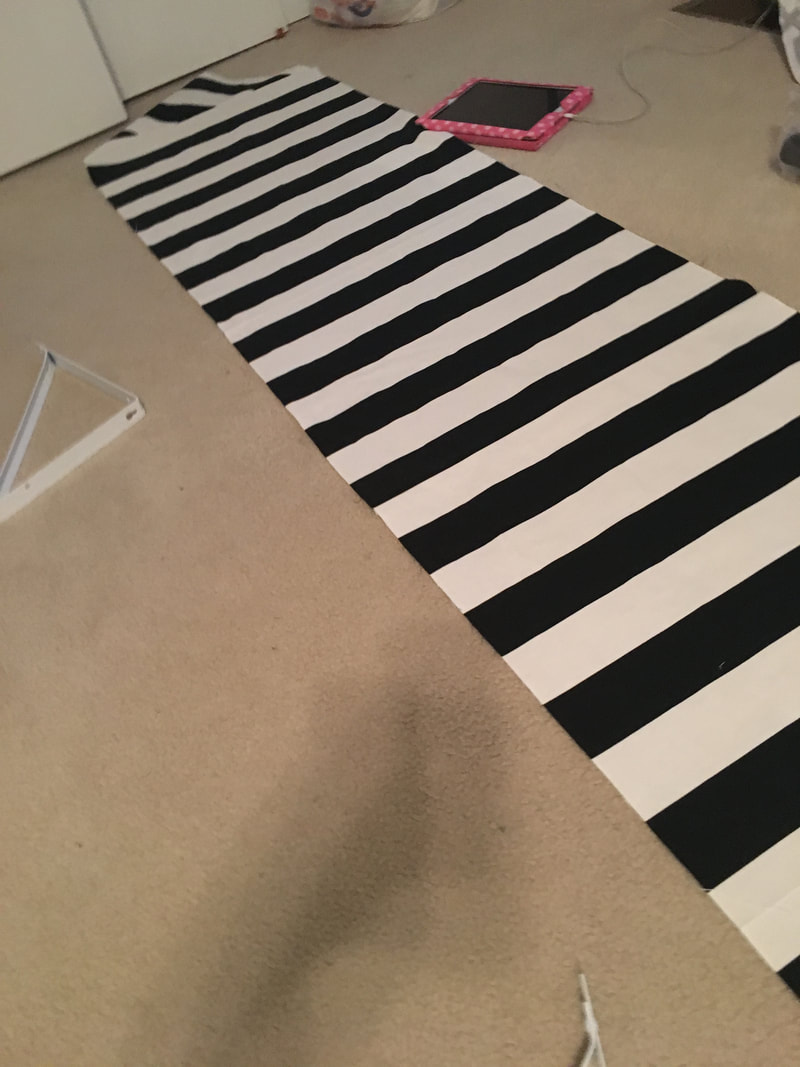
Outer fabric - 20x22(2) Lining fabric - 20x22(2) Interfacing - 20x22(4) optional Small pockets - 5x7 (4) this will make 2 pockets. These are optional and you can adjust sizes. Zipper pocket lining - 13x15. This is also optional and the size can be adjusted. On each of your bag side pieces, remove a 3 inch square from the 2 bottom corners (this will be your box corner bottom) 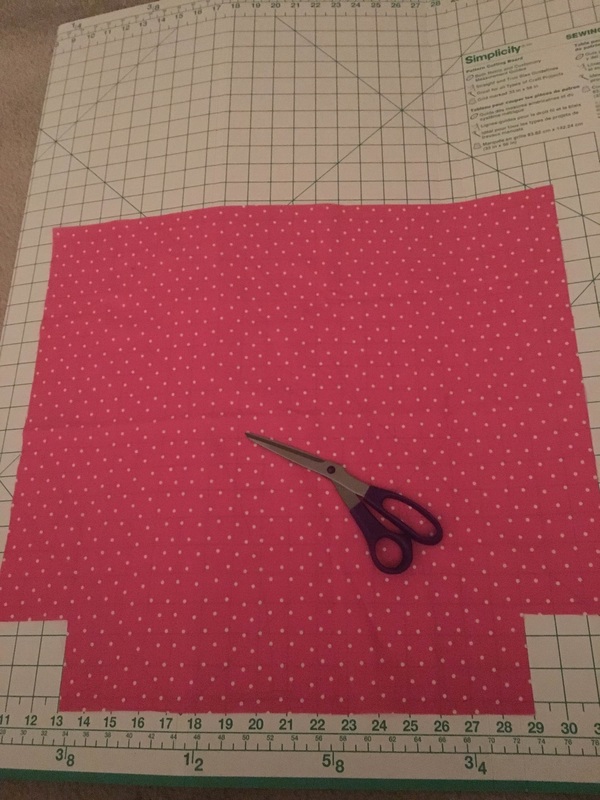 2. Interface your pieces if you have chosen to do so. I prefer fusible interfacing (follow the directions on how to fuse it). You can also use sew-on interfacing if you'd like. 3. Small pockets: Place 2 pocket pieces right sides together, pin and stitch around the perimeter leaving a small opening for turning. Clip the corners. 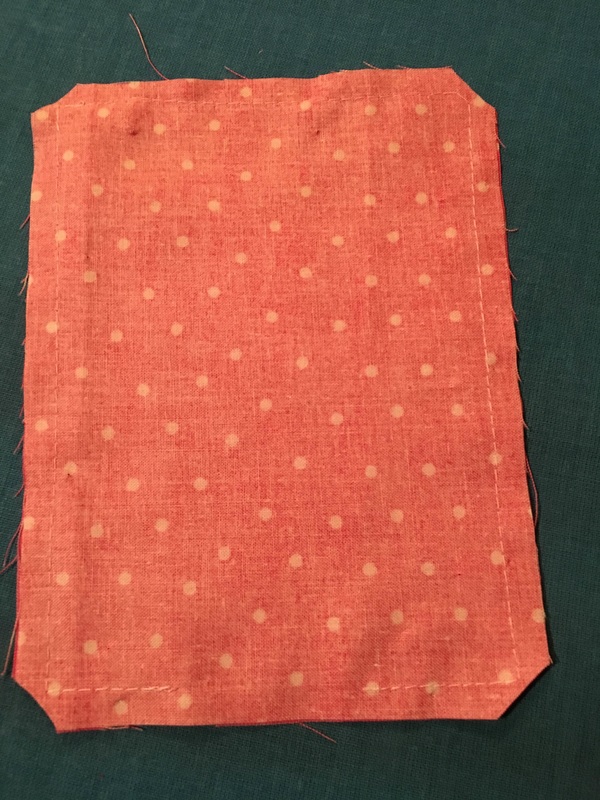 4. Turn pocket right side out, press, and topstitch. Repeat for the other pocket. 5. Once your small pockets are complete, pin and stitch them where you would like them on a lining piece. I am putting mine next to each other on one side of my lining. Remember to leave the top of your pocket open for use. 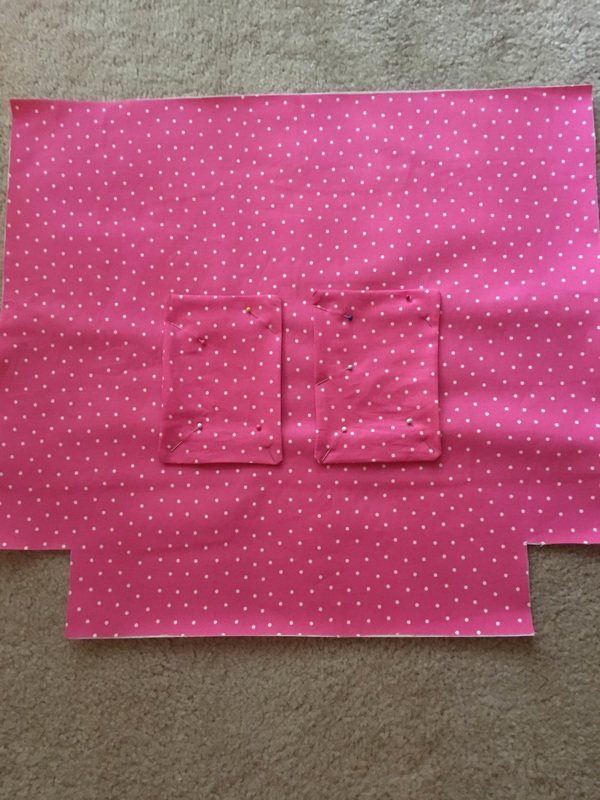 6. Zipper pocket: for this step you will need the lining piece that does not have pockets yet, your 13x15 zipper lining piece, a ruler and a marking pencil. Place your 13x15 piece right sides together with your lining 1 ½ inches above the place you want your zipper. 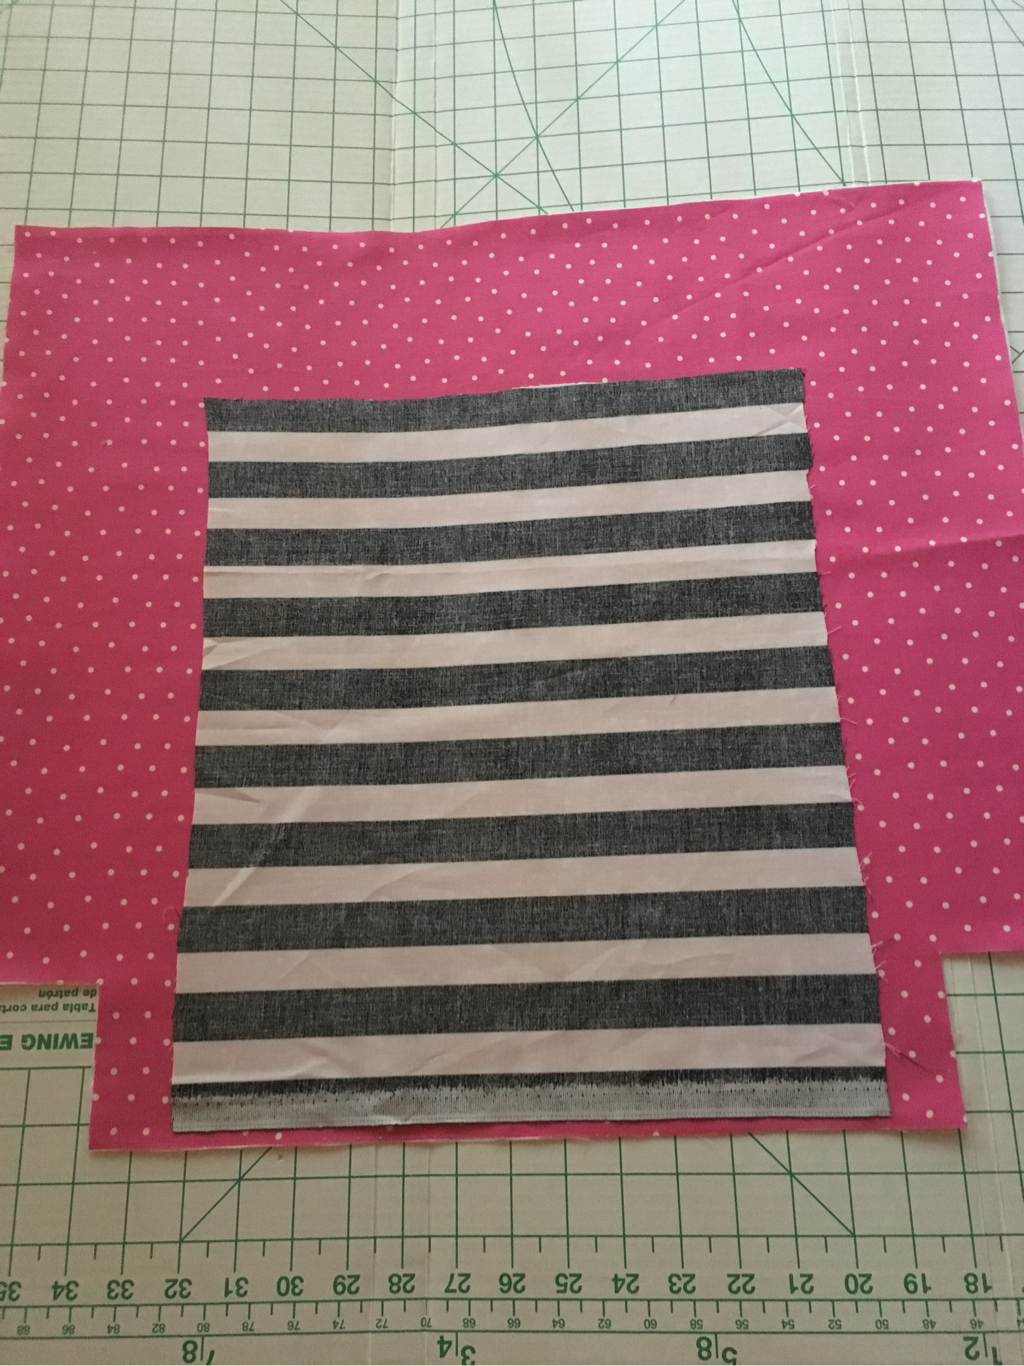 Mark 1 ½ inches from the top and draw a line all the way across. Mark 2 inches from the top and draw a line all the way across. Mark the center and the length of your zipper in between your 2 lines. I added triangle at each end and connected them down the center (this will be used for cutting). When this is done, it should give you a box that looks like this: 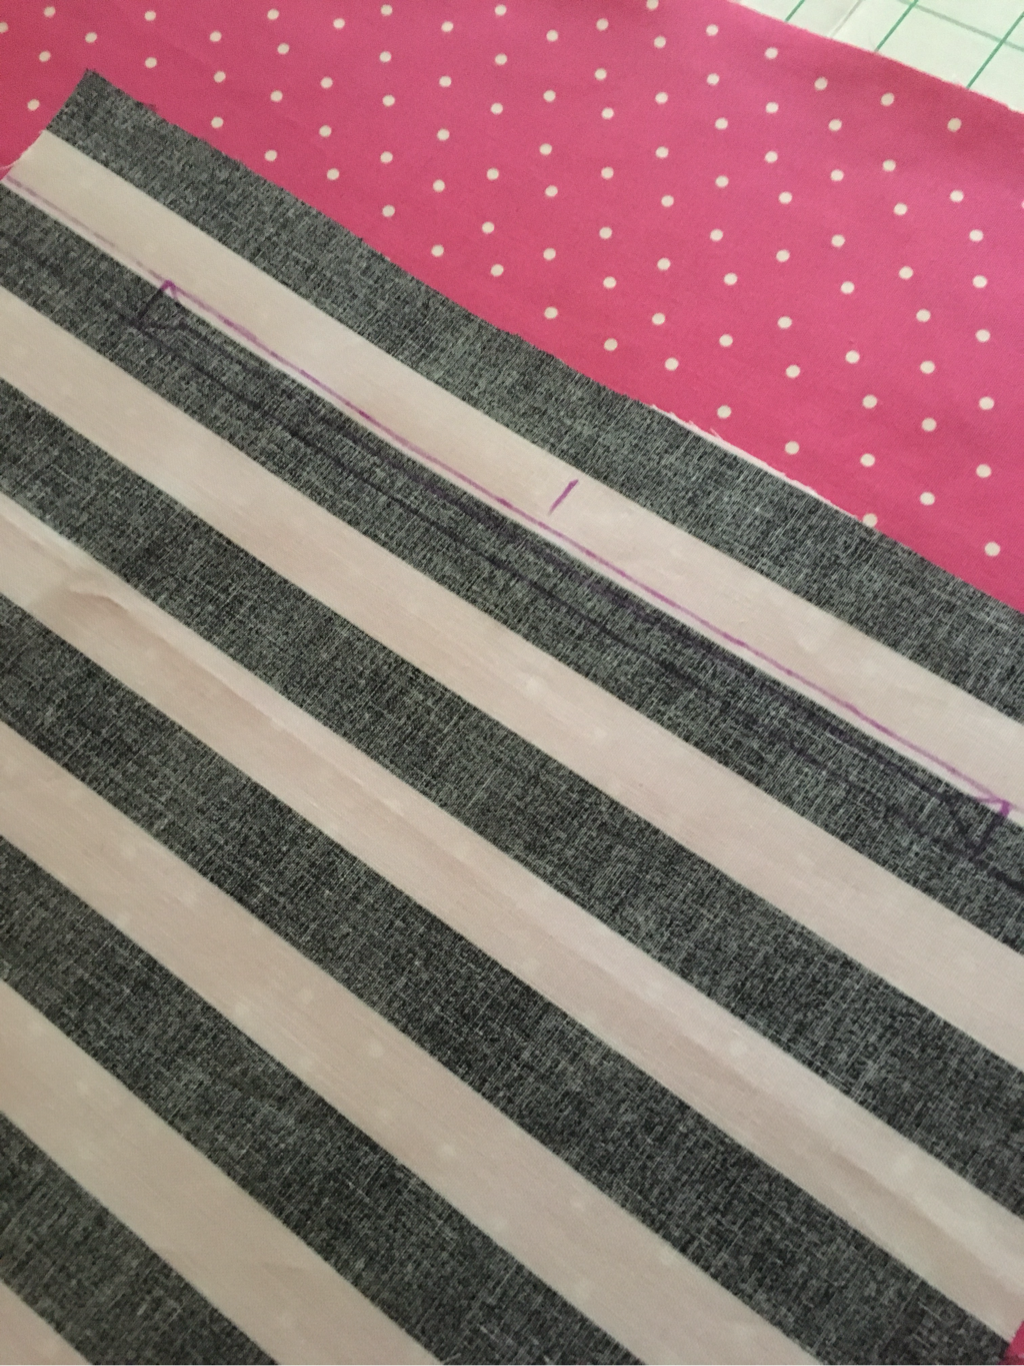 Pin your fabrics together and stitch around the perimeter of the box. 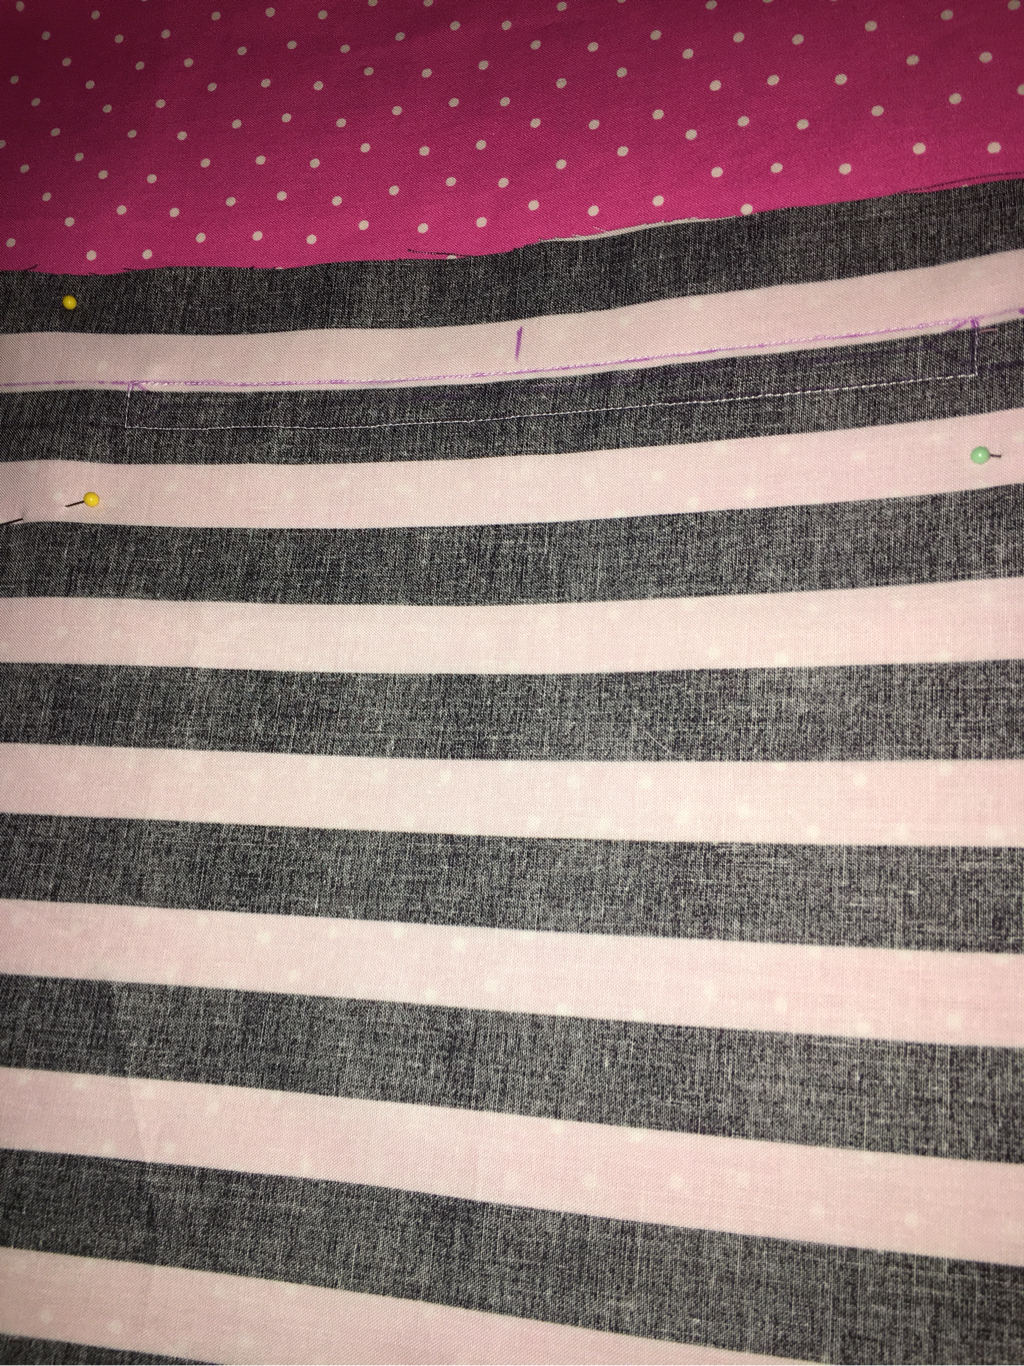 Use the center line to cut an opening in both layers of fabric. Cut the sides of your triangles as well. 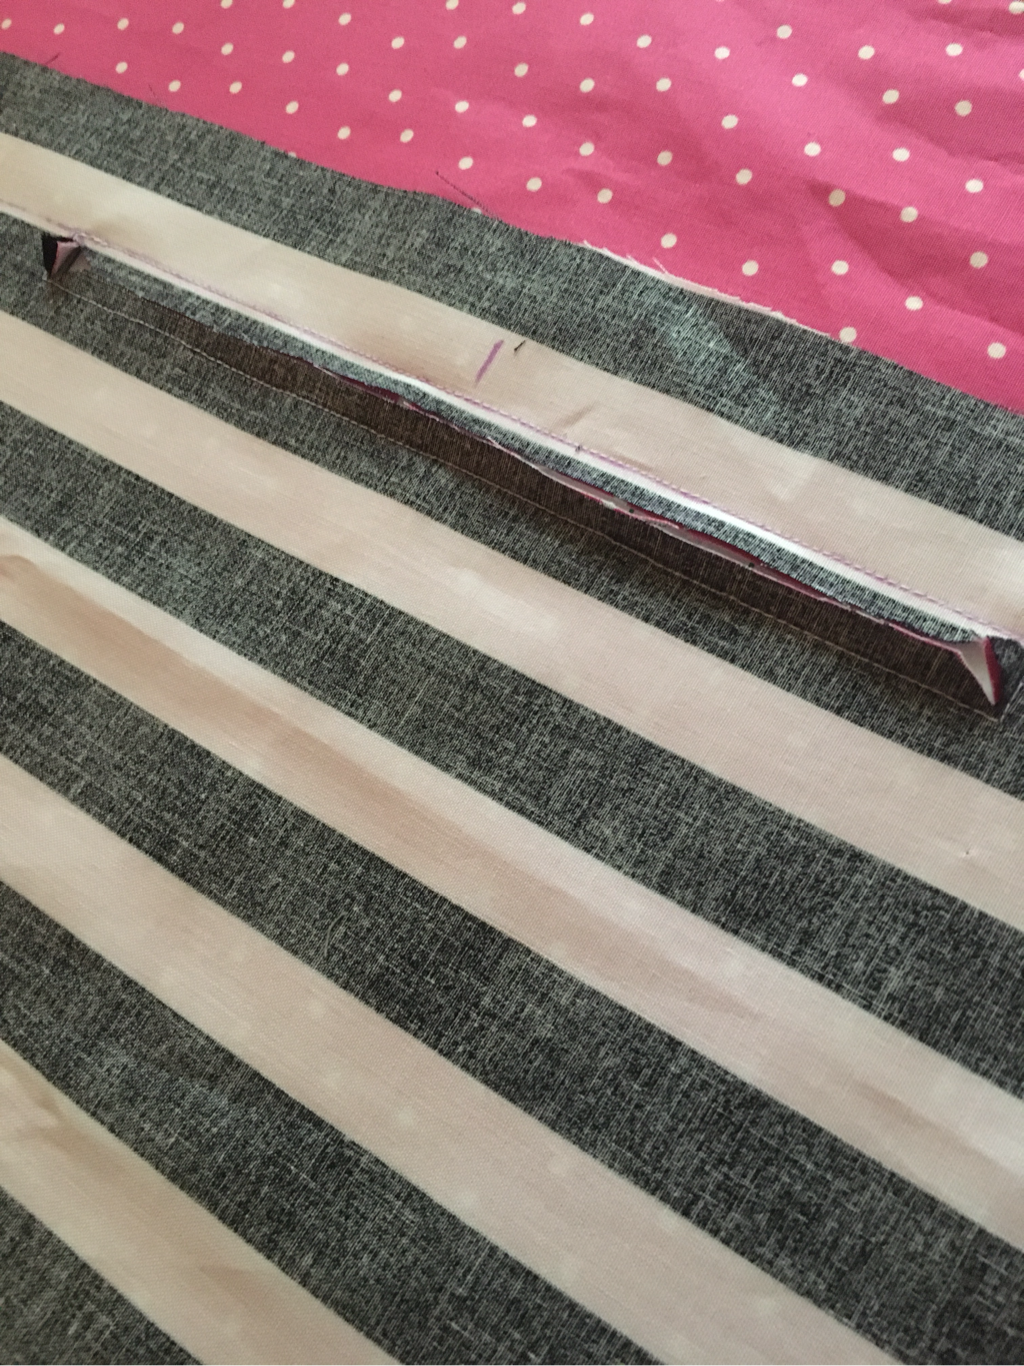 Pull your fabric through the opening and press. 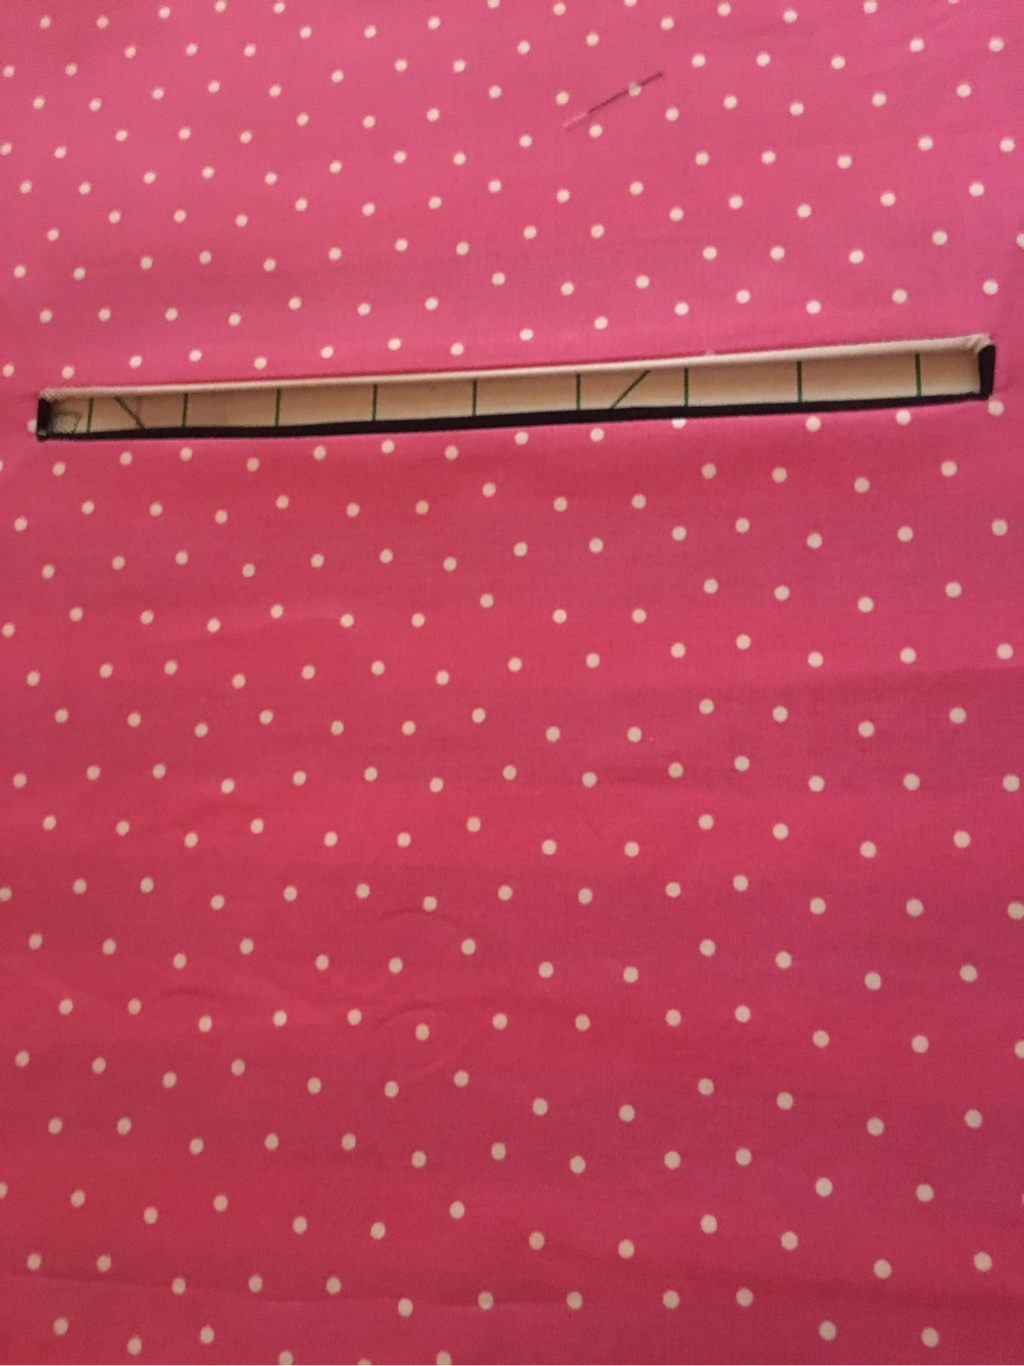 You are now ready to put on your zipper. Pinning a zipper can cause it to pucker so I prefer to tape it on using fabric tape (wonder tape is my favorite). Place fabric tape on the back side of the opening, then stick your zipper to the tape, centering your zipper and making sure the zipper pull is free to use. 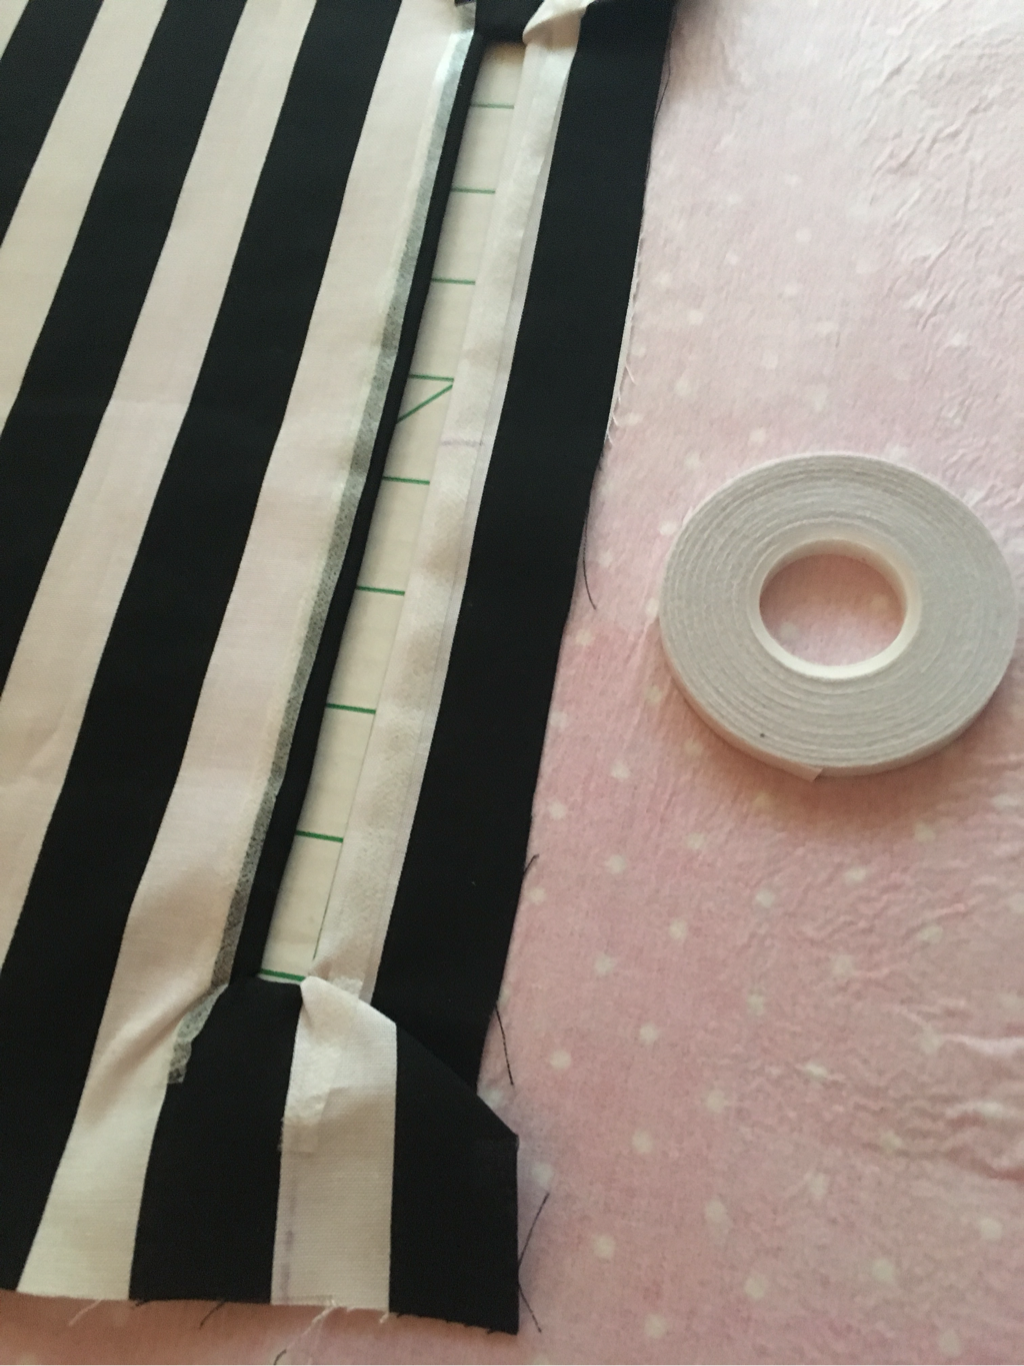 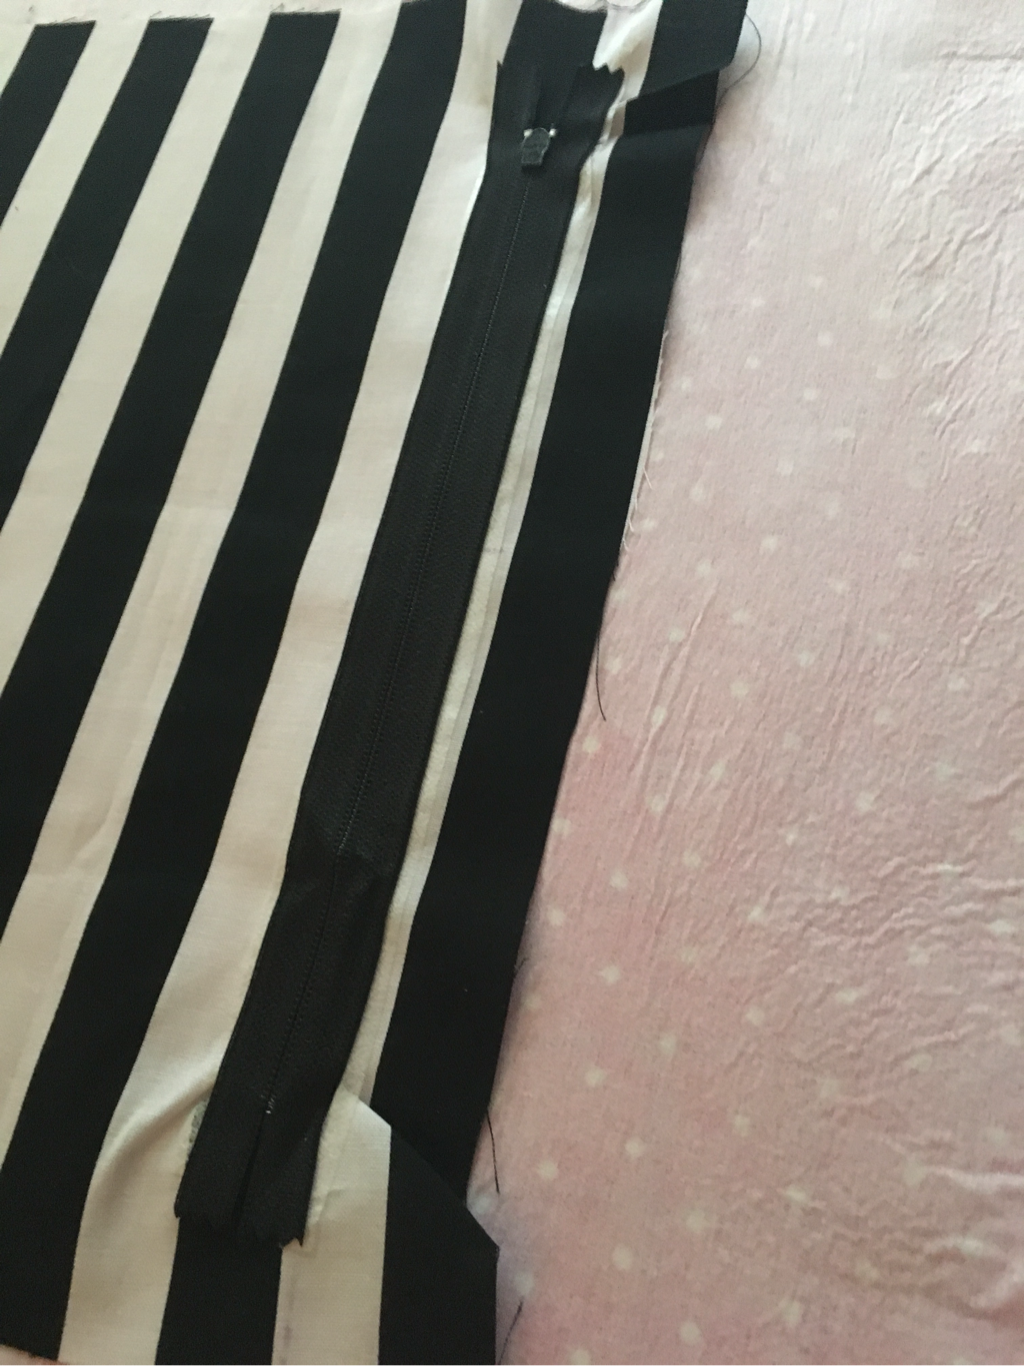 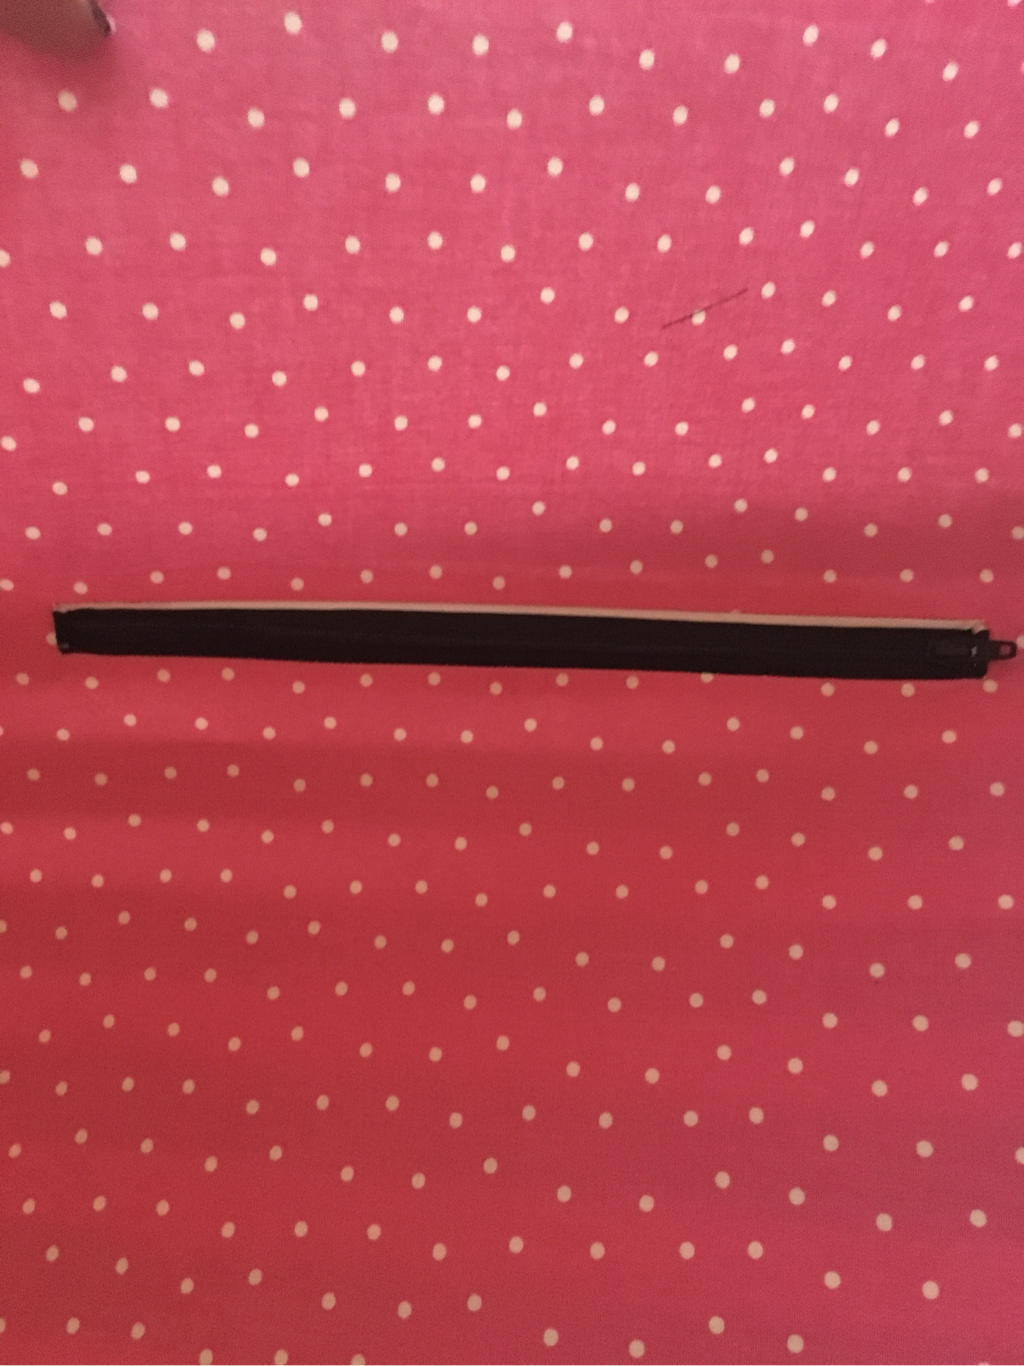 Now topstitch your zipper in place. I prefer to do this right side up so I can control the placement of my stitches. 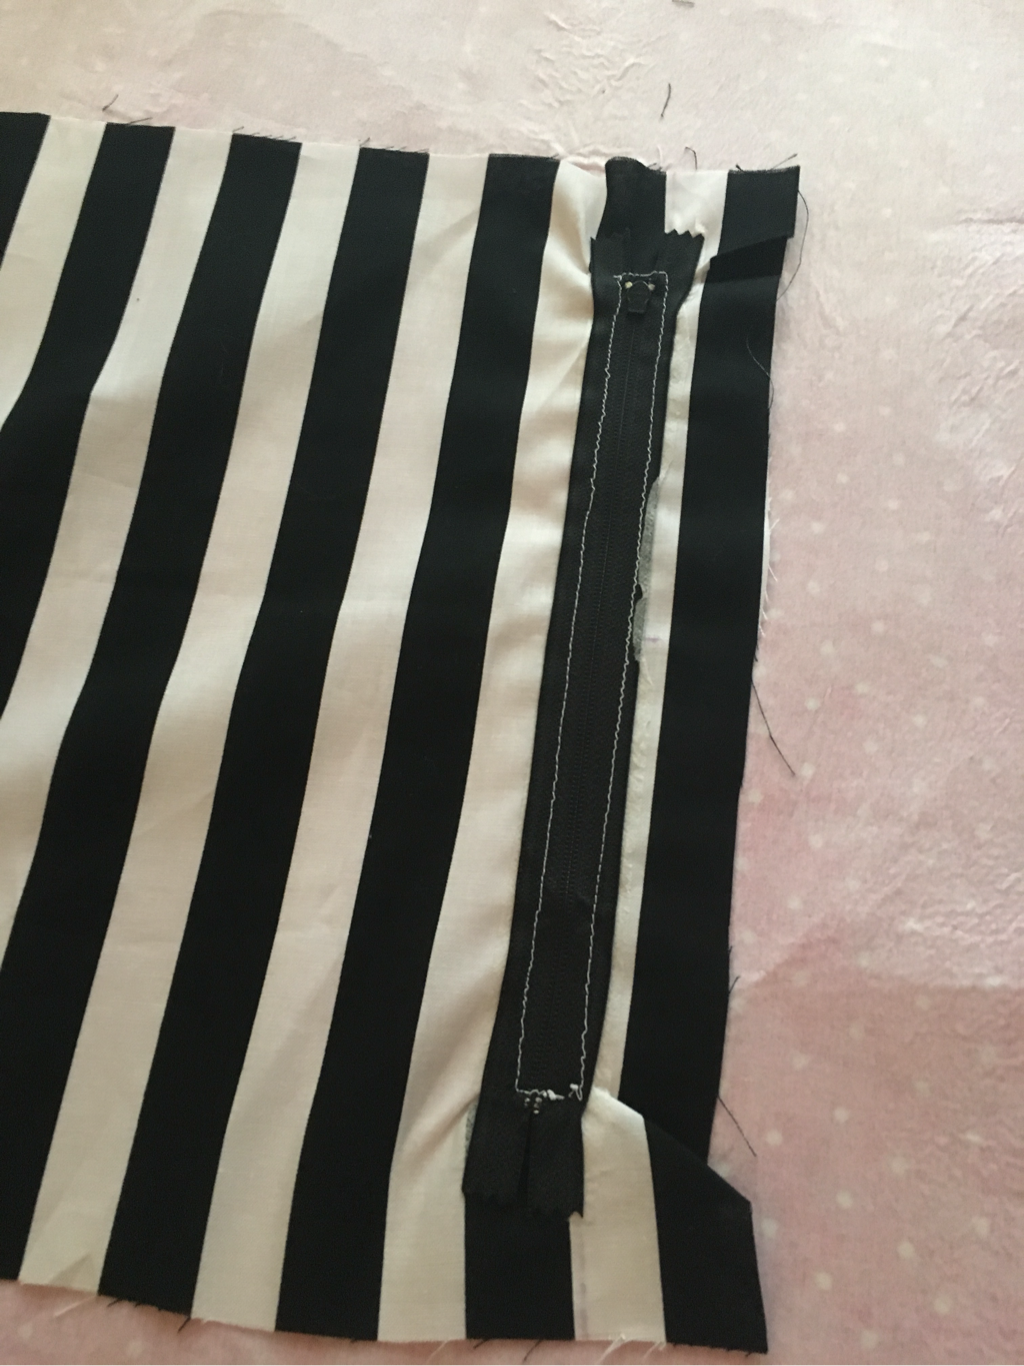 7. To enclose your zipper pocket, place remaining fabric right sides together, pin and stitch the 3 open sides being careful not to catch your lining in the process. Don't worry if your edges look bad, that part will be hidden between your lining and outer bag. You will now have a beautifully lined zipper pocket. 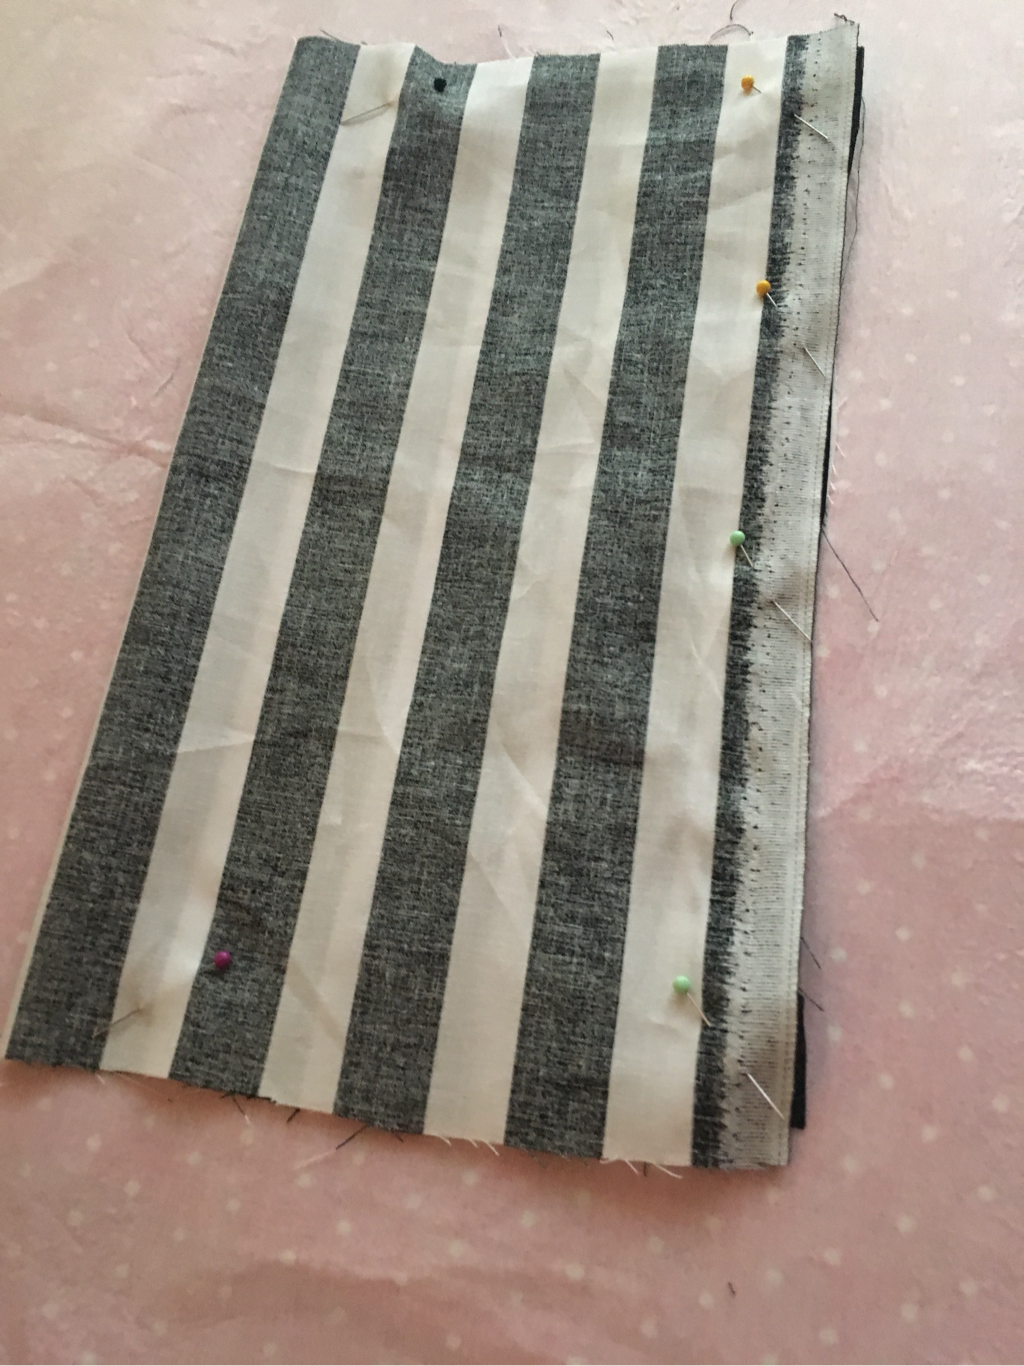 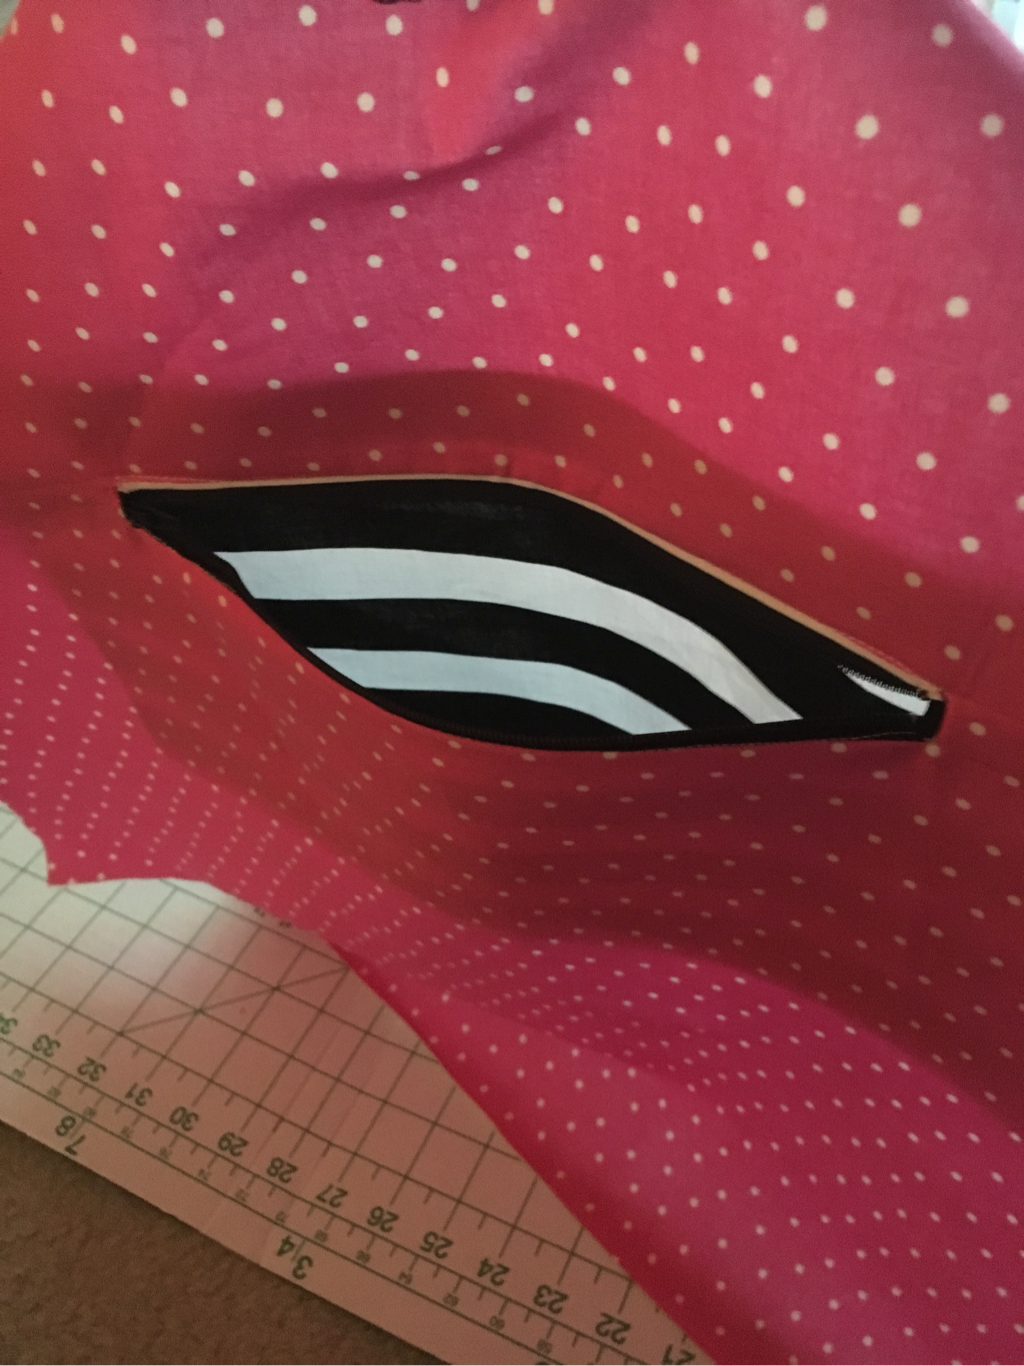 8. To put your bag together, place your outer pieces right sides together, pin, and stitch the sides and bottom edge. Press your seams open. Make sure to leave the top edge open as well as the 3 inch cut-outs in the bottom. 9. Repeat this process for the 2 lining pieces as well. On the lining piece only, leave an additional 4 inch gap in the bottom center (this will be used for turning) 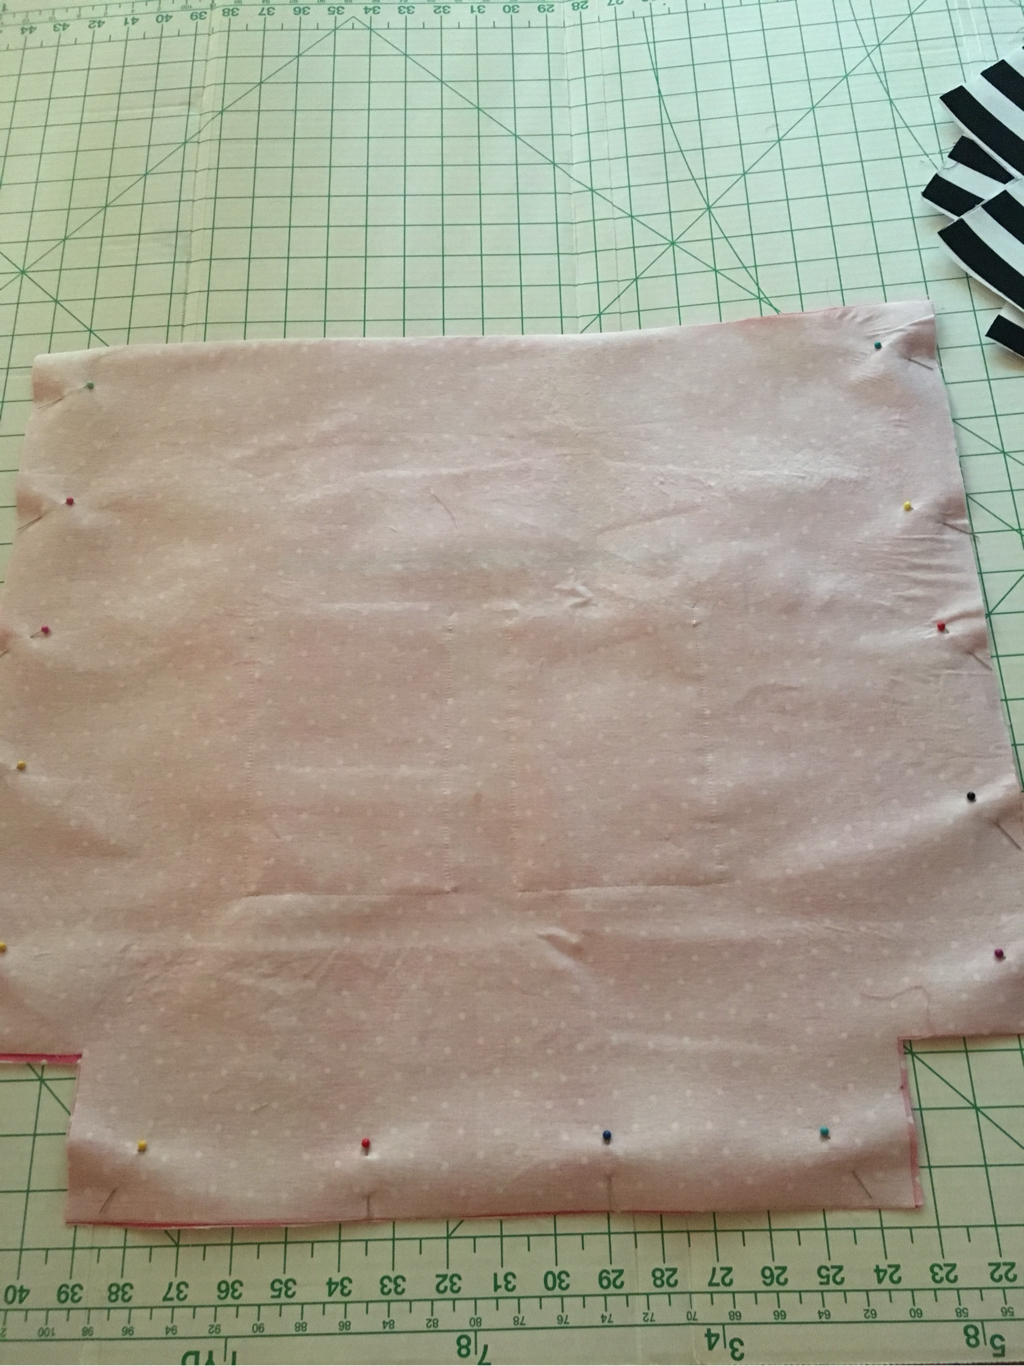 10. To create your box corner, pinch the seams together at the 3 inch opening, placing your seams right sides together. Pin in place and stitch across to close the opening. Repeat this process for all 4 openings (2 on the lining, 2 on the outer bag) 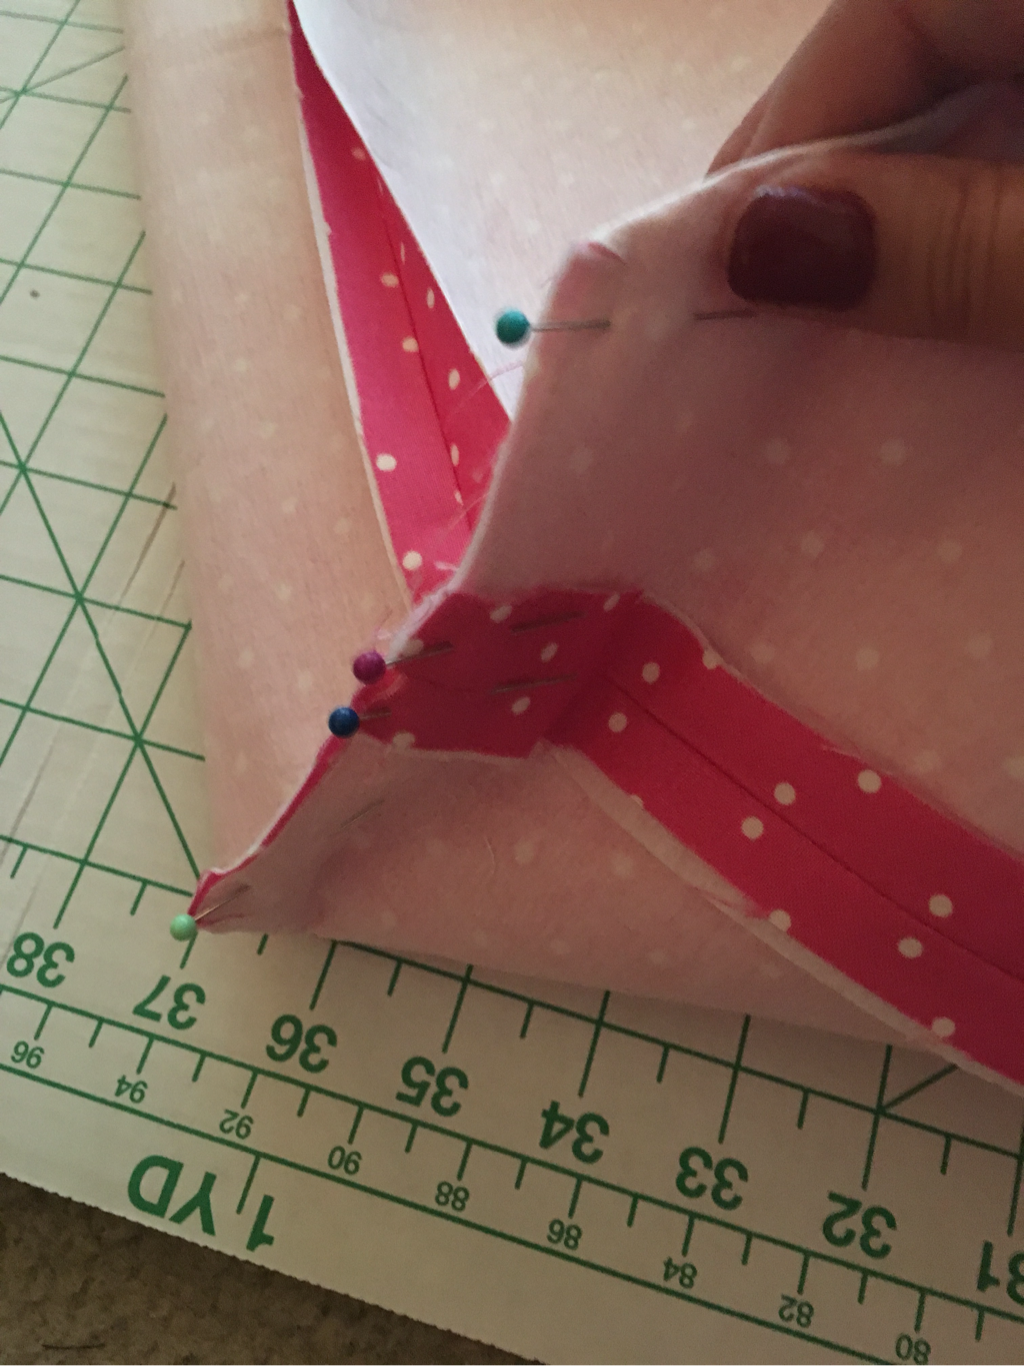 11. Attach your straps to your lining piece. Strap length can vary based on your personal preference. Place the ends of your strap on the right side of the lining piece. Stitch across several times to secure. Repeat this for both sets of straps. 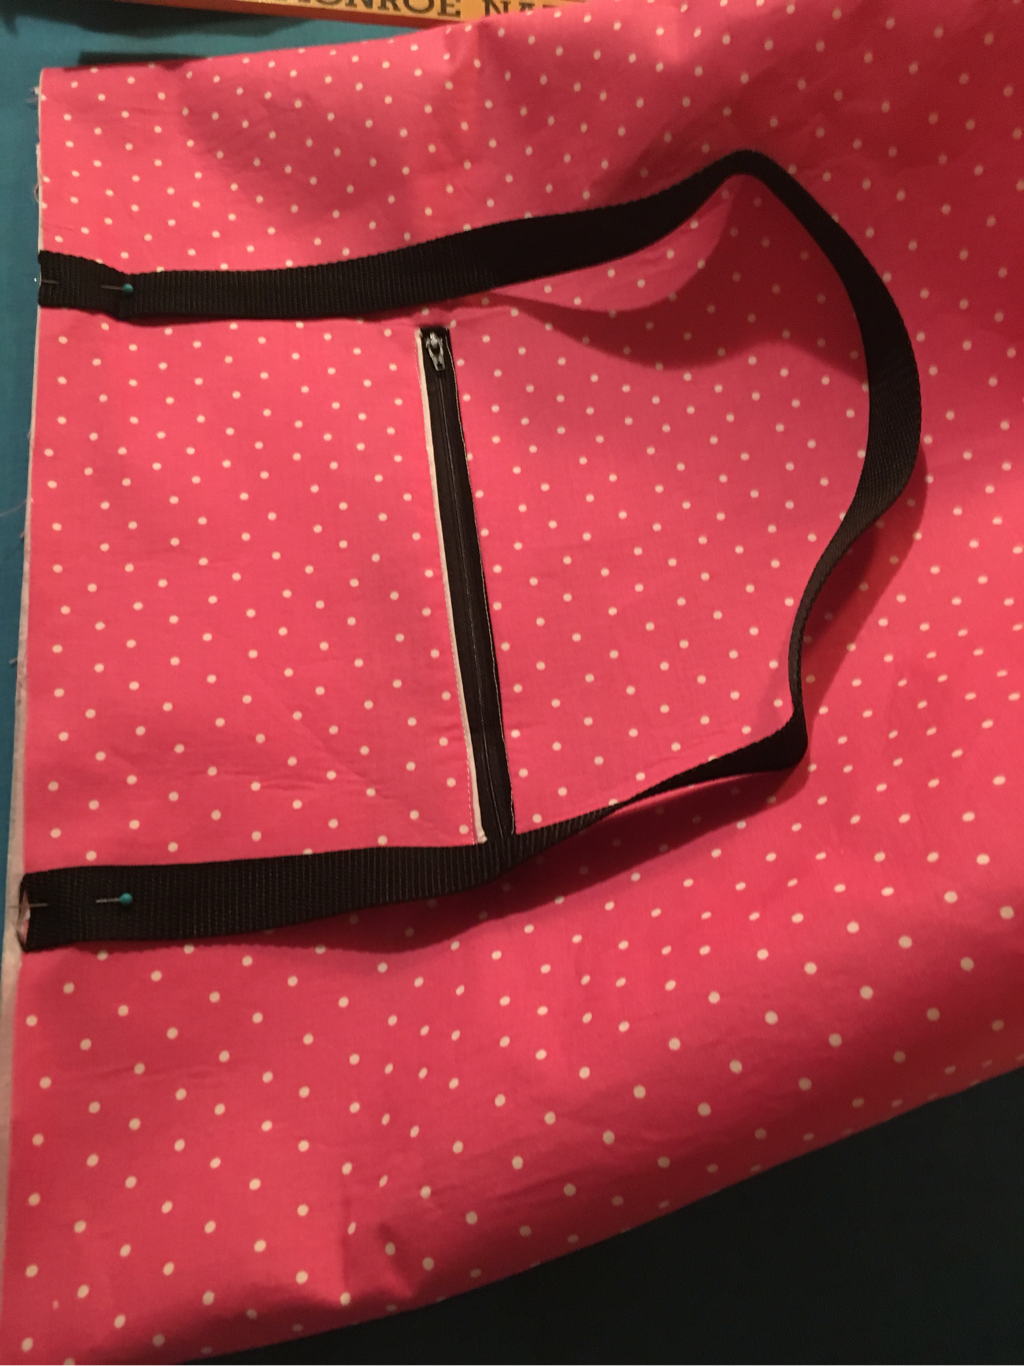 12. Turn outer bag right side out and inner bag wrong side out. Place the outer bag inside the inner so that right sides are together. Make sure straps are sandwiched between the 2 bags. 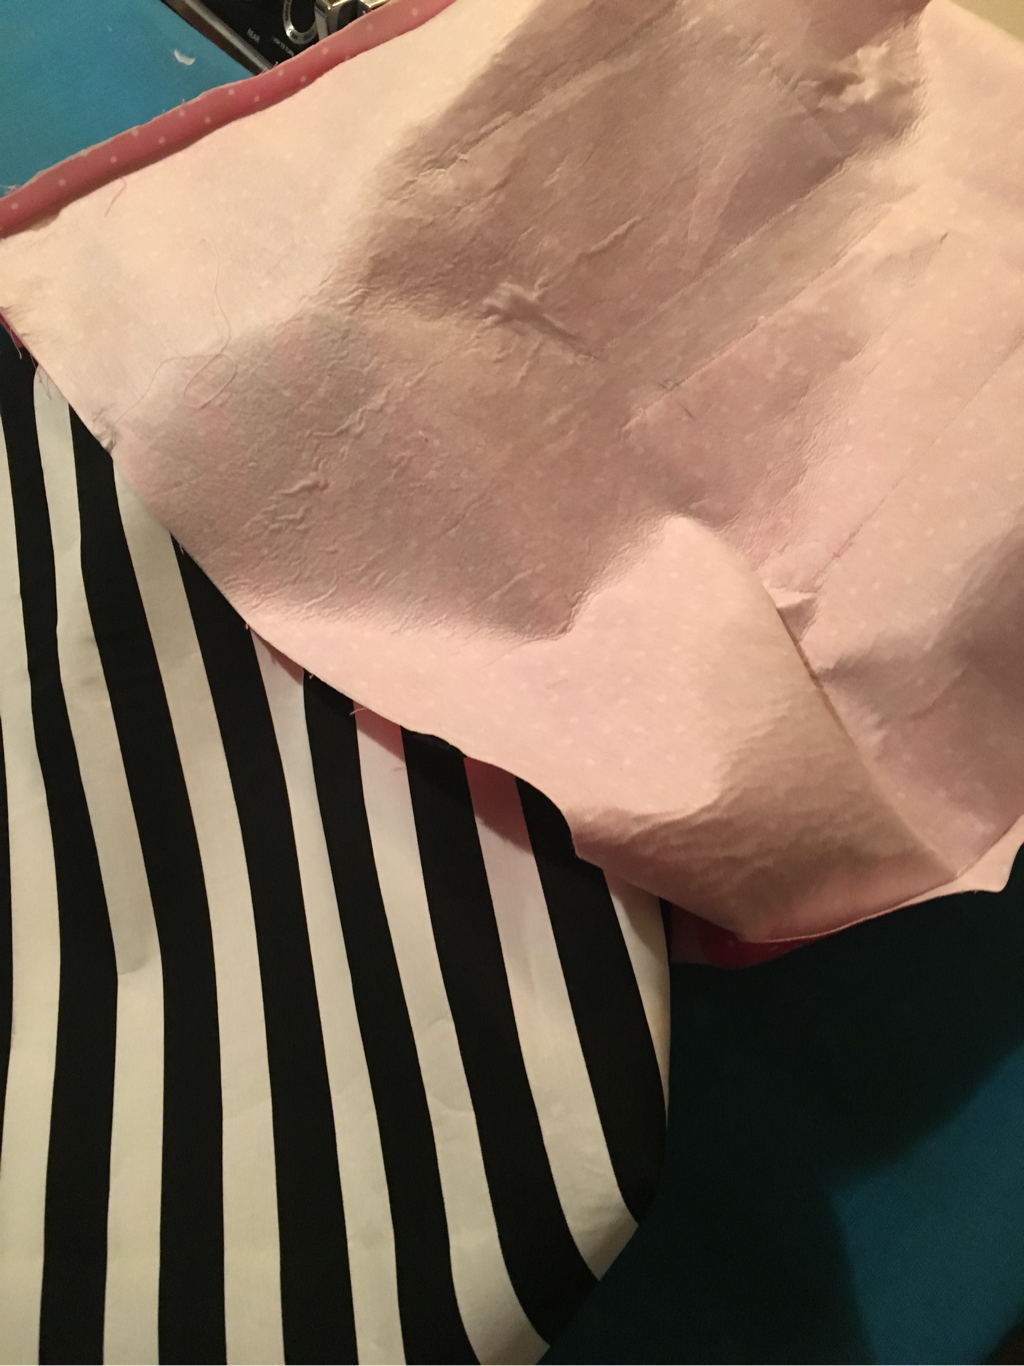 13. Stitch all around the top edge joining the 2 pieces together. 14. Use the opening in the lining to turn the entire bag back out. Press. 15. Topstitch the top edge only if you would like to create a finished look. I also used iron on letters on the side of my bag. Congrats! You're now finished with your brand new tote bag! 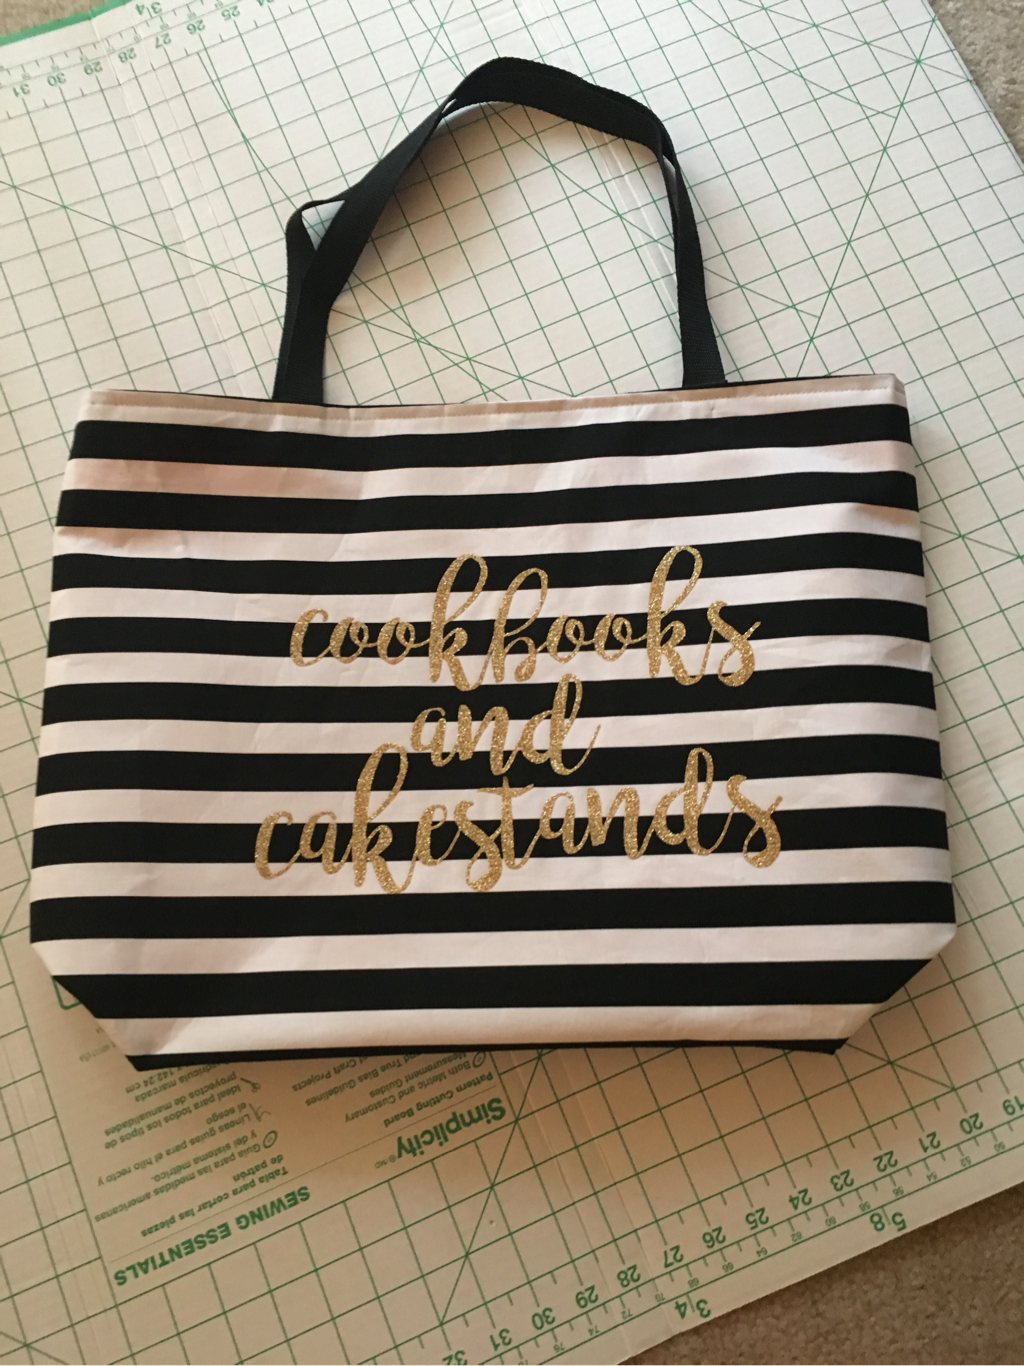 |
Archives
April 2020
Categories
All
|

 RSS Feed
