|
I know I've said this before, but don't you just love fall? I'm a huge fan of cooler temperatures, leaves changing colors, and flannel. Of course, let's not forget my favorite part of fall; pumpkins! Pumpkins are my favorite fall item to decorate with but the real obsession with pumpkin is their flavor. Pumpkin pie? Love it. Pumpkin cheesecake? Can't live without it. Pumpkin cinnamon rolls? I'll have 2 please. But the ultimate pumpkin recipe for me will always be pumpkin bread. As a kid, my mom would make this recipe year-round because my whole family loves pumpkin as much as I do. Celebrating pumpkins with just one season really isn't enough for us. Baking pumpkin bread fills my house with the glorious smells of fall and always reminds me of my mom. Last week in my classroom, I demonstrated this recipe with my Intro Foods class. We turned it into muffins to make sharing easier and they loved it just as much as I do. The recipe listed below will make 3 loaves of pumpkin bread or approximately 40-48 muffins depending on size and add-in's. Pumpkin Bread 1. In a large bowl, combine the following dry ingredients: 3 ½ cups flour 1 ½ teaspoons salt 1 teaspoon cinnamon 1 teaspoon nutmeg 1 teaspoon pumpkin pie spice 1 teaspoon baking soda 1 ½ teaspoons baking powder 2. Mix dry ingredients and create a well in the center. 3. In a separate bowl, combine the following liquid ingredients: 2 cups pumpkin (1 15oz can) 4 eggs 1 cup evaporated milk 1 cup vegetable oil 2 ½ cups sugar 4. Once the liquid ingredients are well mixed, pour into the dry ingredient well and mix. Mix until dry ingredients are blended evenly. Muffins and quick breads should be soft and the key to this is minimal mixing. Over-mixing of ingredients will produce a product that is dry and crumbly. 5. Gently stir in additional treats if desired. Some people prefer plain but I love to pour tons of raisins in mine! This pumpkin bread is also delicious with chocolate or white chocolate chips, pecans, or walnuts. 6. Pour your batter into 3 greased loaf pans and bake at 350 degrees for approximately 45 minutes to an hour. Bread should spring back when touched lightly. 7. Transfer to a cooling rack and cool 5-10 minutes. Use a knife to loosen the sides of the bread from the pan and flip to release. **If you would prefer to make muffins, line a muffin tin with paper liners and fill each with batter approximately 3/4 full. Bake at 350 degrees for 18-20 minutes or until muffins spring back when touched. Cool on a wire rack for 5-10 minutes, then release from pan to cool completely. 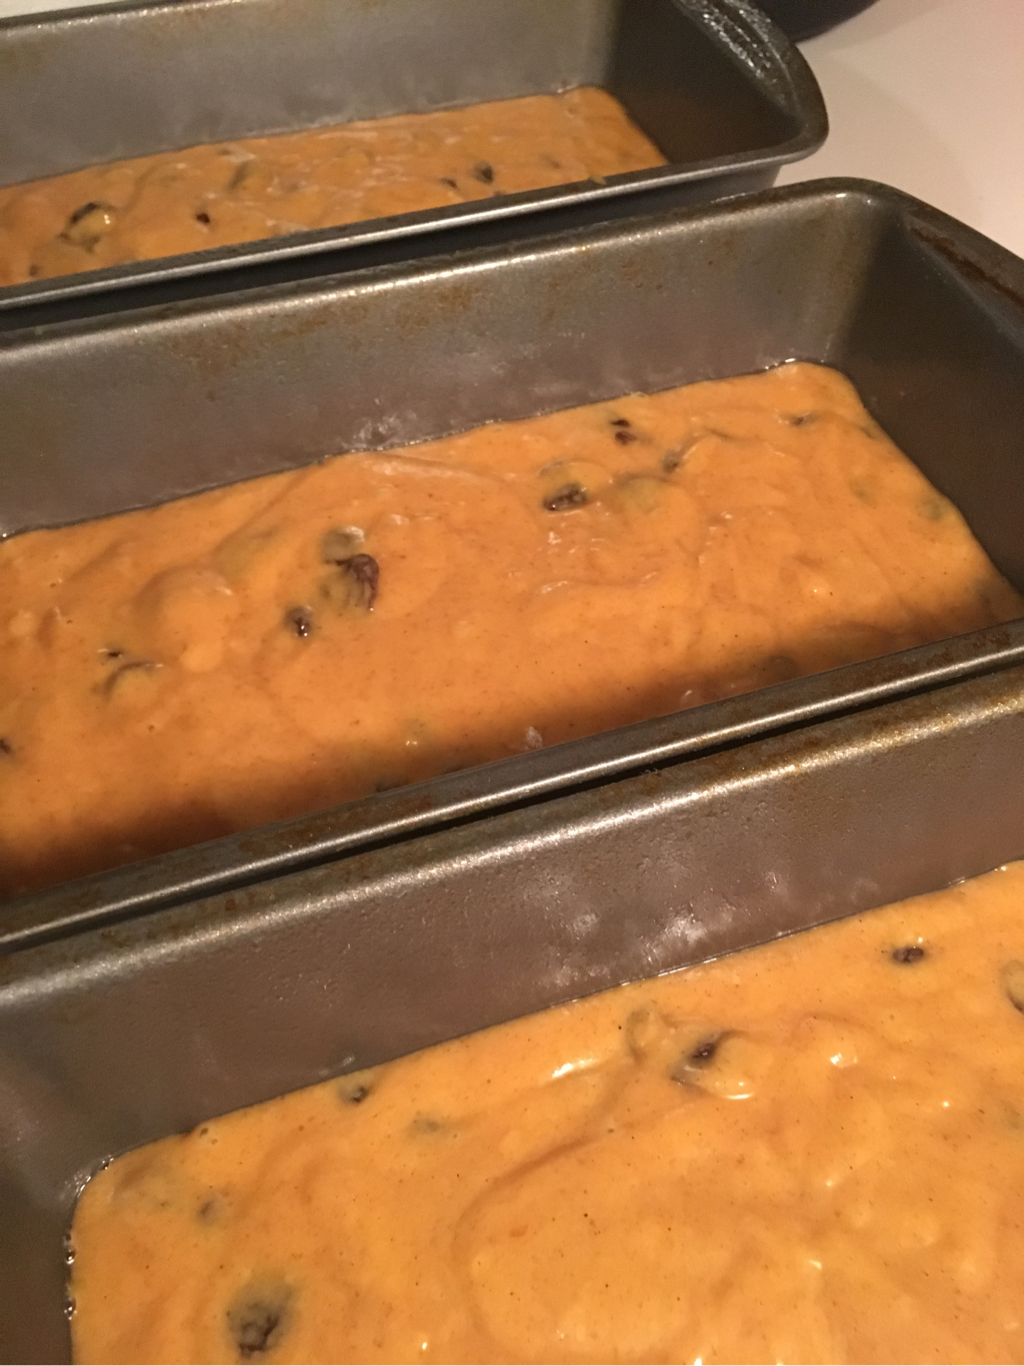 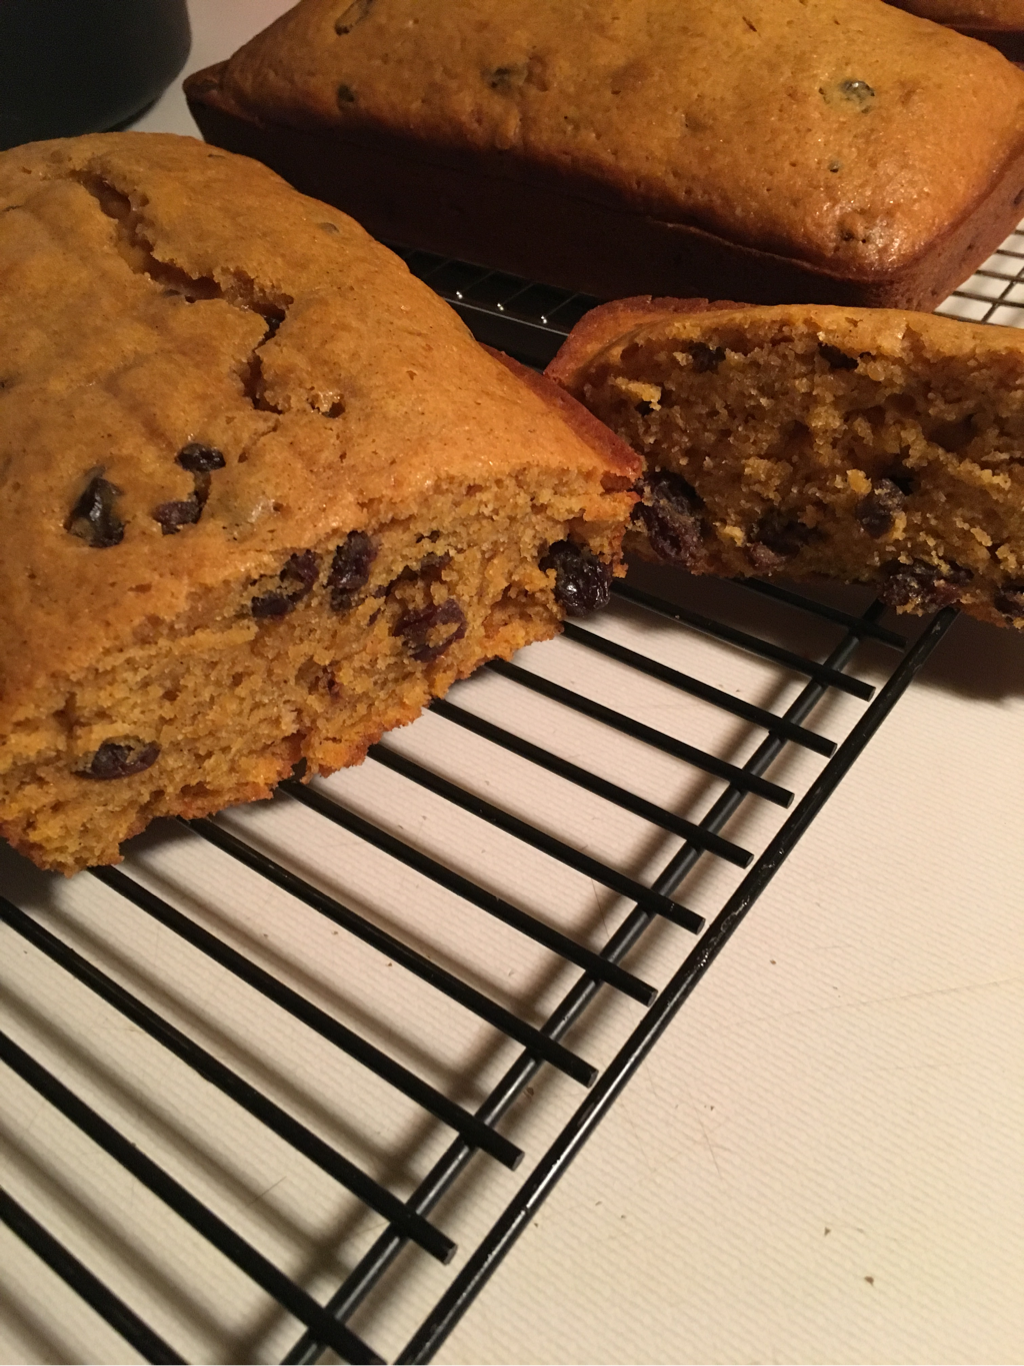
0 Comments
I am totally obsessed with plaid. I love decorating with plaid just as much as I love wearing it. I'm so excited that buffalo plaid is a huge trend right now- you can find it everywhere on all kinds of items! When it comes to party planning, I find inspiration in all kinds of places. Recently, I was doing some shopping in At Home (formerly Garden Ridge) when I stumbled upon these buffalo plaid Christmas ornaments. Instantly I knew that this was going to be my inspiration for the upcoming FHA holiday cookie exchange. This will be our fourth year to host the event and each year the cookies get fancier, the cocoa gets hotter and the outfits get tackier. P.S. - if you have an At Home near you, you should check it out. They have great home decorating items but their seasonal section totally rocks and is very reasonably priced. 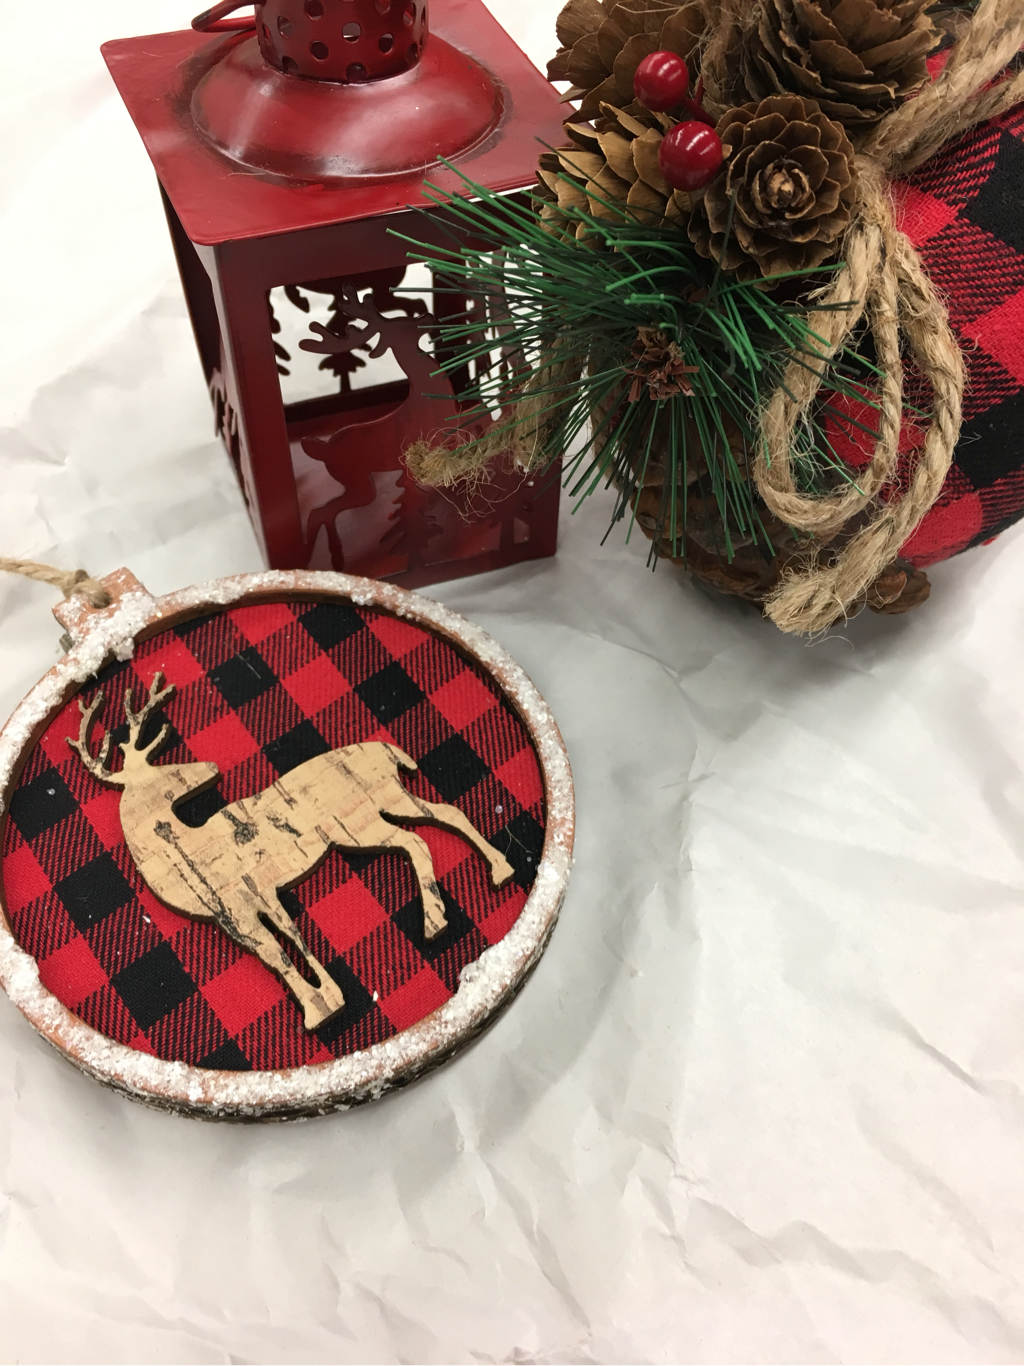 In order to prepare for our upcoming cookie exchange, I have been working on a few buffalo plaid projects that I'm going to share with you today. First up, fabric garland. I love to make fabric garland for all different events; it's super easy to do and can be a great way to use up extra fabric. For the cookie exchange, I am using 1 yard of buffalo plaid material, a roll of burlap ribbon, and 1 spool of twine. 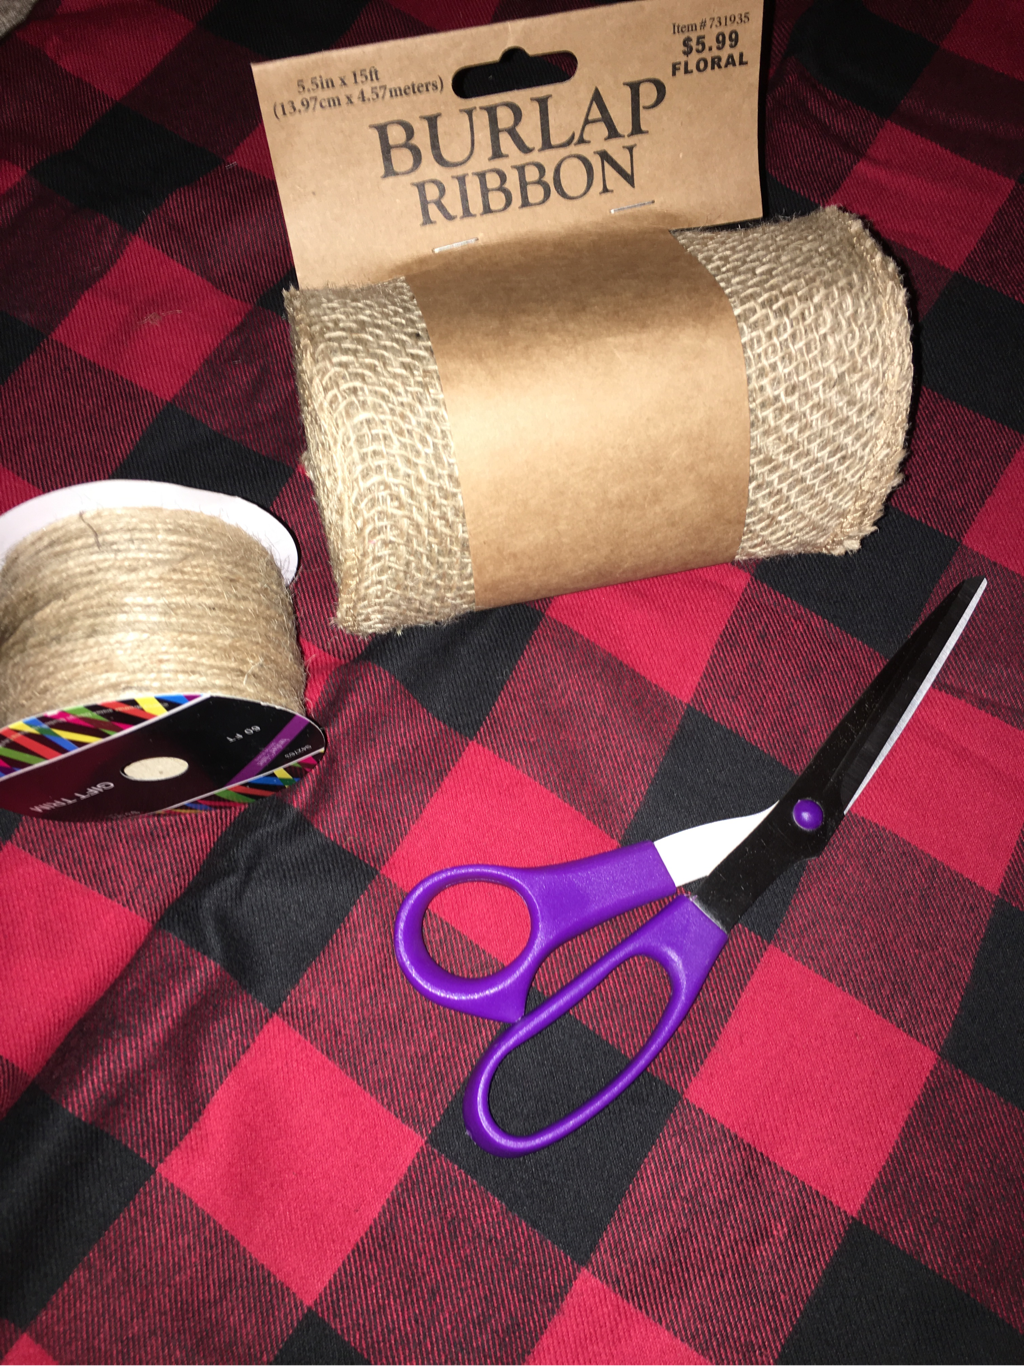 1. Fold your fabric in half lengthwise. Next, decide what width you are going to make you fabric strips. Since I am using the burlap ribbon, I'm going to cut my fabric the same width. 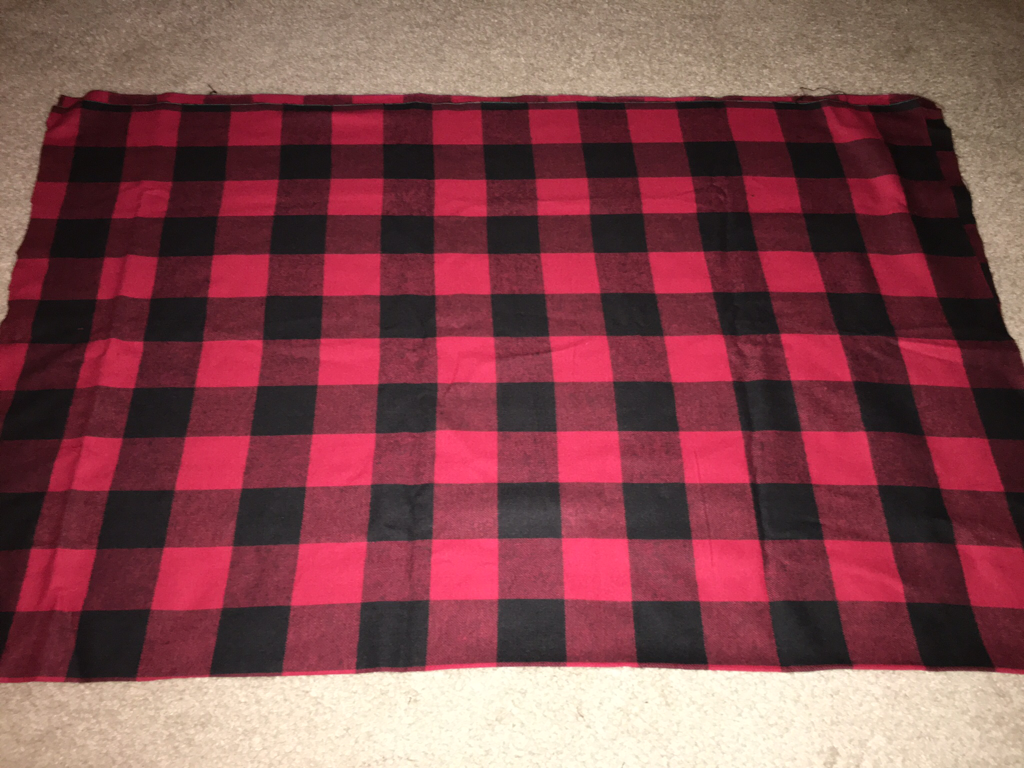 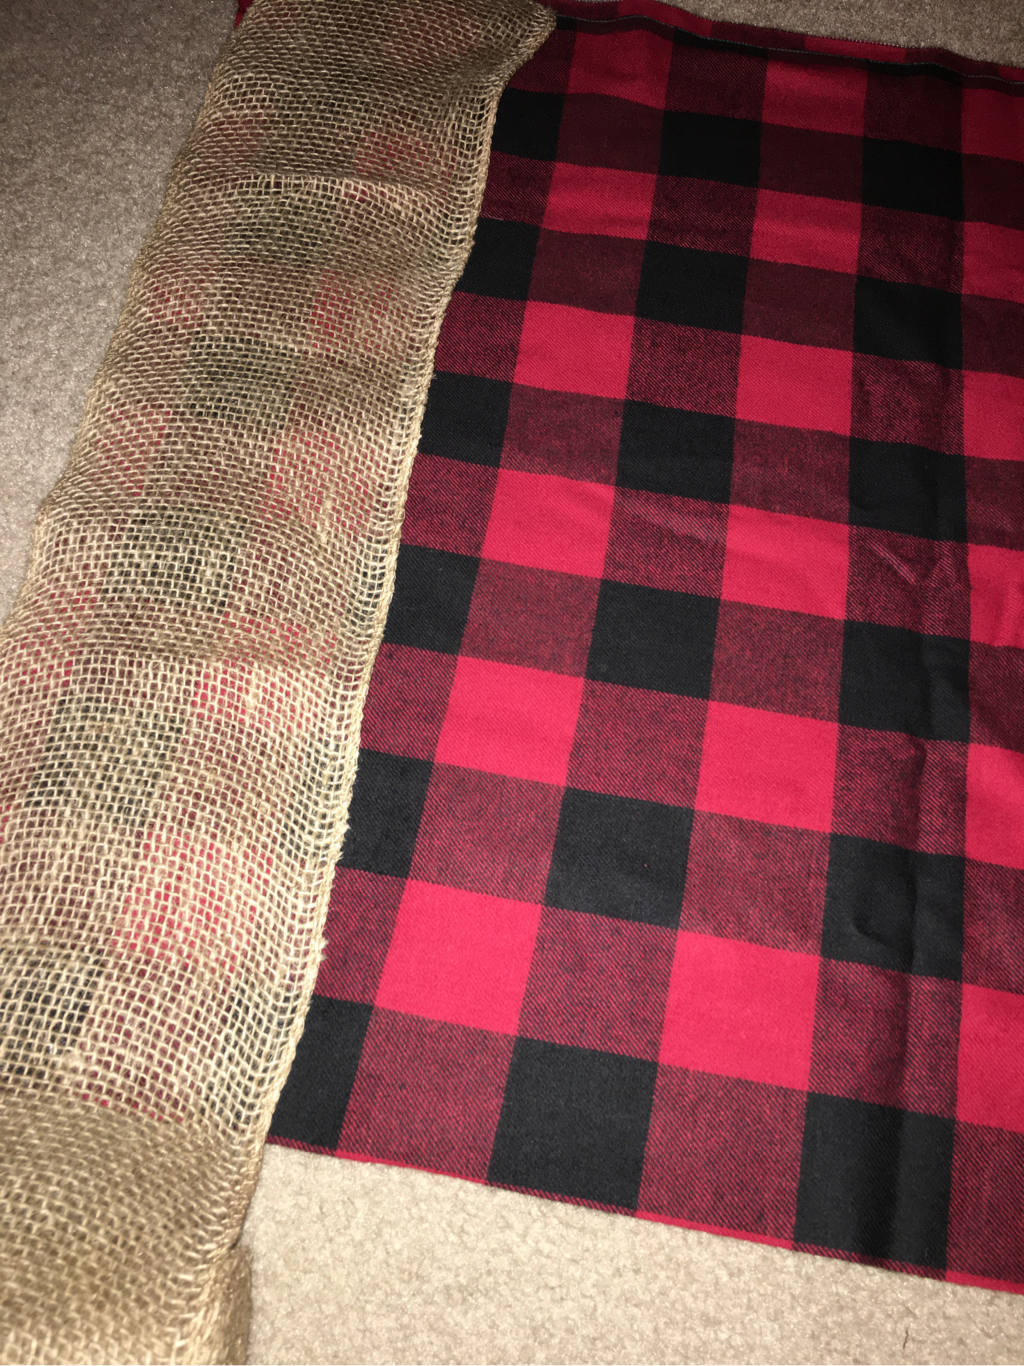 2. Cut all your strips of fabric and burlap. I didn't cut through the fold so all of my strips are approximately 44 inches long. You can adjust this just as you can the width to suit your needs. Place a strip underneath your twine and tie in the center. Repeat this process with each strip alternating colors. Leave plenty of twine on each end in order to tie or hang your garland. 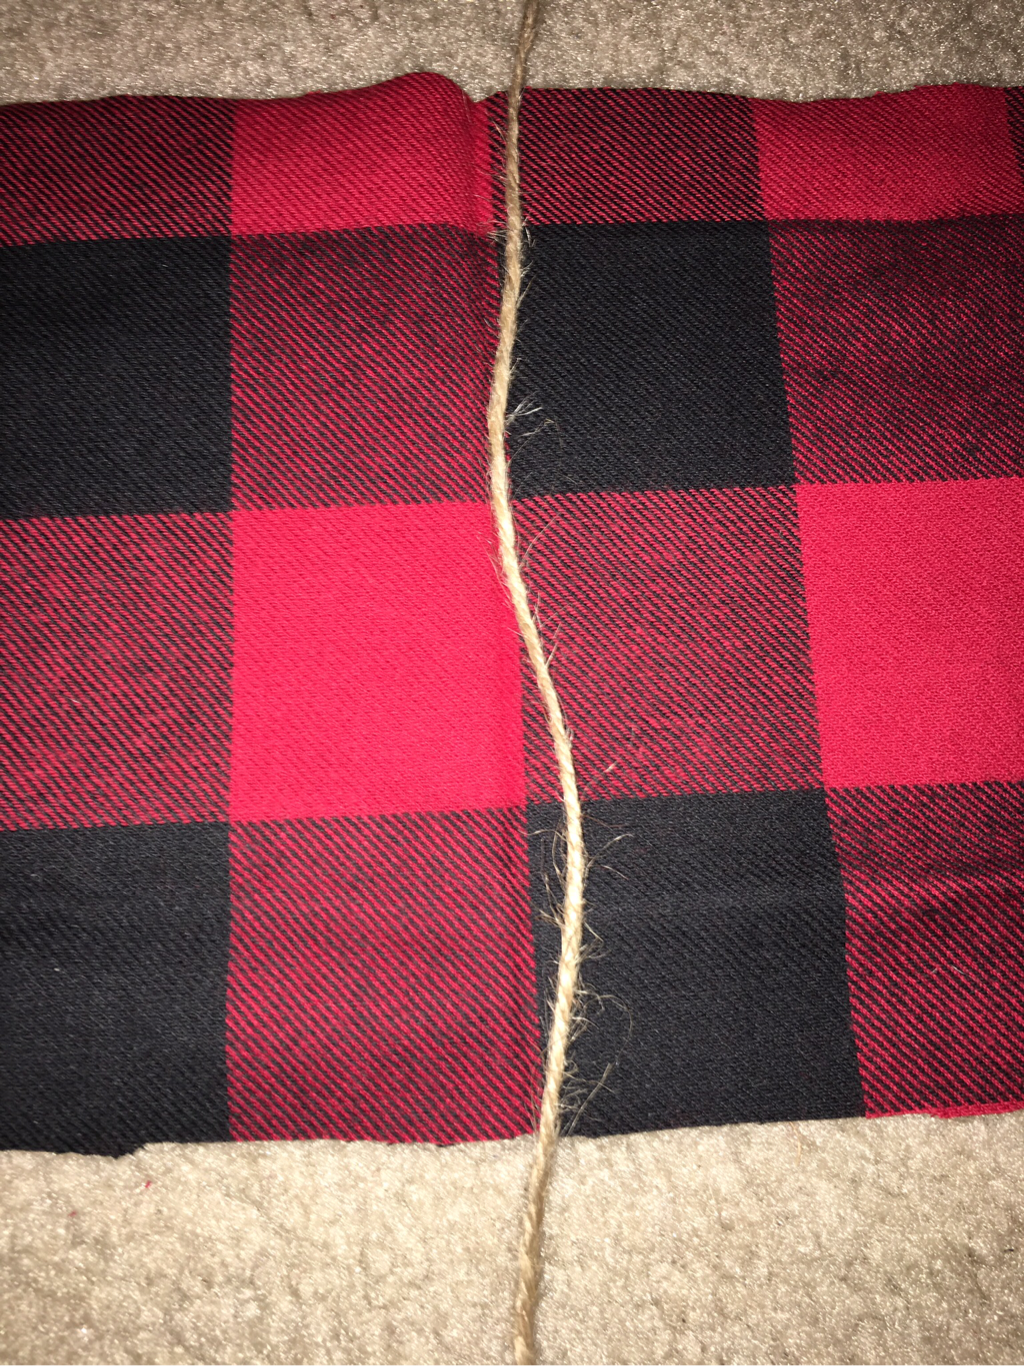 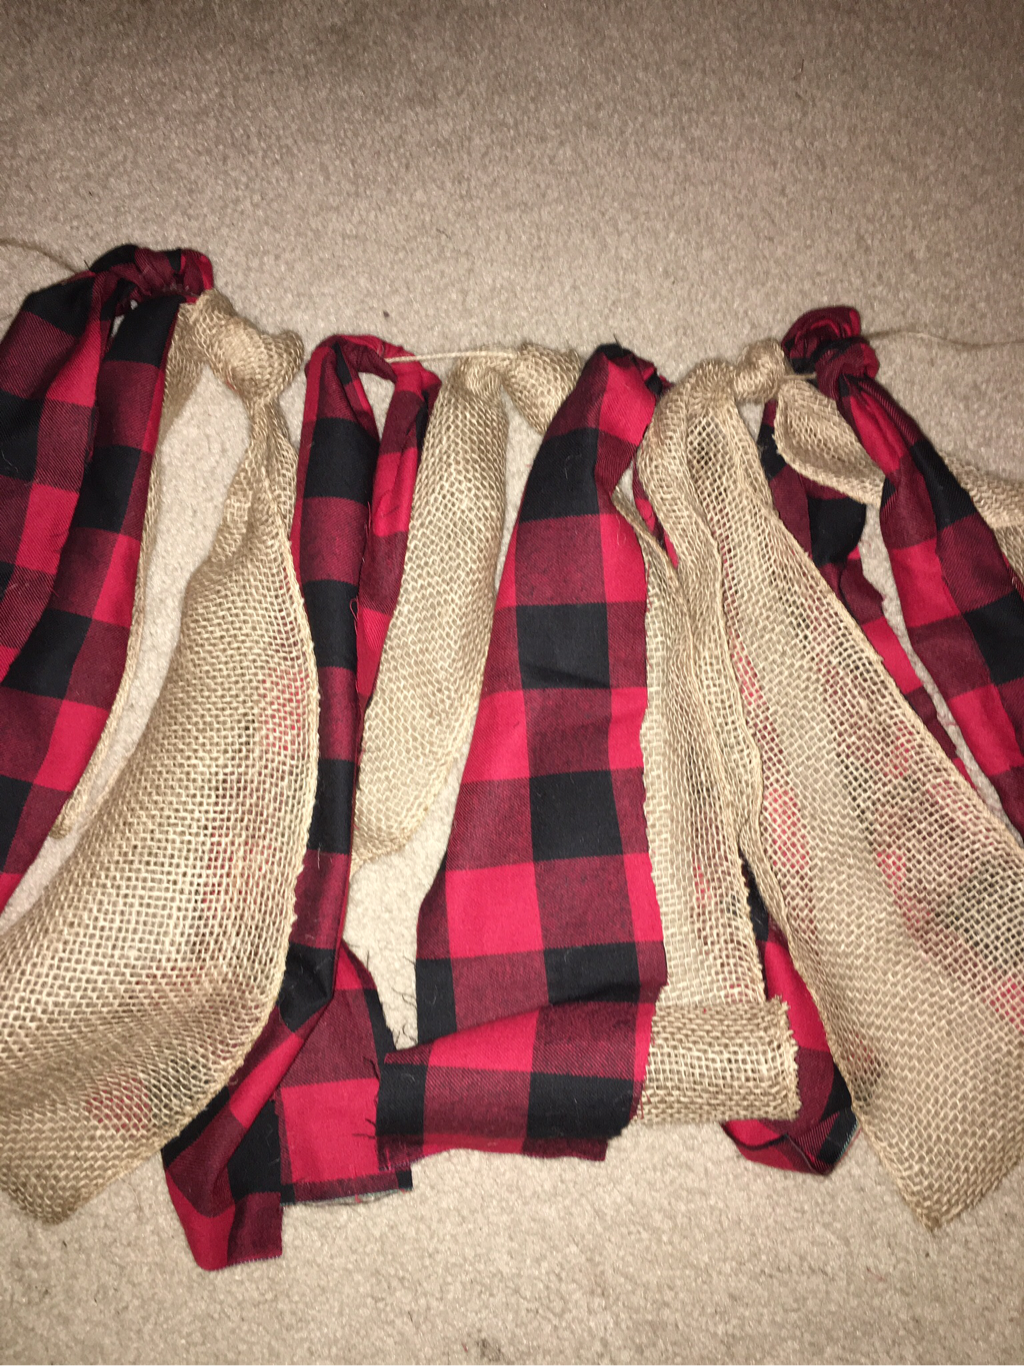 I also cut a few things on my silhouette machine to use for the party. After my reindeer and trees were cut, I realized that my remaining paper was just too cute to throw away. I backed each opening with some cardboard colored cardstock and added it to the center of my garland. 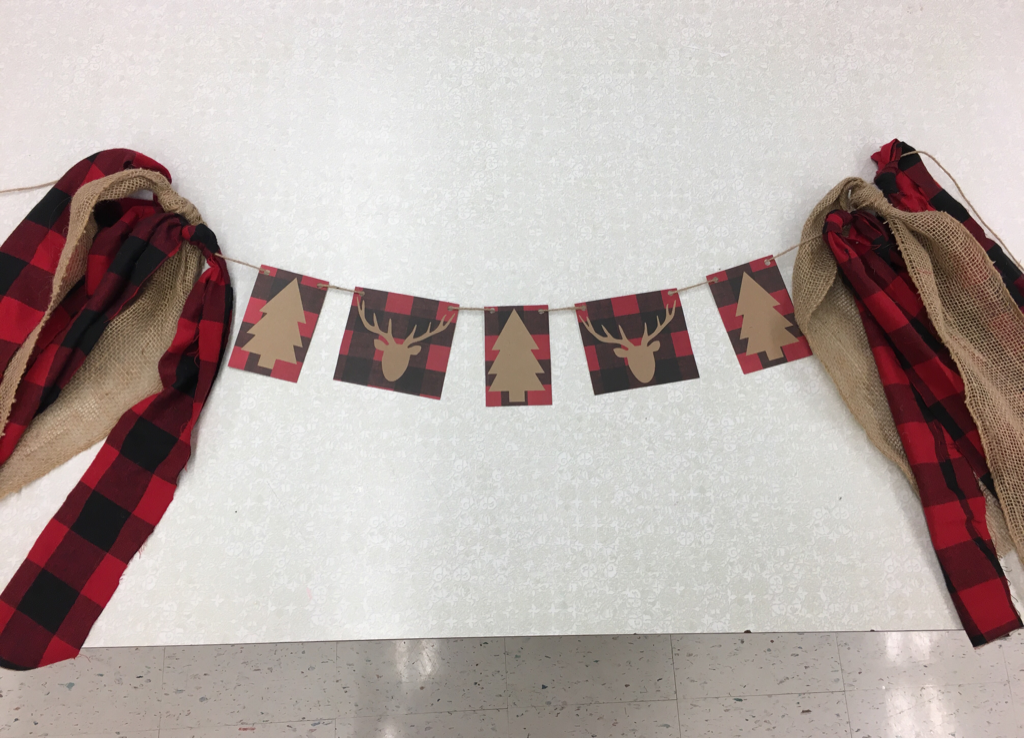 Cookie exchange is a great way for us to showcase our baking talents, enjoy each other's company, and spread a little holiday cheer. This year I purchased cardboard cake boxes so the students will have somewhere to store their cookies and of course I can't allow them to be plain. A little silhouette cut-out and a sharpie name makes an extra special take home box. We will also have a hot chocolate bar during our cookie exchange. Our toppings will be placed in mason jars that I purchased at Dollar Tree. I have so many of these jars because they are a great size for pantry items. The jars will be wrapped with a scalloped label that I also made on my silhouette machine.  The fourth annual cookie exchange will be here before we know it. Check back soon to see our winning cookies and holiday festivities!
Whether it's for groceries, a day at the beach or everyday necessities, everyone needs a tote bag for their treasures. Reusable bags are great for our planet and a super stylish addition to your everyday travels. The finished size of this bag is: 20wx18h but the dimensions can be adjusted to meet your needs. The inside pockets are great for smaller items such as lipstick and change. The dimensions of the pockets are: small (2)- 4 1/2 w x 6 1/2 h zipper pocket- 9 w x 6 h Hobby lobby is my favorite place on the planet so of course I purchased my materials there. I selected 2 cotton prints in my favorite colors and styles but a variety of materials will work well for this - cotton, canvas, duckcloth or even oilcloth. Consider what you are planning on using the bag for before purchasing your fabric. I will be using the black and white stripe for the outside of my bag and the lining of my zipper pocket. The pink polka dot will be for my bag lining and my 2 small pockets. 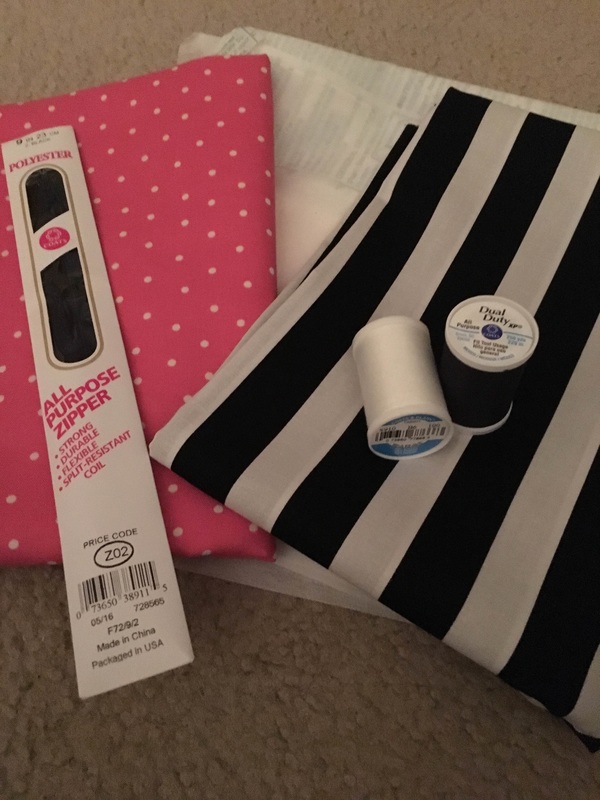 Materials needed: 1 yard for outer bag 1 yard for lining 2 yards of nylon webbing for straps ( you could also use ribbon but it is less durable) 9 inch zipper in a coordinating color 2 ½ yards fusible interfacing (medium weight is my favorite) - interfacing is also optional, I like to use it to help stabilize my material but it may not be necessary if you are using a heavier material such as canvas. Coordinating thread Fabric tape such as wonder tape (optional)
Outer fabric - 20x22(2) Lining fabric - 20x22(2) Interfacing - 20x22(4) optional Small pockets - 5x7 (4) this will make 2 pockets. These are optional and you can adjust sizes. Zipper pocket lining - 13x15. This is also optional and the size can be adjusted. On each of your bag side pieces, remove a 3 inch square from the 2 bottom corners (this will be your box corner bottom) 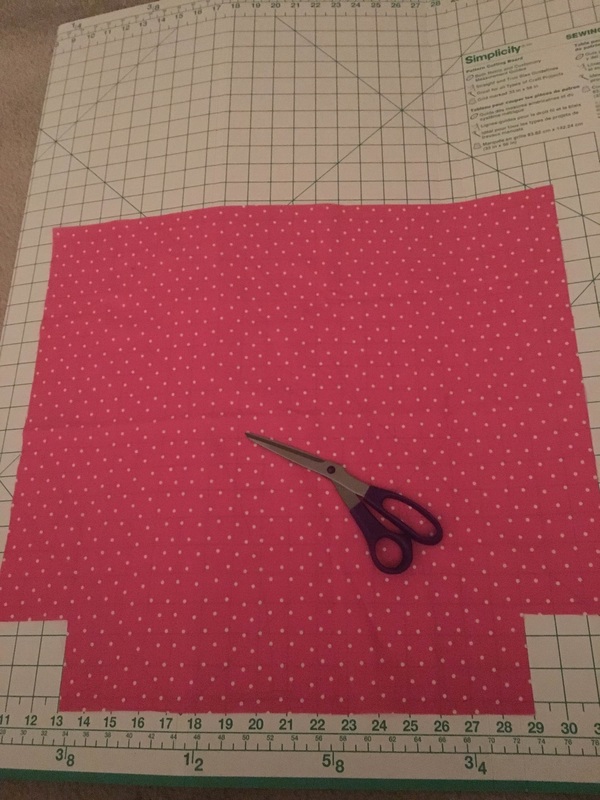 2. Interface your pieces if you have chosen to do so. I prefer fusible interfacing (follow the directions on how to fuse it). You can also use sew-on interfacing if you'd like. 3. Small pockets: Place 2 pocket pieces right sides together, pin and stitch around the perimeter leaving a small opening for turning. Clip the corners. 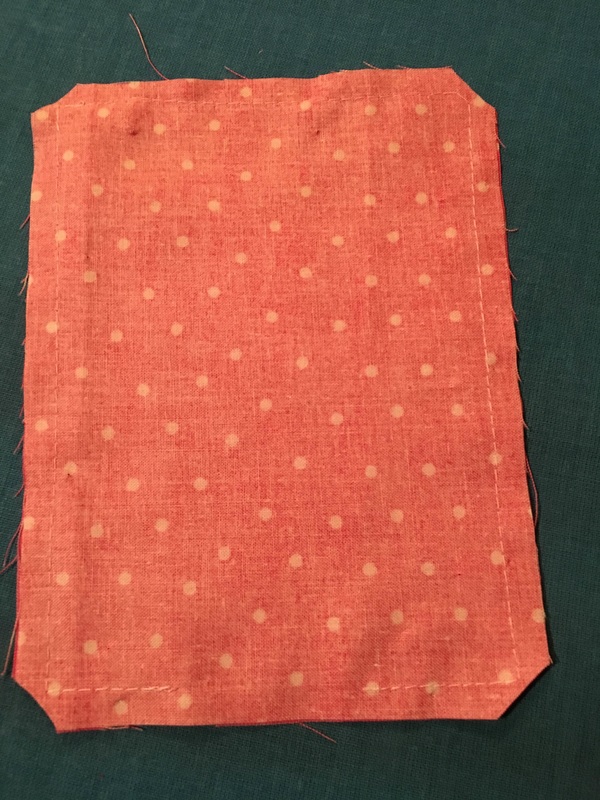 4. Turn pocket right side out, press, and topstitch. Repeat for the other pocket. 5. Once your small pockets are complete, pin and stitch them where you would like them on a lining piece. I am putting mine next to each other on one side of my lining. Remember to leave the top of your pocket open for use. 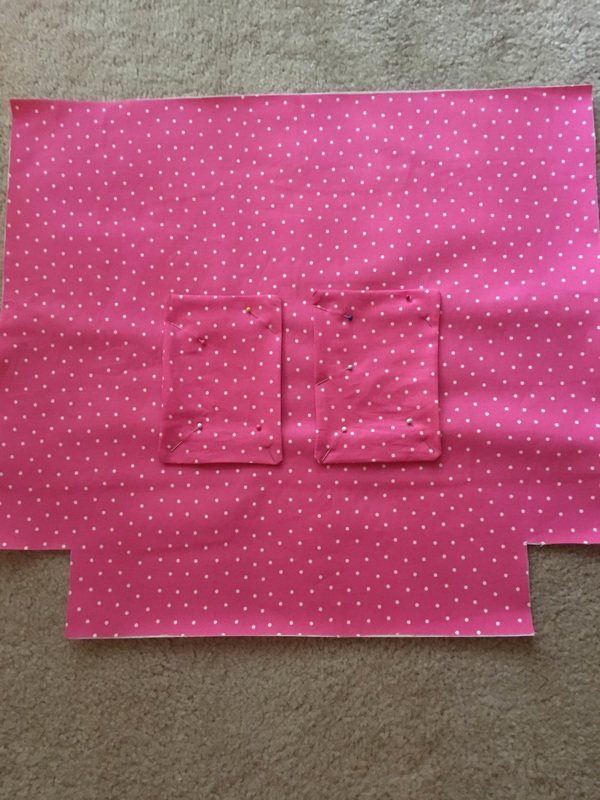 6. Zipper pocket: for this step you will need the lining piece that does not have pockets yet, your 13x15 zipper lining piece, a ruler and a marking pencil. Place your 13x15 piece right sides together with your lining 1 ½ inches above the place you want your zipper. 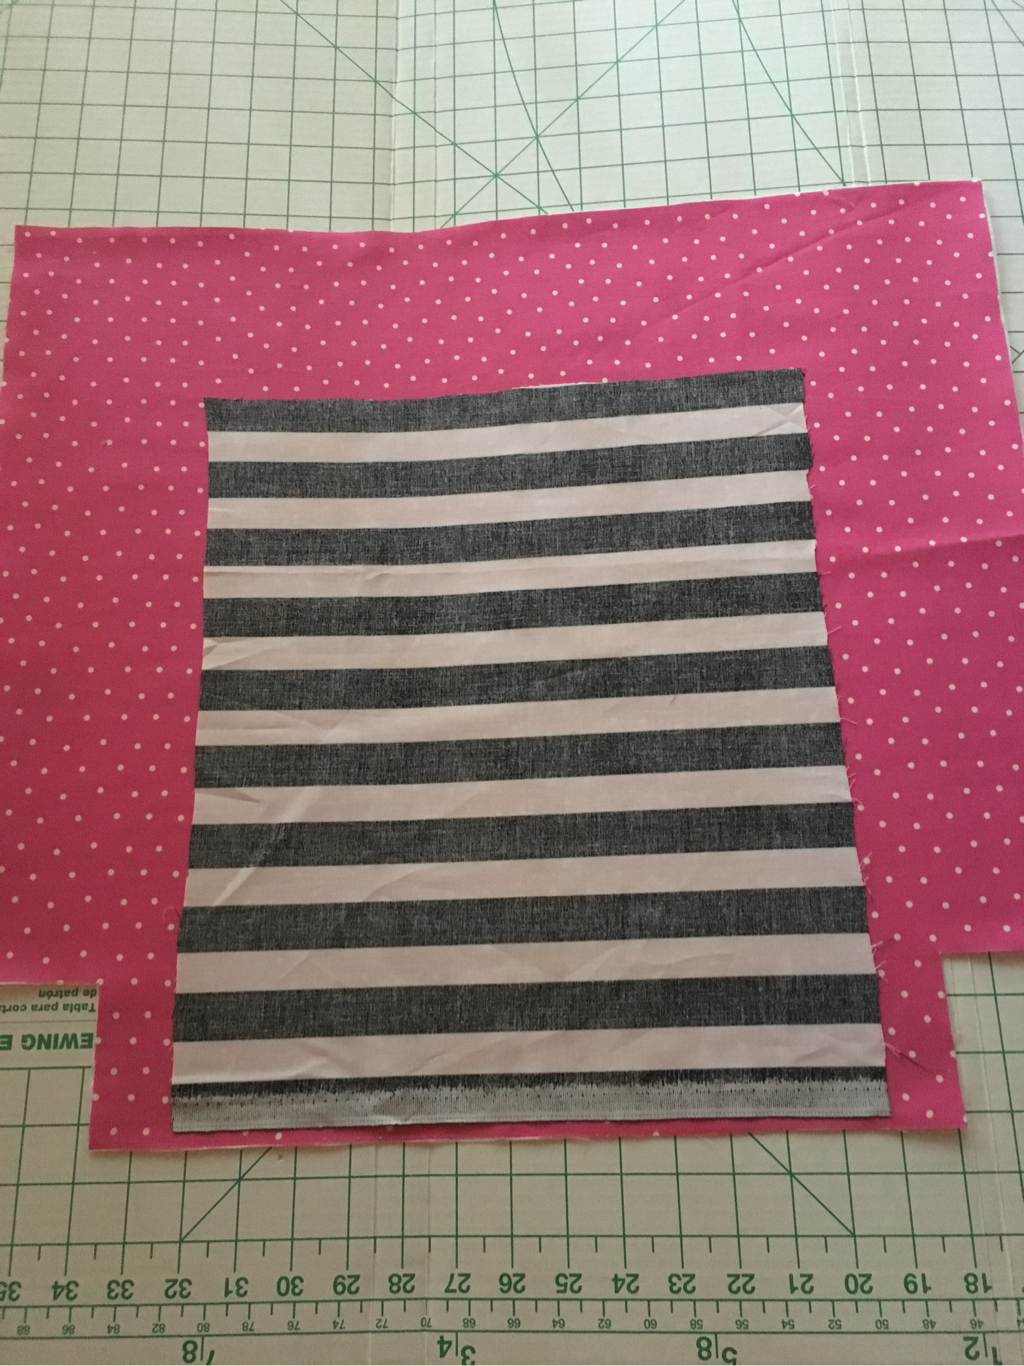 Mark 1 ½ inches from the top and draw a line all the way across. Mark 2 inches from the top and draw a line all the way across. Mark the center and the length of your zipper in between your 2 lines. I added triangle at each end and connected them down the center (this will be used for cutting). When this is done, it should give you a box that looks like this: 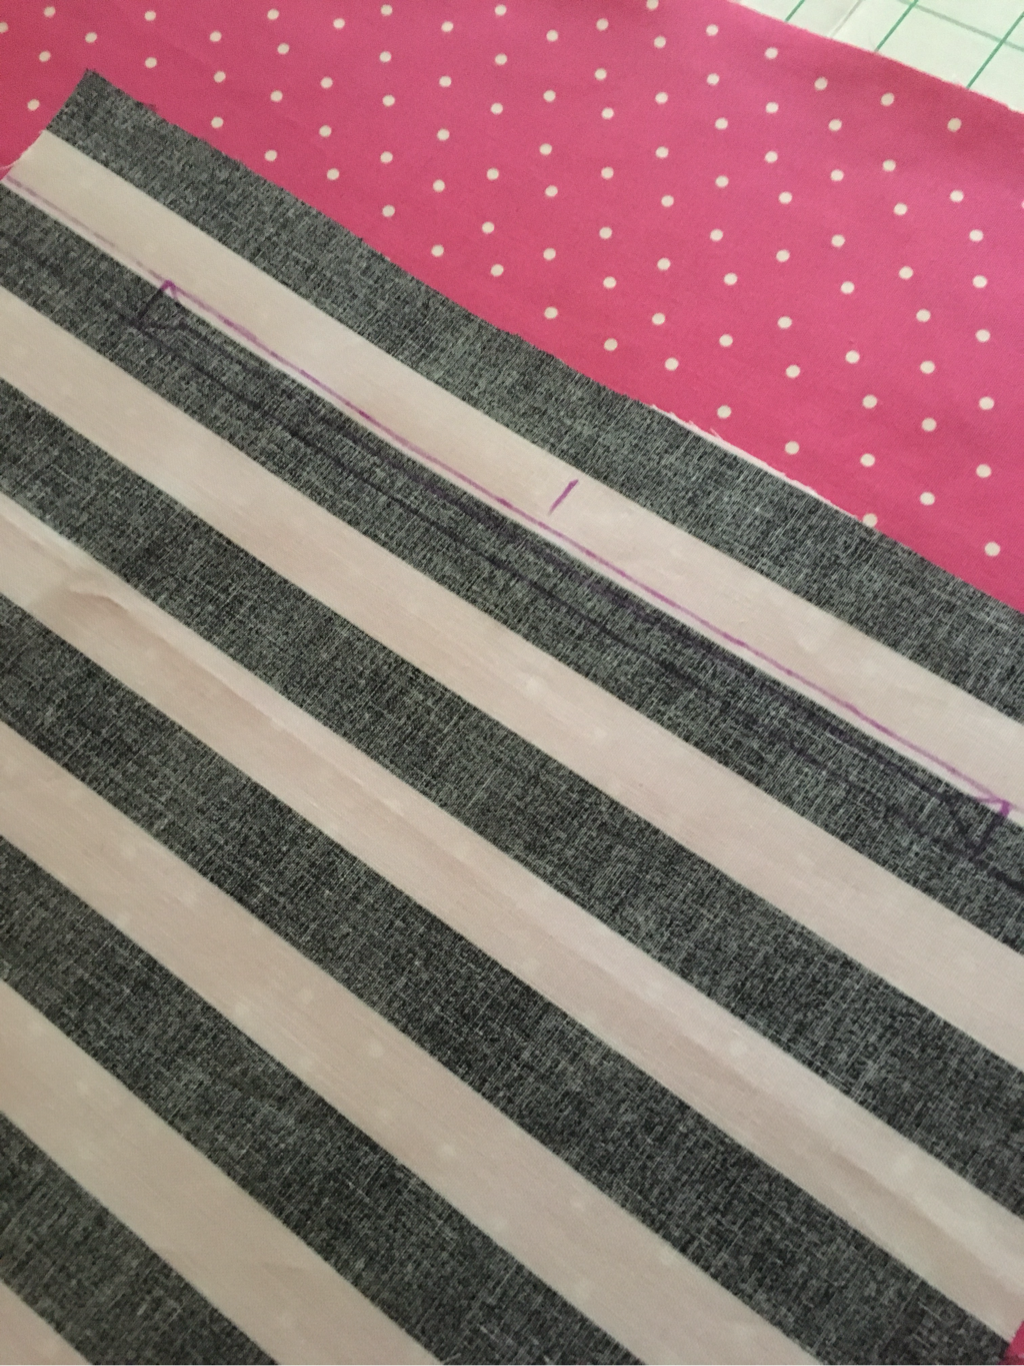 Pin your fabrics together and stitch around the perimeter of the box. 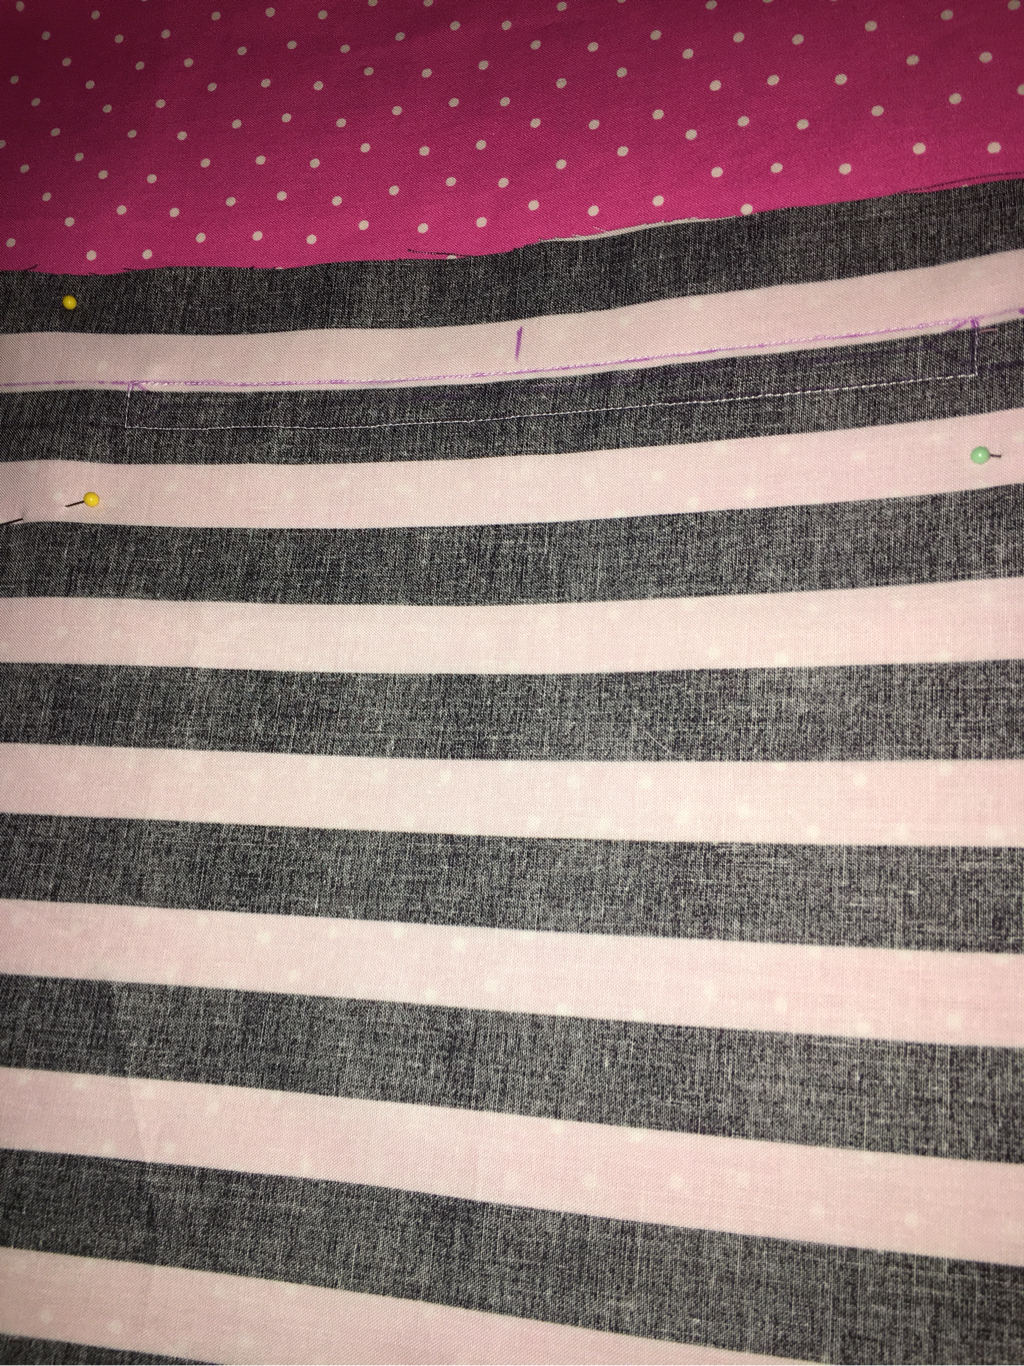 Use the center line to cut an opening in both layers of fabric. Cut the sides of your triangles as well. 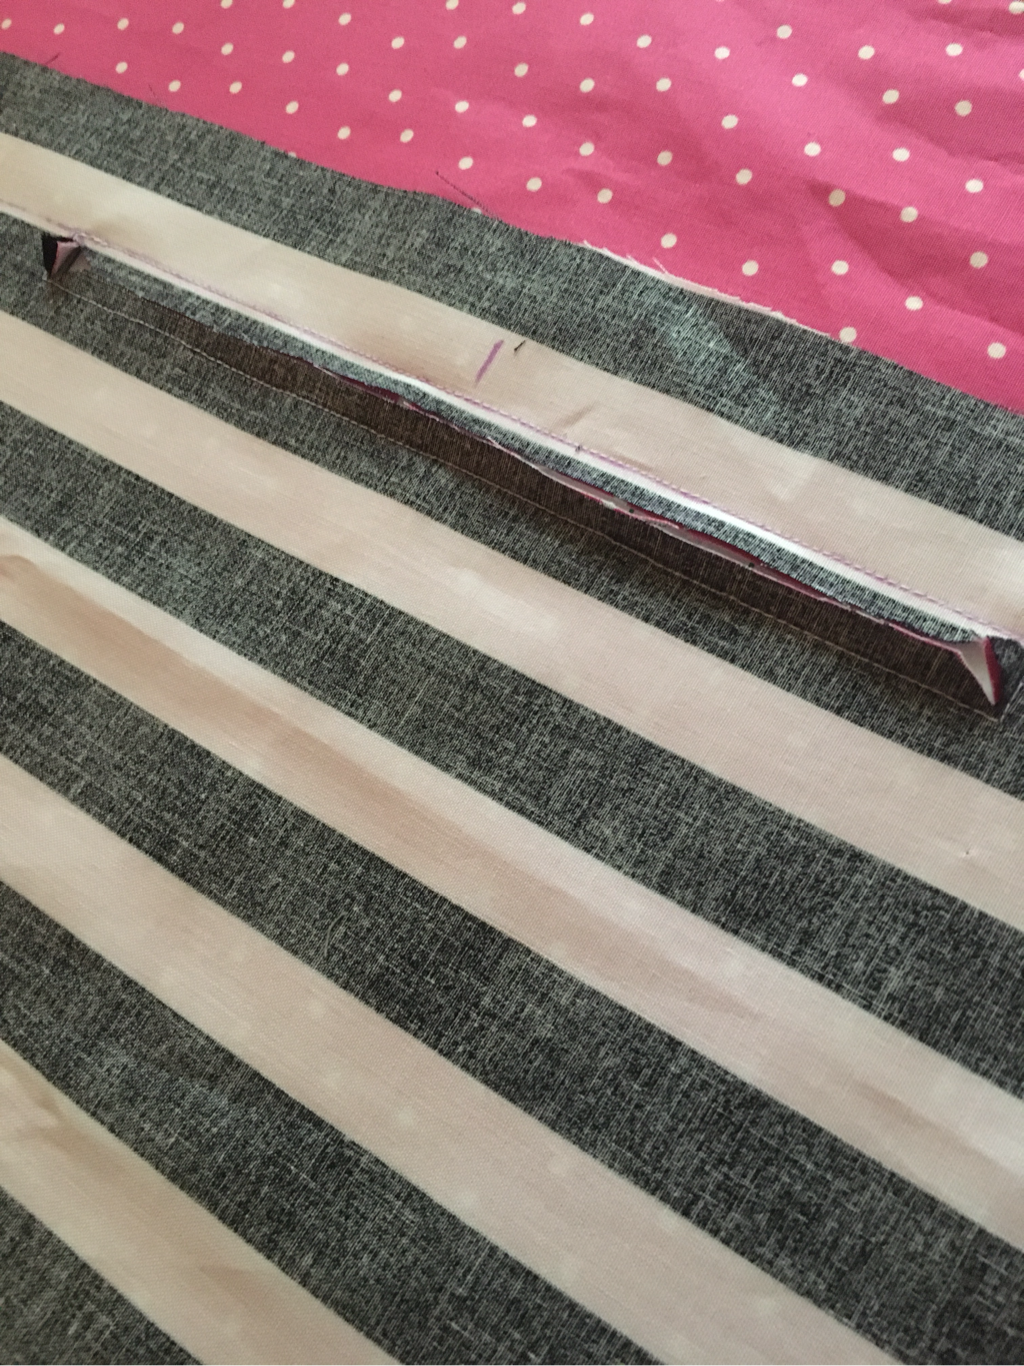 Pull your fabric through the opening and press. 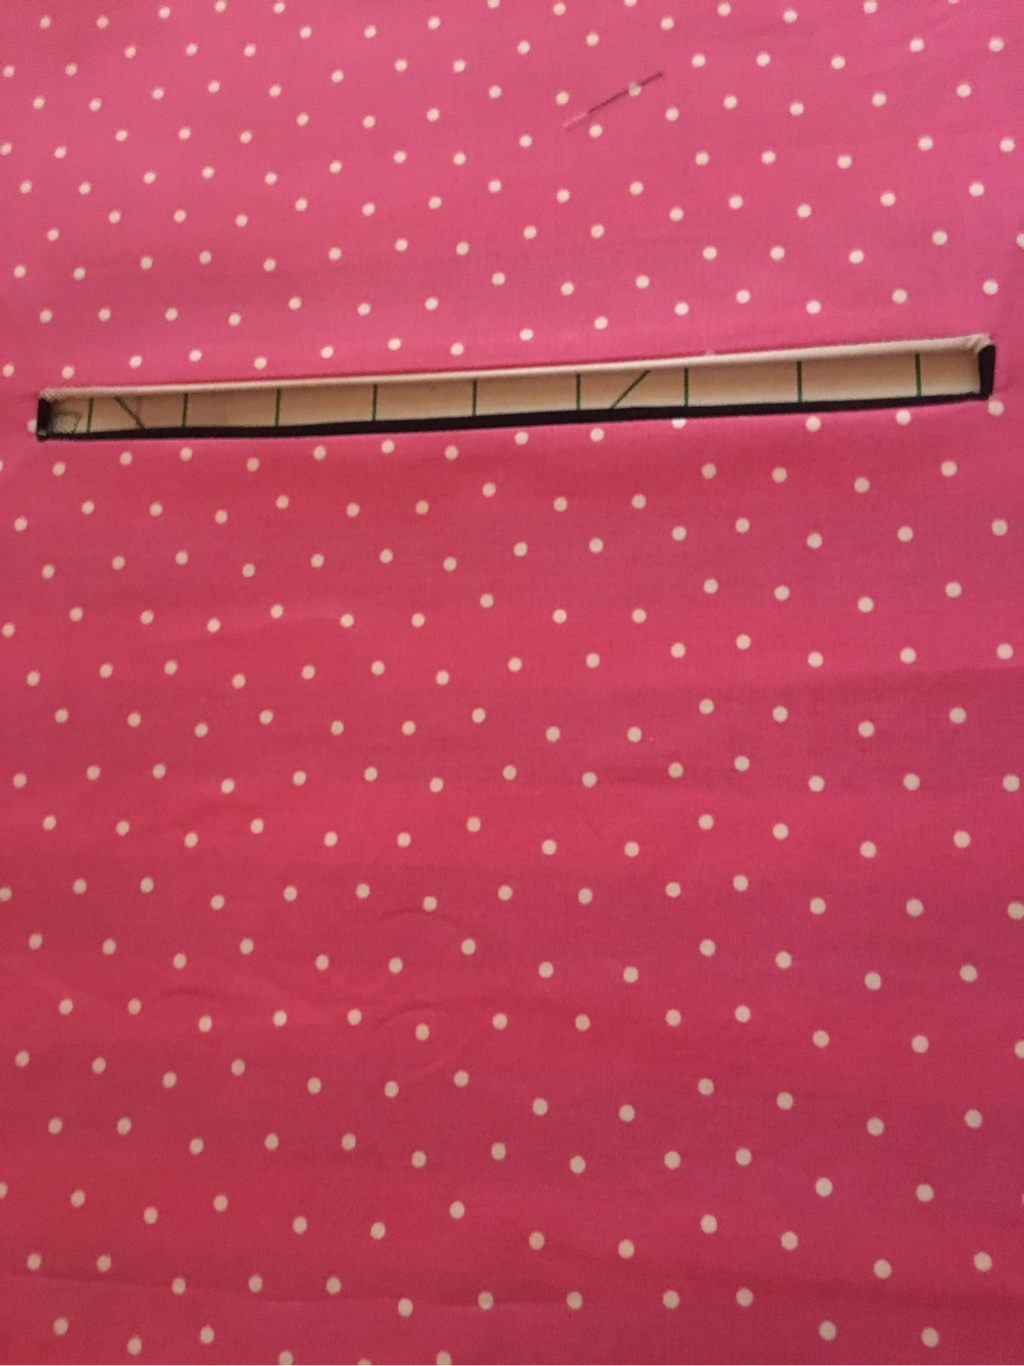 You are now ready to put on your zipper. Pinning a zipper can cause it to pucker so I prefer to tape it on using fabric tape (wonder tape is my favorite). Place fabric tape on the back side of the opening, then stick your zipper to the tape, centering your zipper and making sure the zipper pull is free to use. 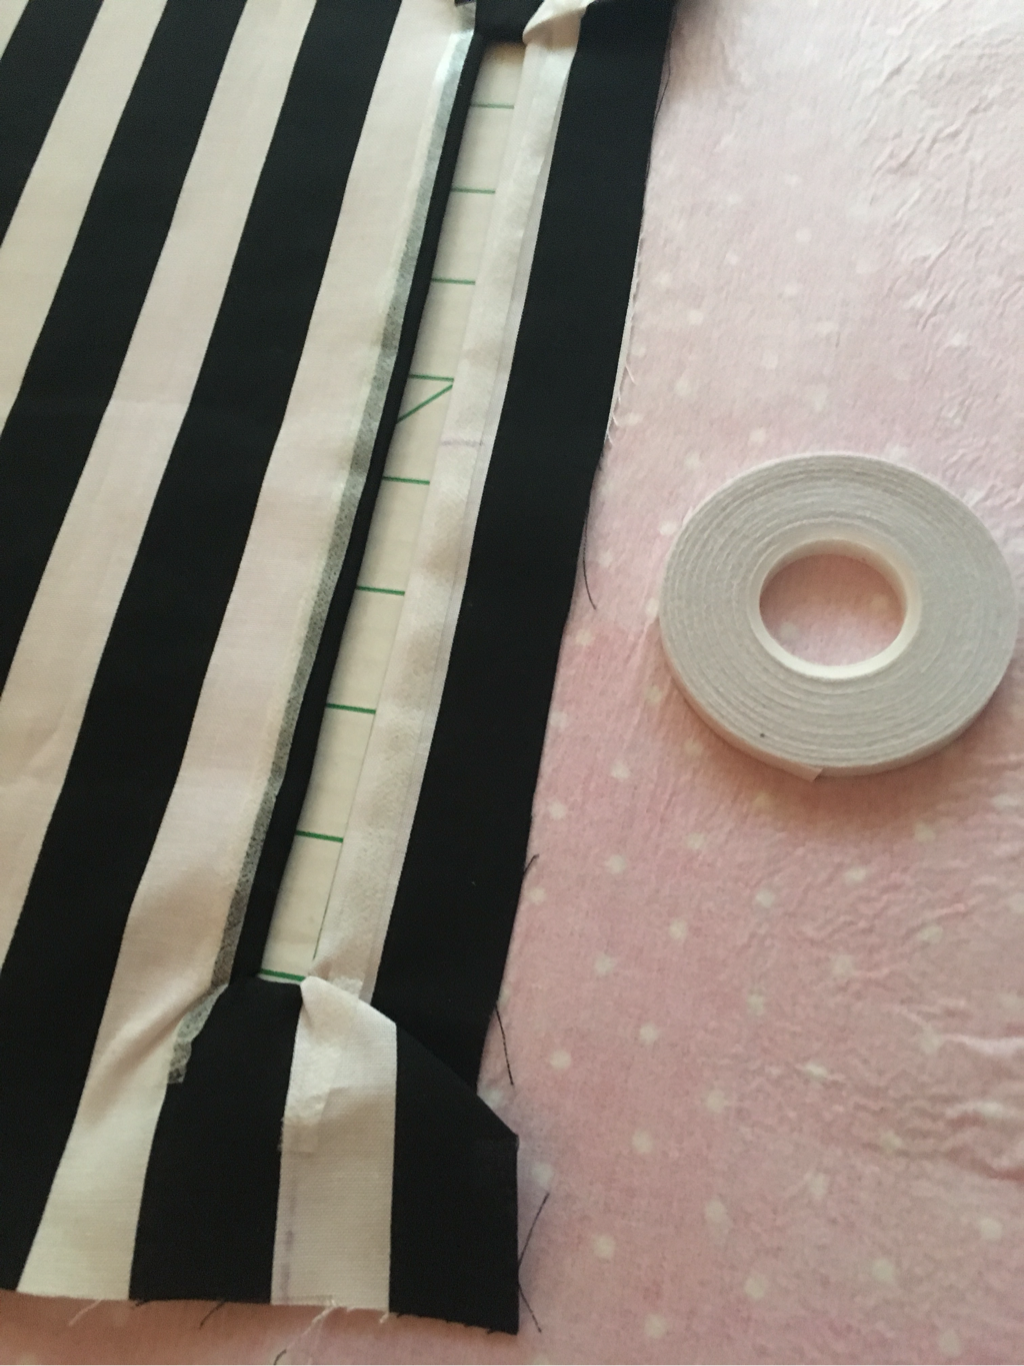 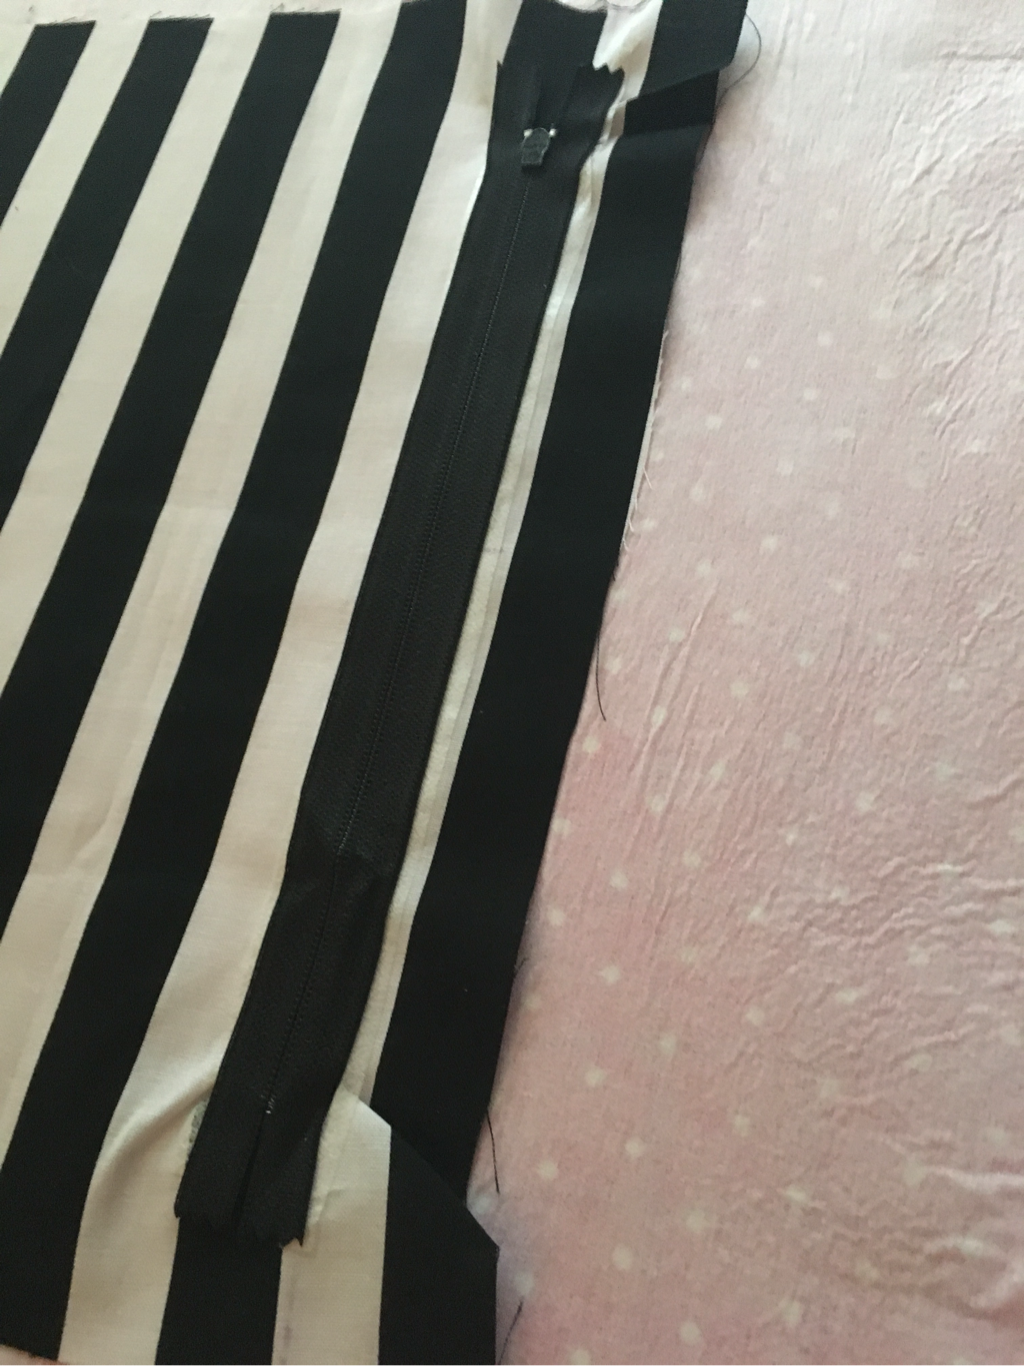 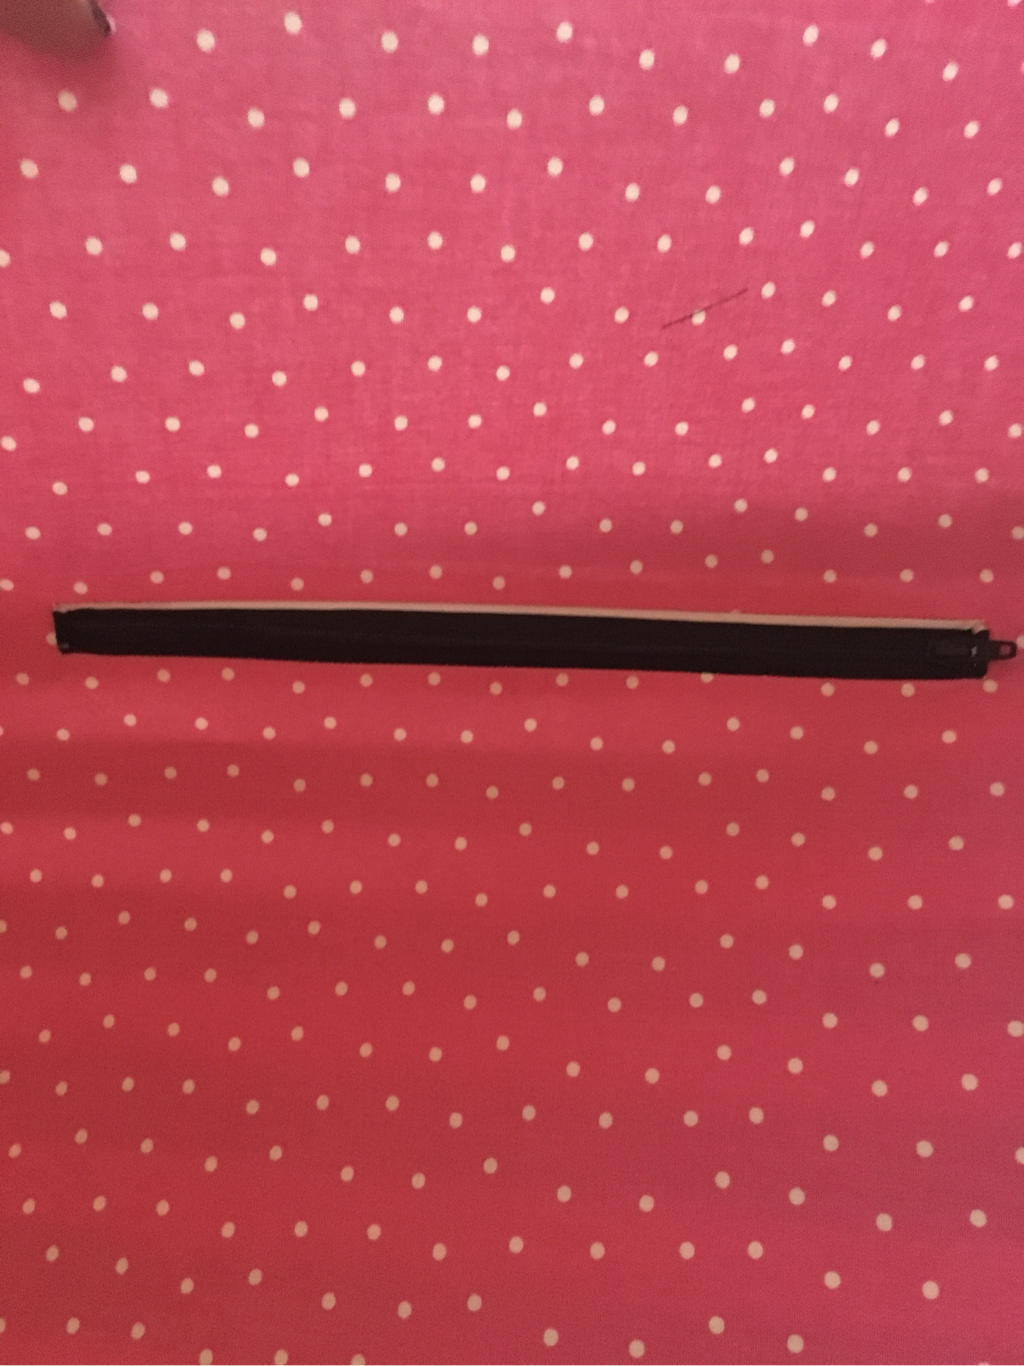 Now topstitch your zipper in place. I prefer to do this right side up so I can control the placement of my stitches. 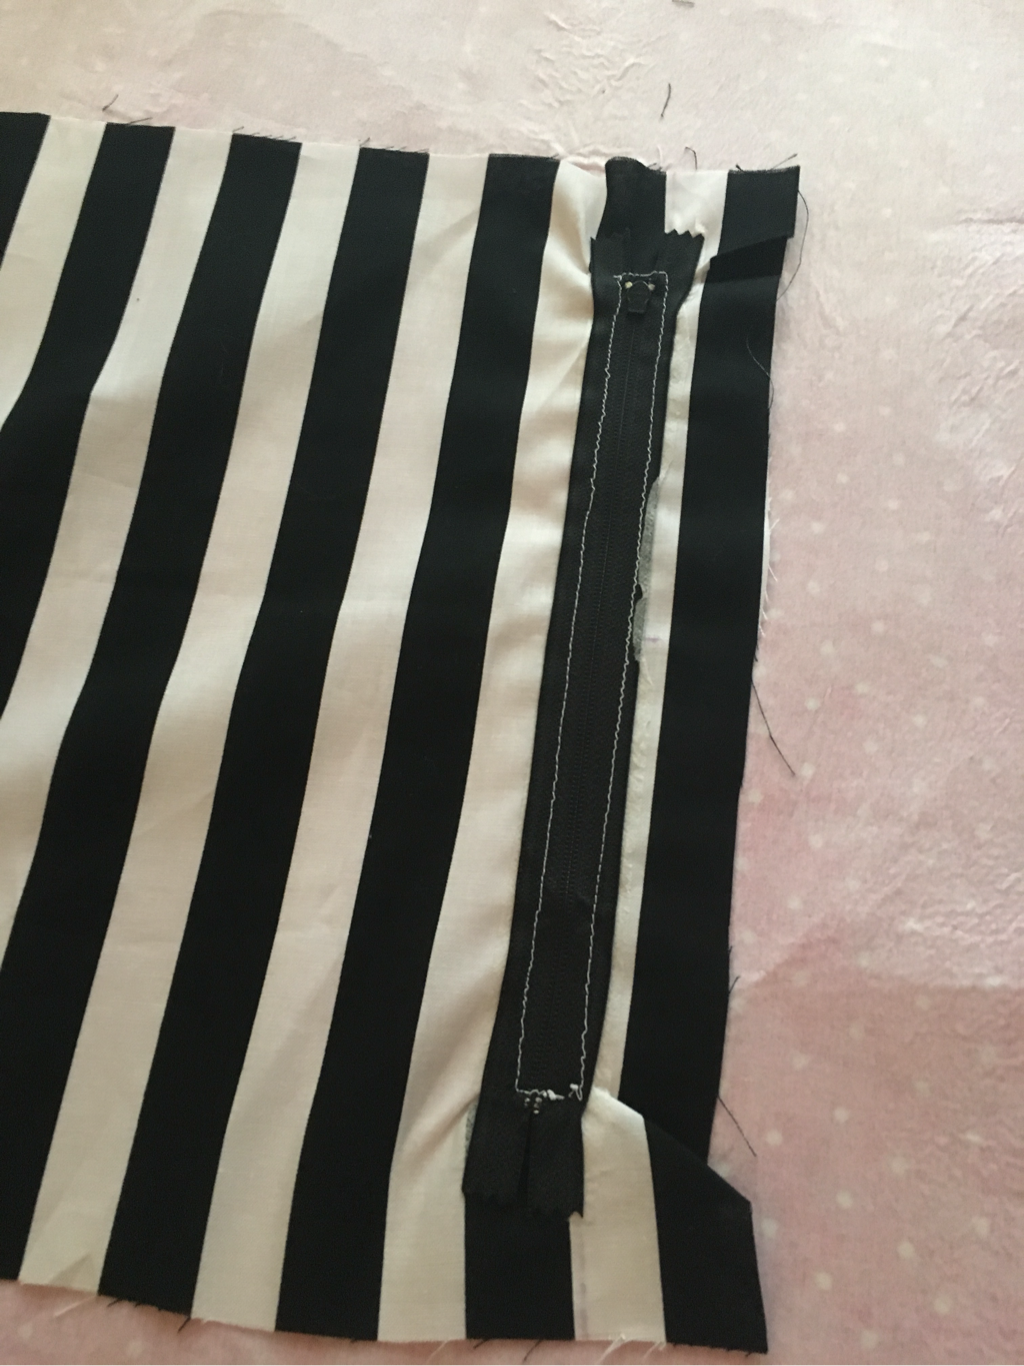 7. To enclose your zipper pocket, place remaining fabric right sides together, pin and stitch the 3 open sides being careful not to catch your lining in the process. Don't worry if your edges look bad, that part will be hidden between your lining and outer bag. You will now have a beautifully lined zipper pocket. 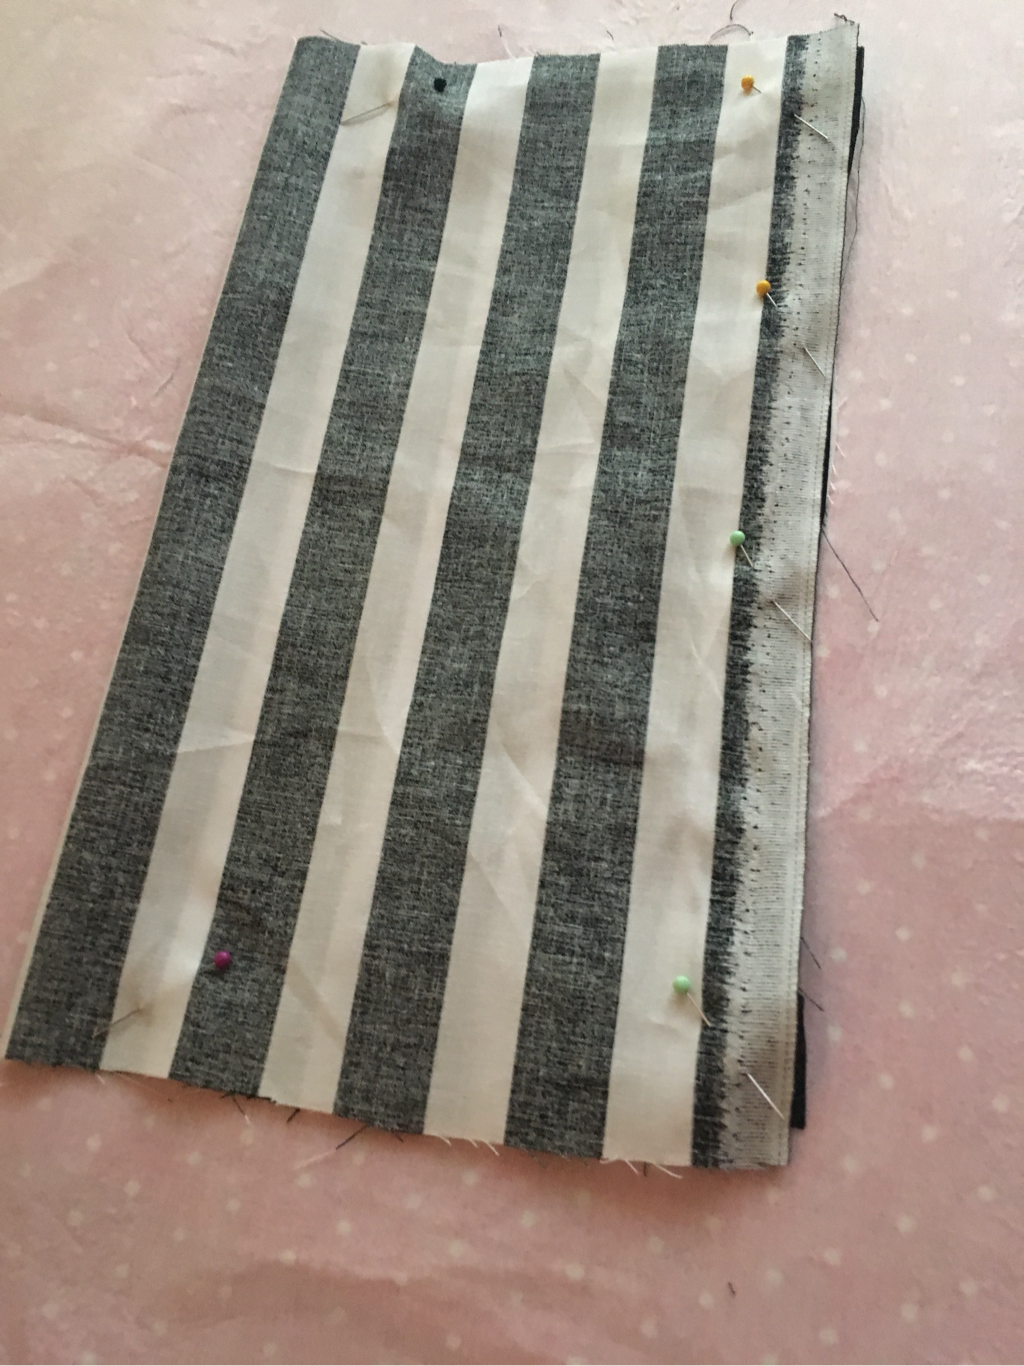 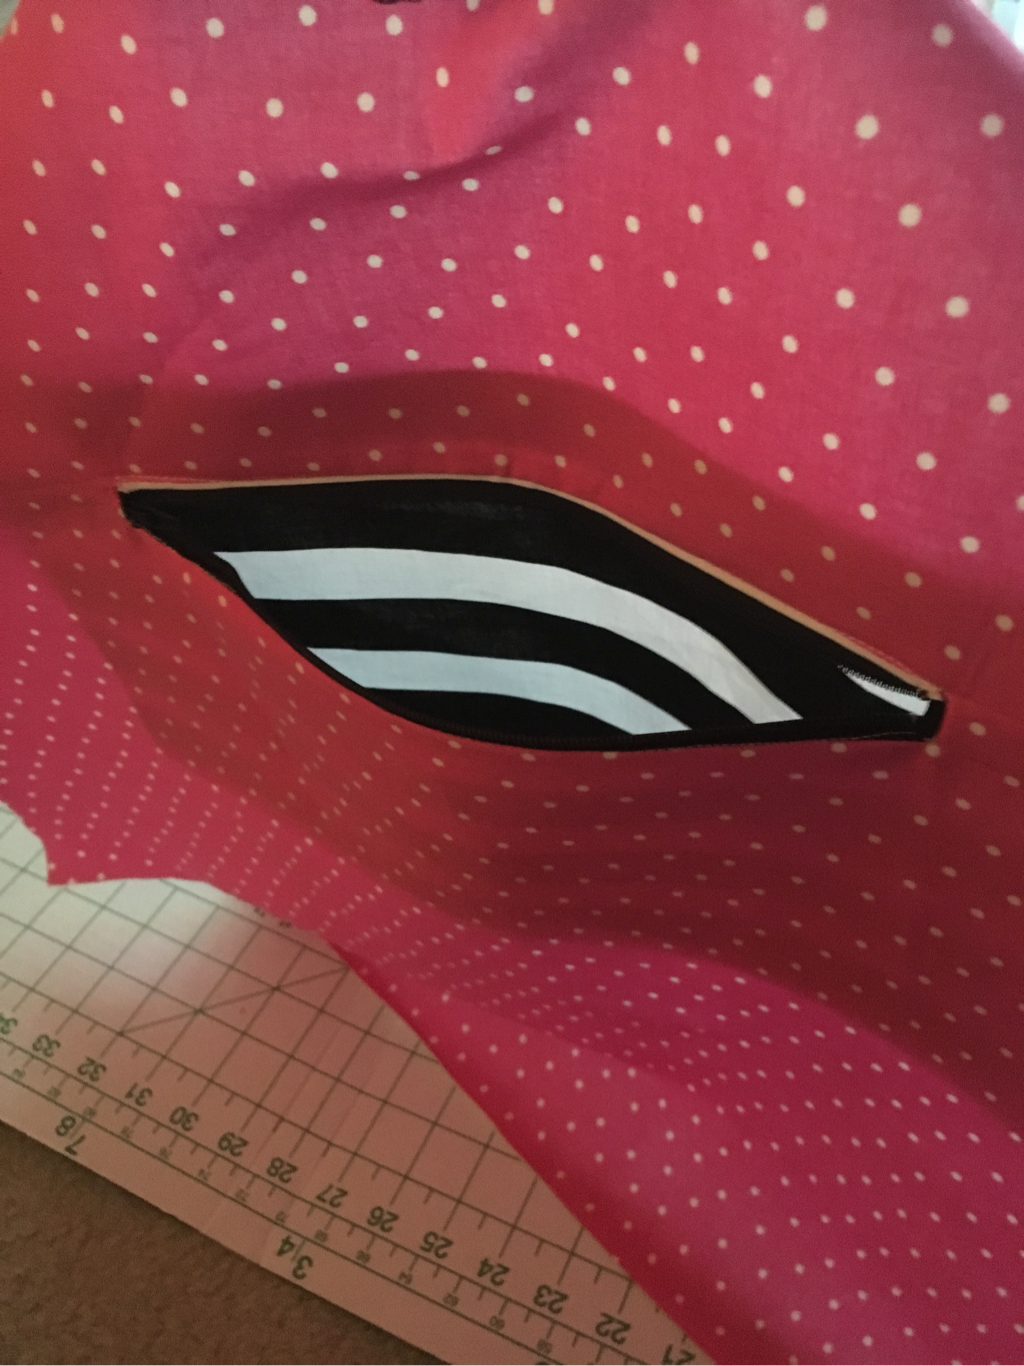 8. To put your bag together, place your outer pieces right sides together, pin, and stitch the sides and bottom edge. Press your seams open. Make sure to leave the top edge open as well as the 3 inch cut-outs in the bottom. 9. Repeat this process for the 2 lining pieces as well. On the lining piece only, leave an additional 4 inch gap in the bottom center (this will be used for turning) 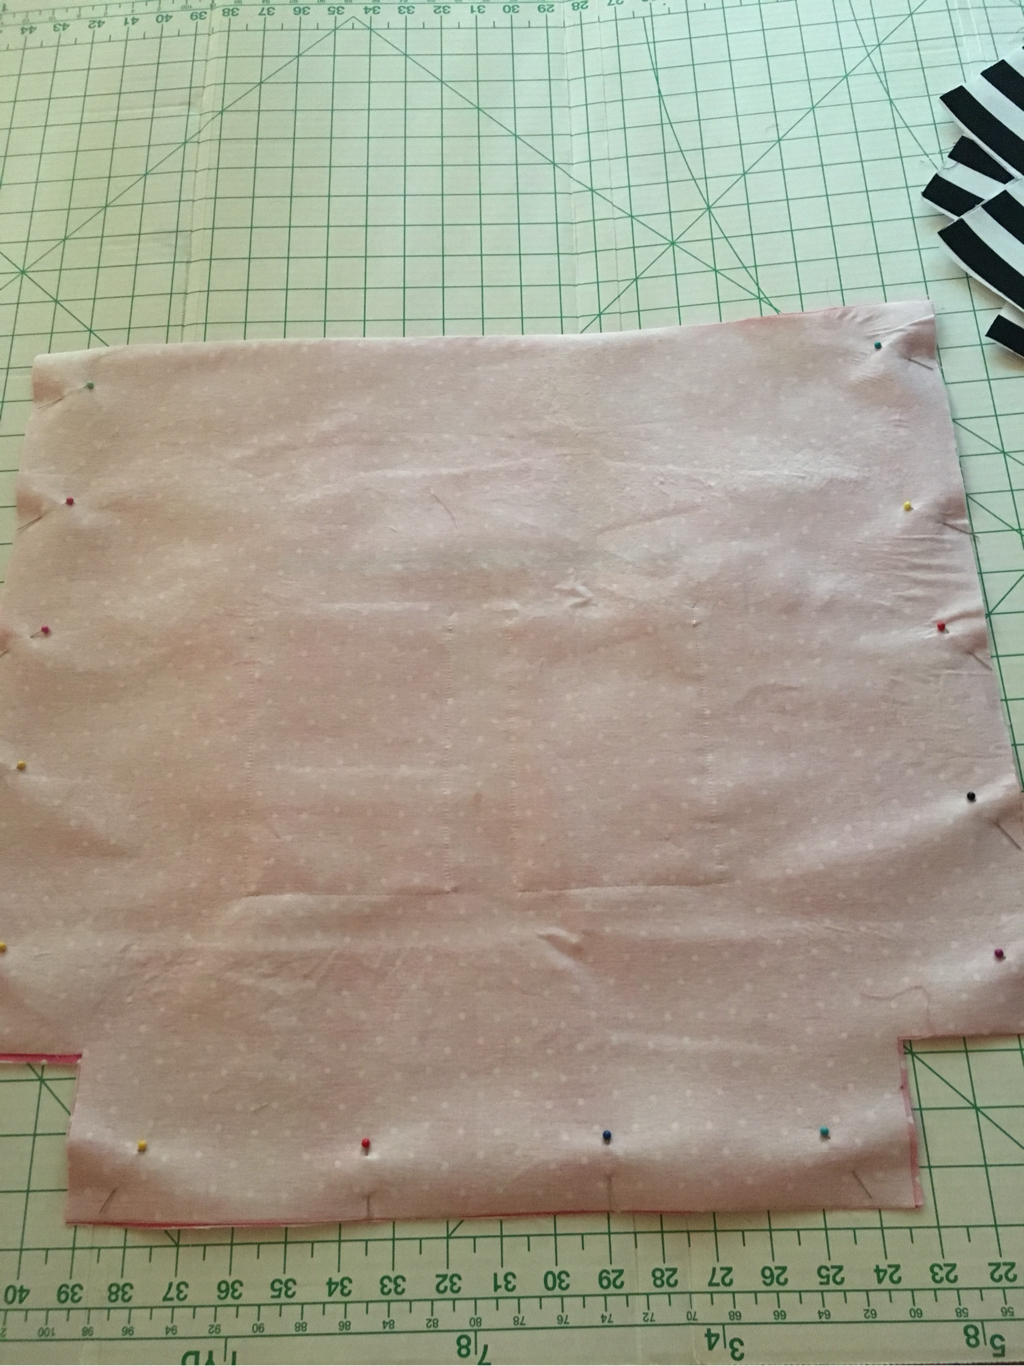 10. To create your box corner, pinch the seams together at the 3 inch opening, placing your seams right sides together. Pin in place and stitch across to close the opening. Repeat this process for all 4 openings (2 on the lining, 2 on the outer bag) 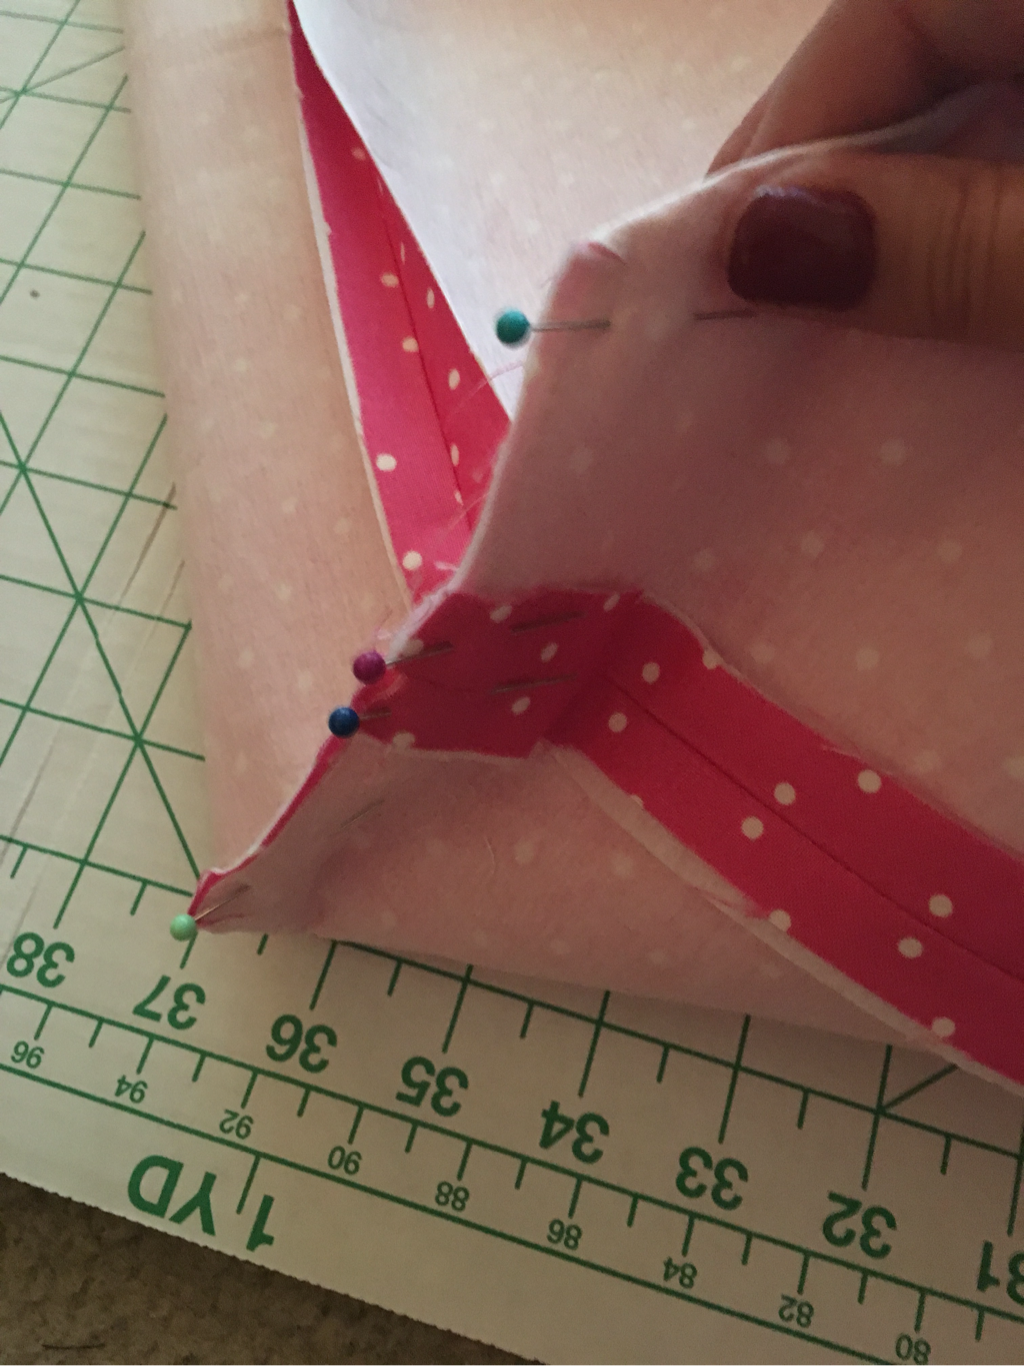 11. Attach your straps to your lining piece. Strap length can vary based on your personal preference. Place the ends of your strap on the right side of the lining piece. Stitch across several times to secure. Repeat this for both sets of straps. 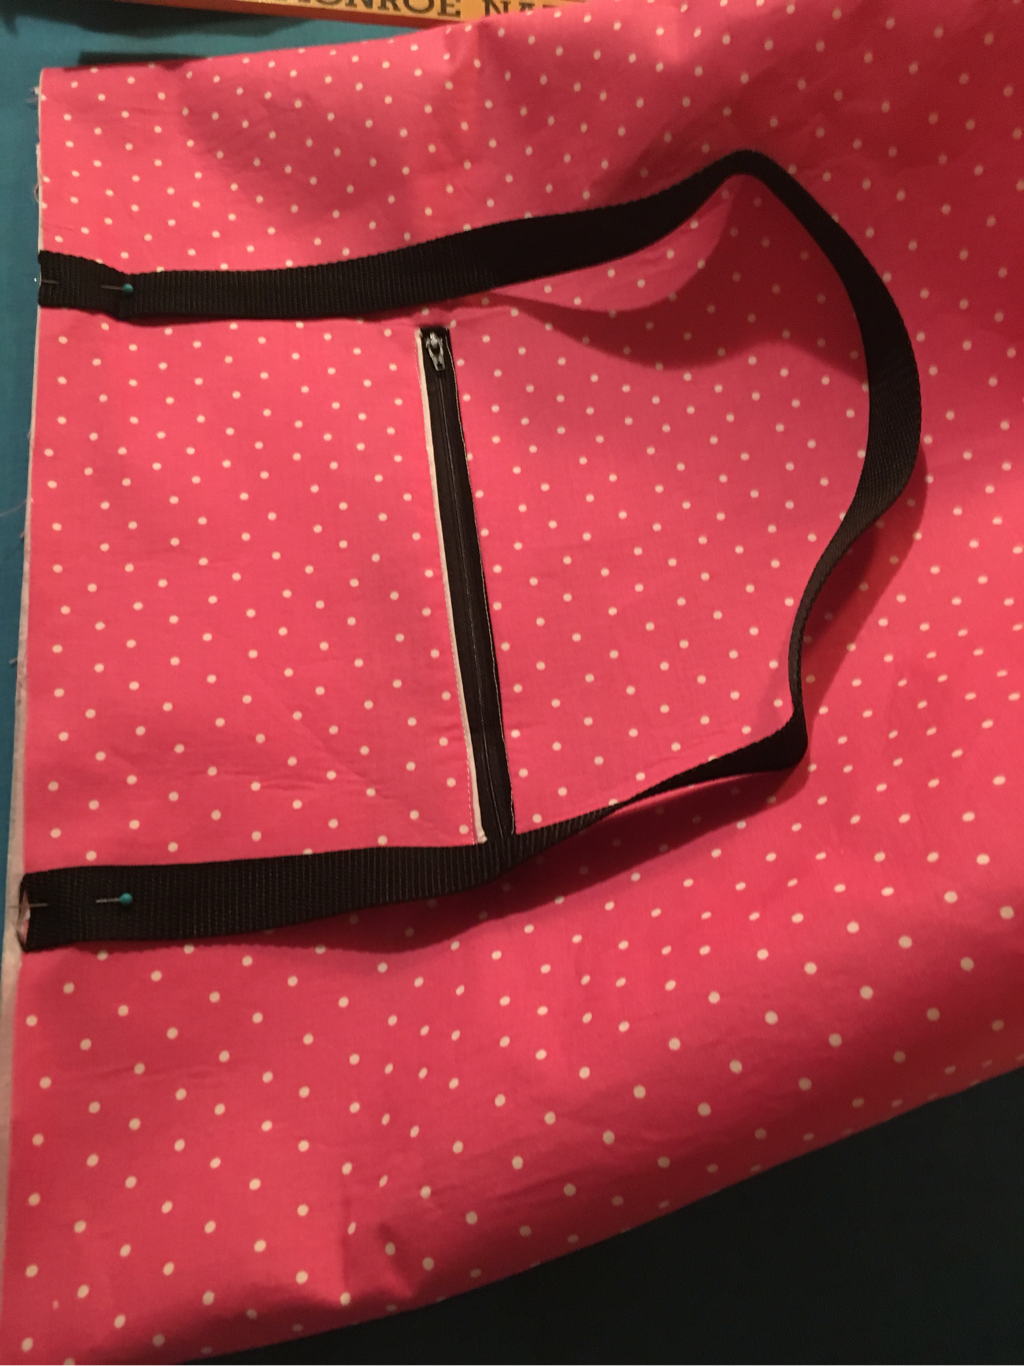 12. Turn outer bag right side out and inner bag wrong side out. Place the outer bag inside the inner so that right sides are together. Make sure straps are sandwiched between the 2 bags. 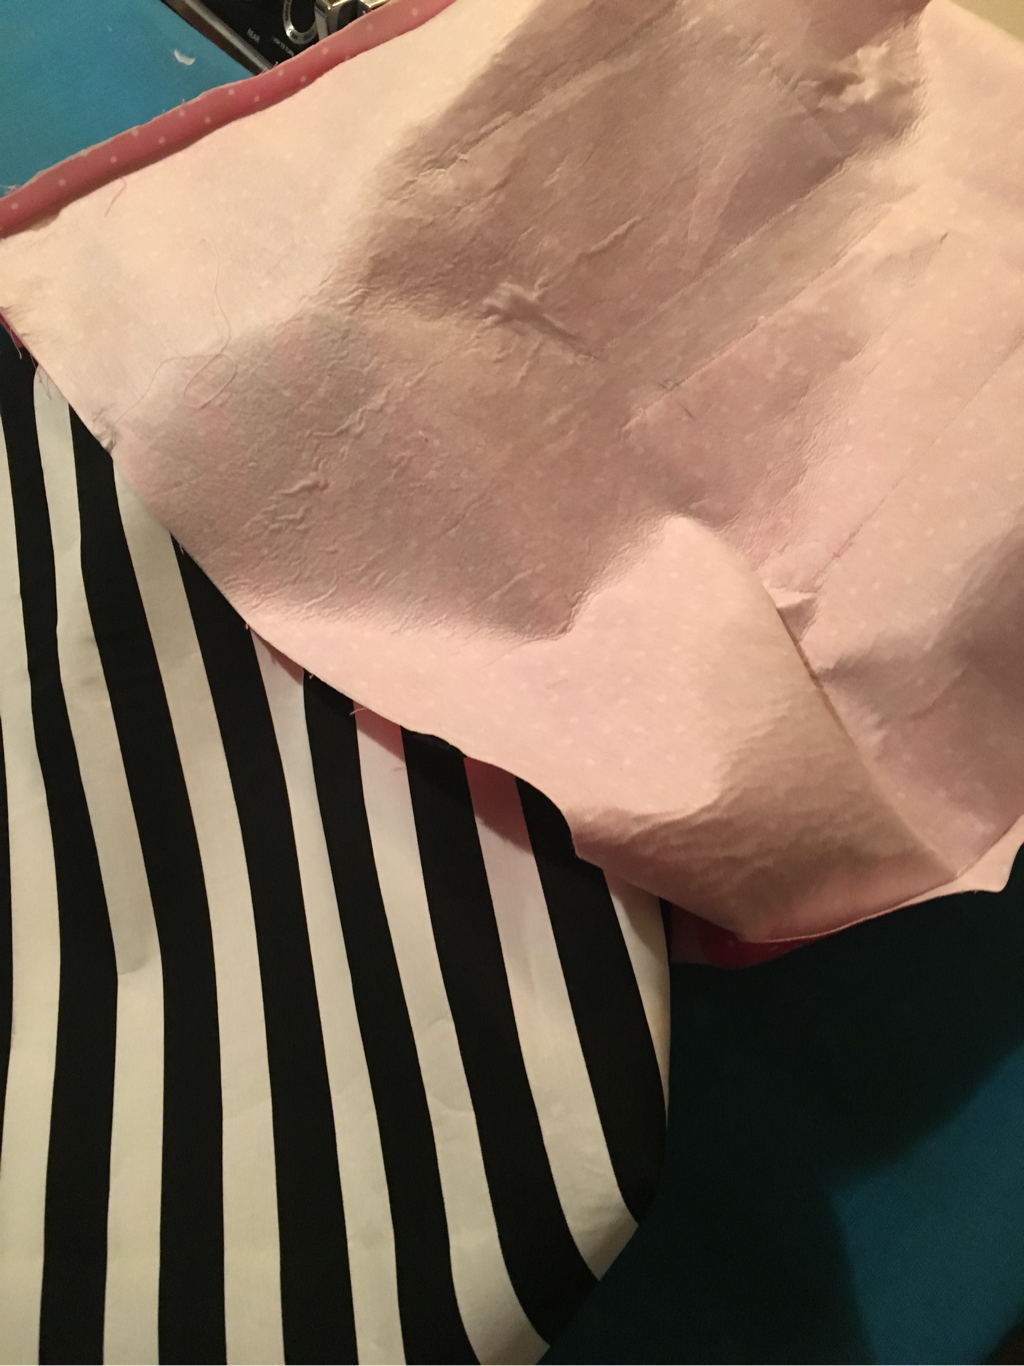 13. Stitch all around the top edge joining the 2 pieces together. 14. Use the opening in the lining to turn the entire bag back out. Press. 15. Topstitch the top edge only if you would like to create a finished look. I also used iron on letters on the side of my bag. Congrats! You're now finished with your brand new tote bag! 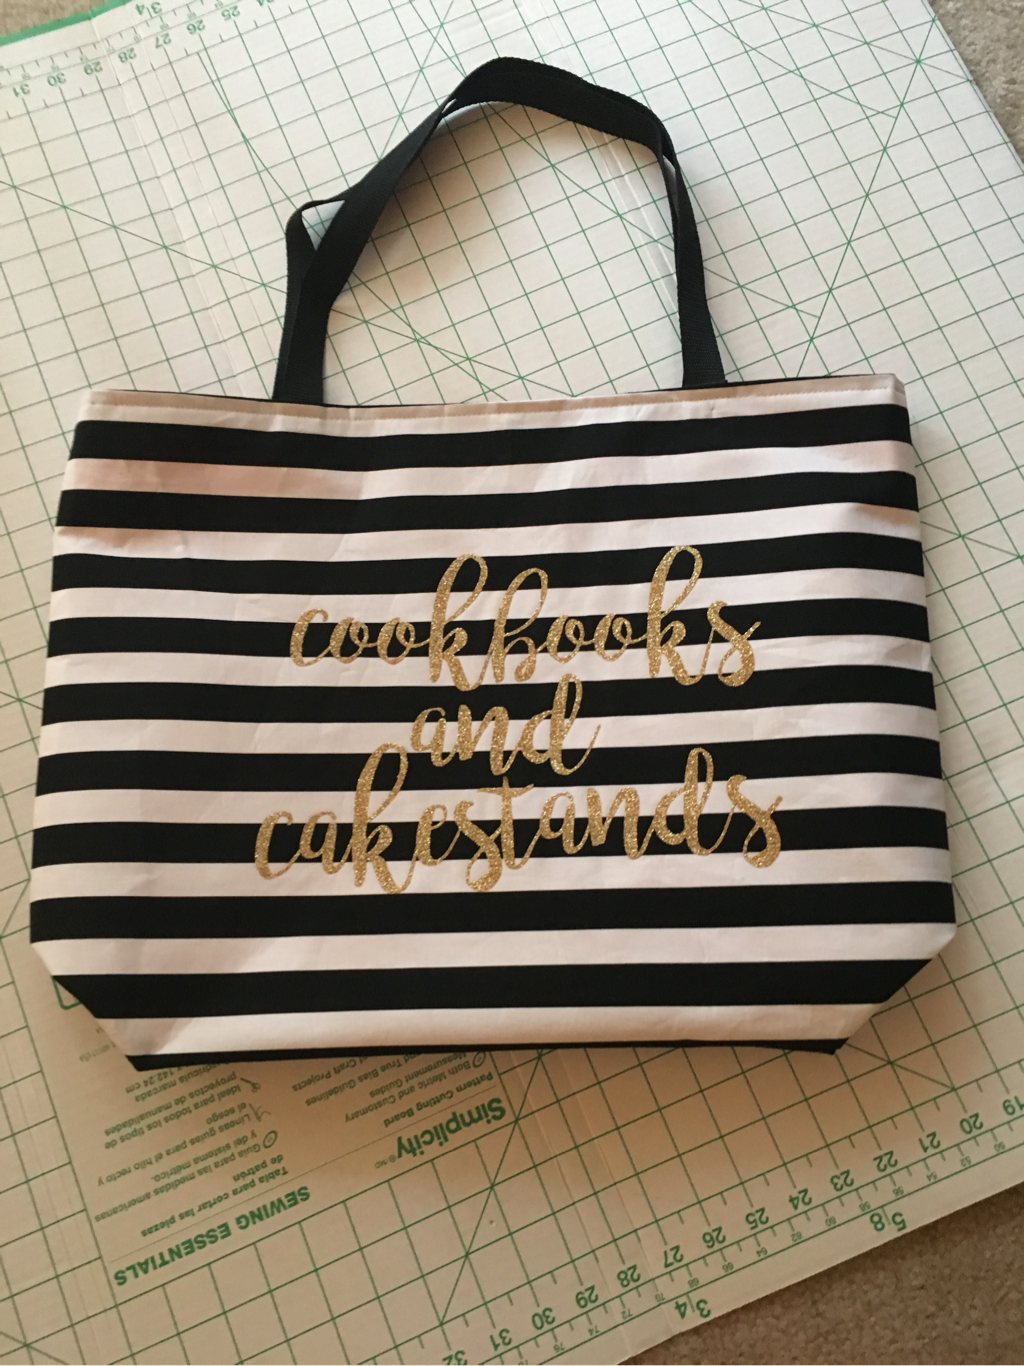 Welcome to my first cookbooks and cakestands post! Creating this blog has been a dream of mine for such a long time. So let's gets started, shall we? October is my favorite month of the year. My birthday is in October, my first niece was born in October, and Halloween is just right around the corner. I love everything fall that October has to offer. Visits to the pumpkin patch, hayrides, caramel apples, and of course, the return of blanket scarves, vests, and booties. It has been several weeks now since I first got out my classroom Halloween decorations. Glittered spiders and black pumpkins are now sprinkled throughout. As a family consumer teacher, I also sponsor the Future Homemakers of America. We meet monthly to bake, craft, and enjoy each other's company. We decided to celebrate Halloween a little early during our October meeting with a Halloween themed movie night. 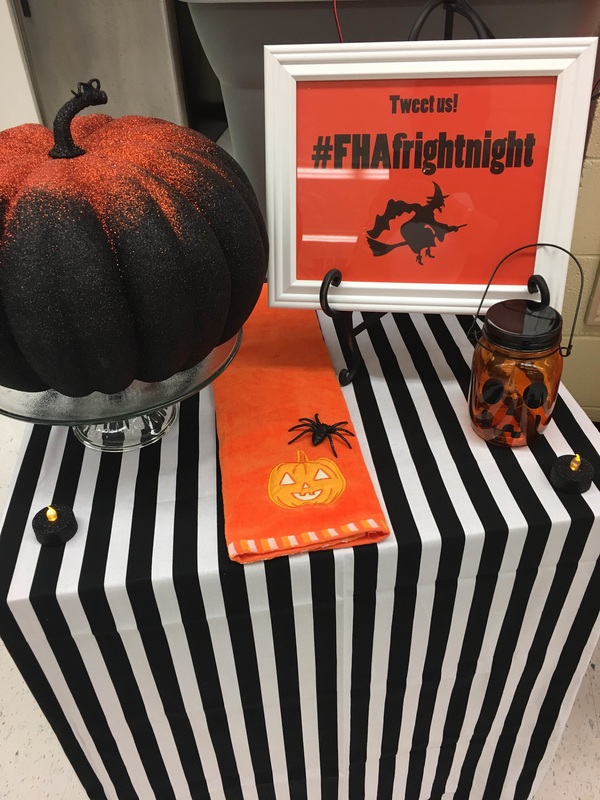 I love to make our meetings and events extra special. One of my favorite ways to do this is with decorations. I make a lot of my own items but I also purchase quite a bit too. Party planning and decorating can get expensive so find your local dollar tree and visit it regularly! Their seasonal section is a great place for inexpensive decorations and prizes. I also really love their party supply section. I always purchase things like tablecloths, plates, and tissue paper from this section. 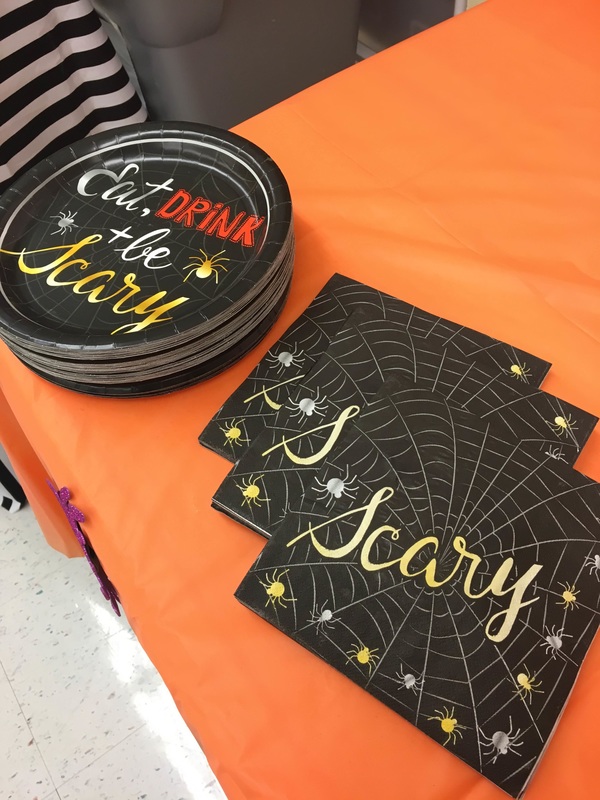 Dollar tree had some very fun haunted house items this year. The entrance to our library was decorated for under $10. We are so grateful for our sweet librarian, she always lets us hold our movie night in the library. We love the big screen and the comfy couches. 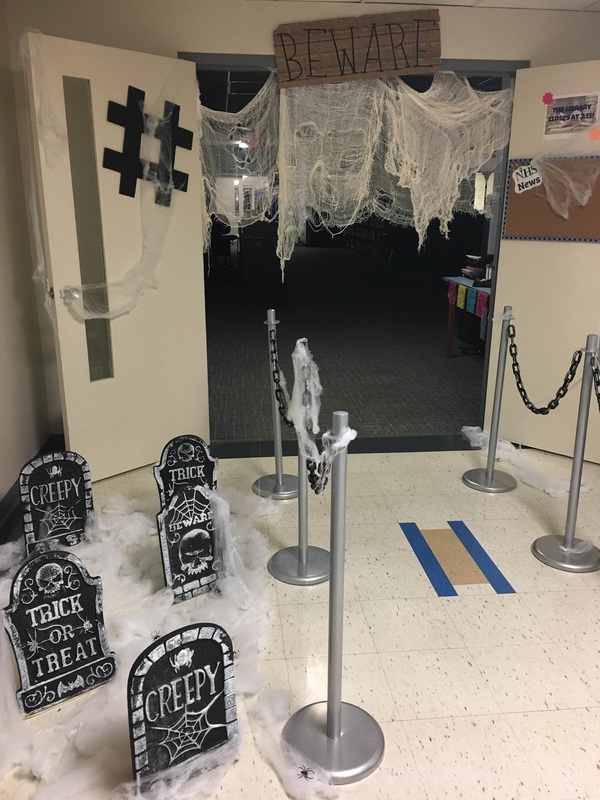 I purchased this scrapbook paper that looks like wood from hobby lobby, cut some letters on my silhouette machine and glued everything to a piece of foam board. $2 later we have this spooky little sign. 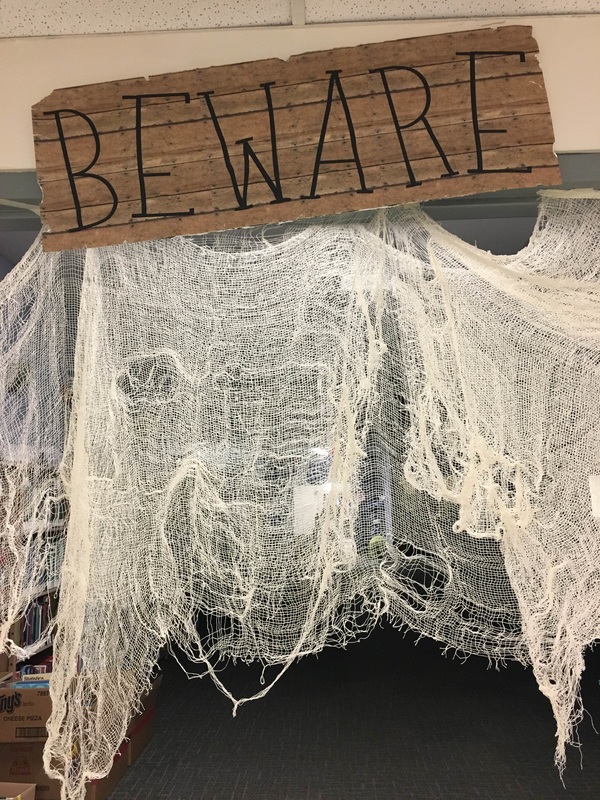 Movie night wouldn't be complete without buckets full of popcorn. This darling pumpkin is from Target and was the perfect place to store our monster munch. 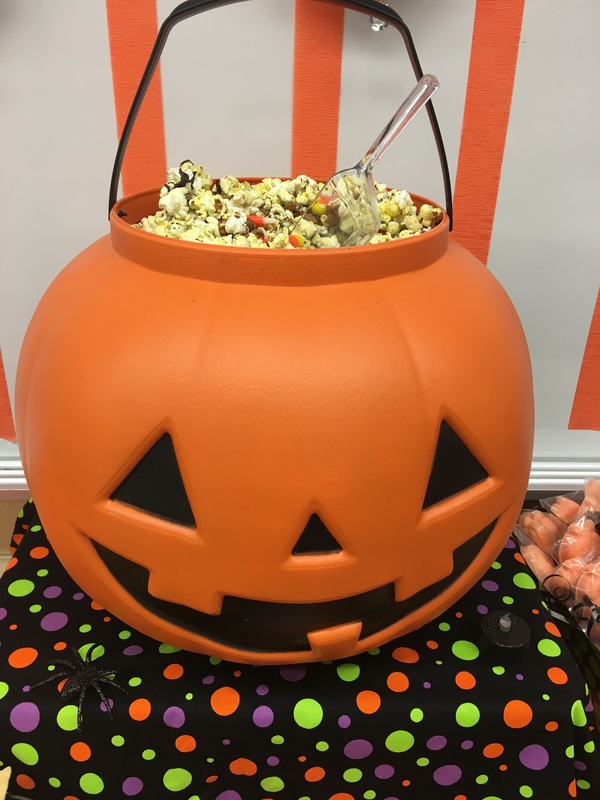 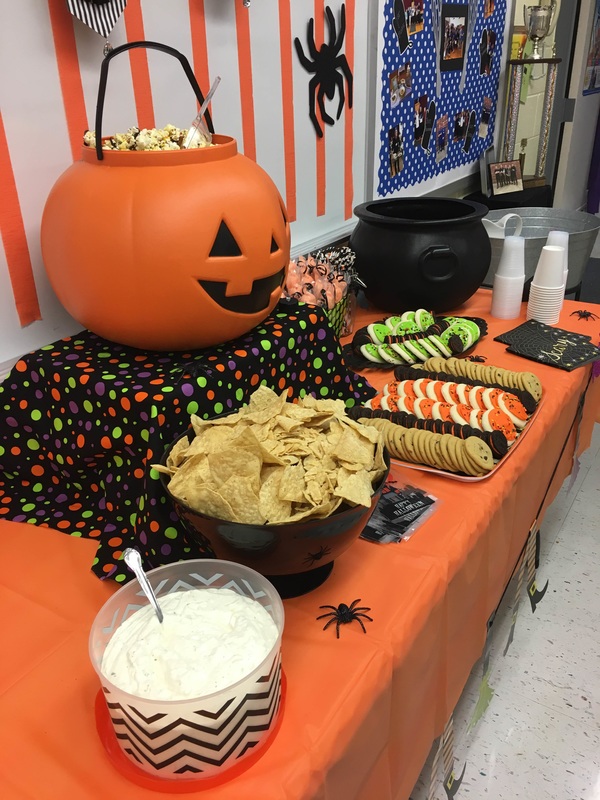 Movie night was a huge success! We can't wait to do it again soon! How are you planning on celebrating Halloween?
|
Archives
April 2020
Categories
All
|
 RSS Feed
