|
Do you need something yummy for dinner that screams summer? This peach and walnut salad might be just the thing you're looking for! In-season produce makes this quick side dish a real win! Check out the recipe below! 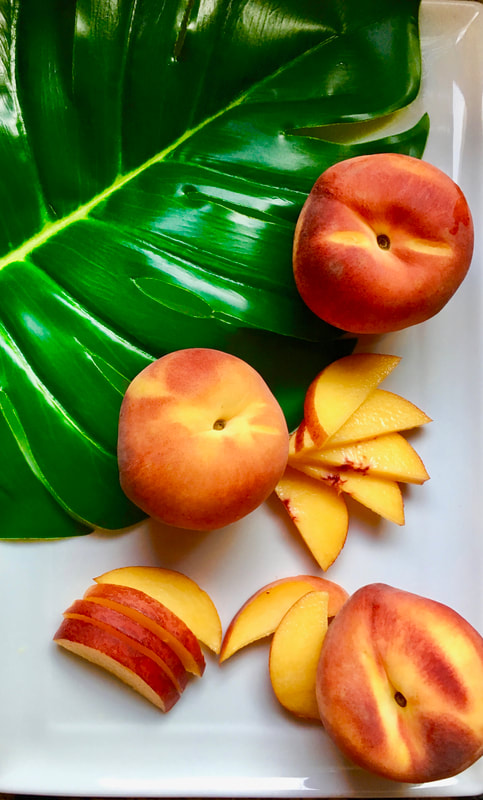 Peach and Walnut Salad 1 large romaine heart 1 small cucumber - thinly sliced 1/4 cup red onion - thinly sliced 2 large, ripe peaches - peeled and sliced 3 tbsp. bacon bits 1/4 cup walnuts - toasted 1/4 cup crumbled feta cheese Dressing: 1/4 cup olive oil 1/4 cup fresh lemon juice 1 tbsp honey 1 tsp salt 1/2 tsp pepper 1. Wash and prepare the vegetables. Toss the veggies, bacon, walnuts, and feta together in a large mixing bowl with salt and pepper to taste. 2. Place all the ingredients in a mason jar and shake well. Pour over salad just before serving and toss. 3. Serve as a side dish for all of your favorite summer meals or add some grilled shrimp to use as a main dish.
0 Comments
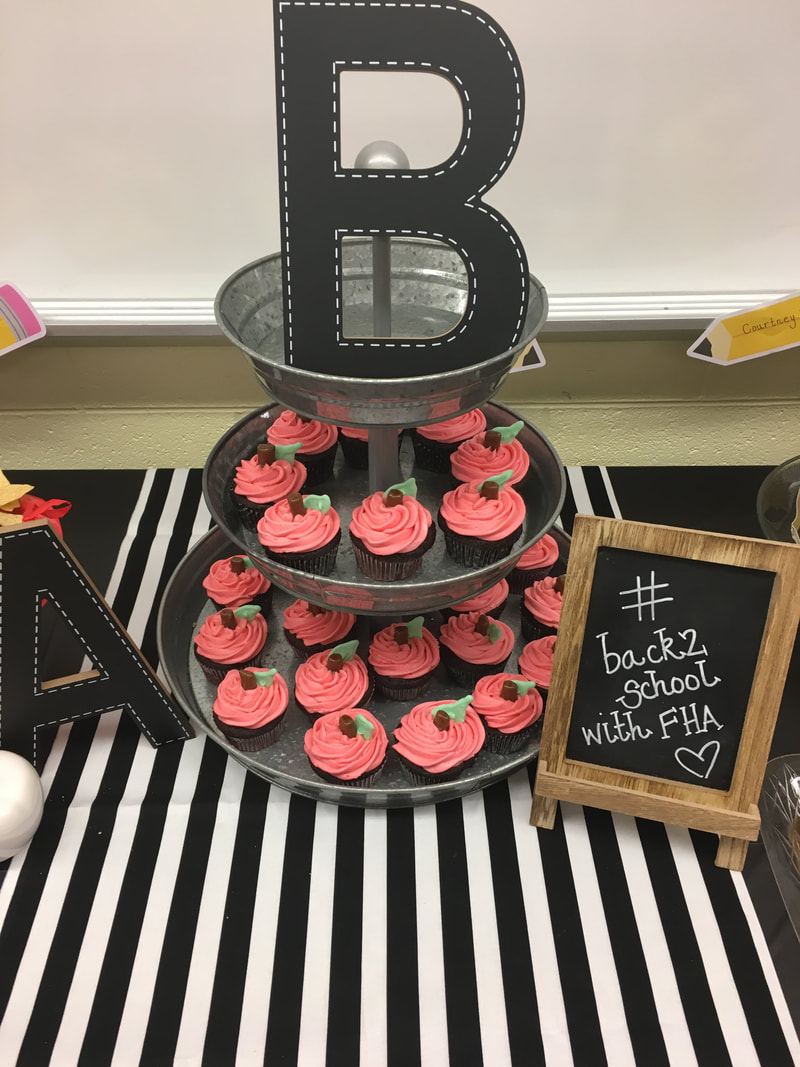
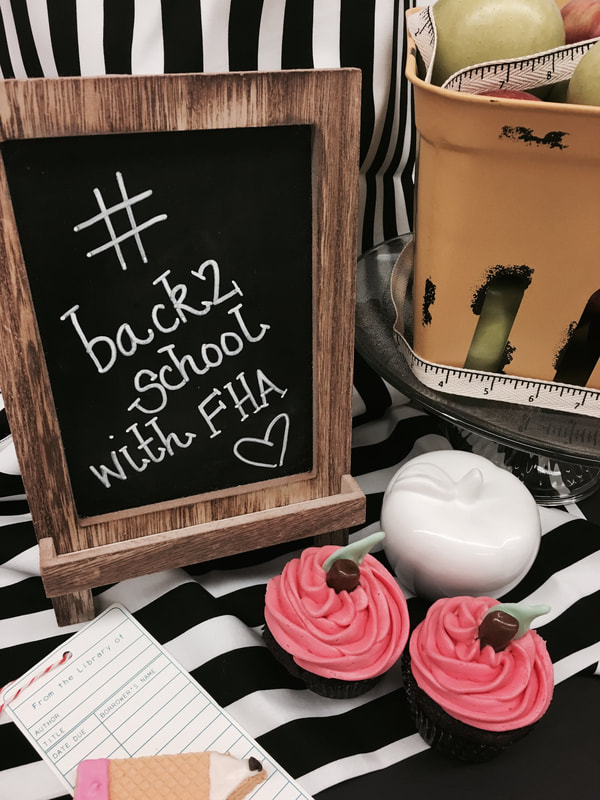
Ask me what my favorite food is. I always have 2 answers and 1 of those answers is always guacamole. l make it all the time and I really feel like there isn't anything better. Grocery store guacamole is great when you're in a rush but it's so easy to make your own! Guacamole: 3 ripe avocados 3-4 garlic cloves - minced 1/3 cup red onion - diced 1/3 cup cherry tomatoes - halved 2 tbsp jalapeno (approx. half of one small jalapeno) Juice from 2 limes 1 tsp. sea salt 1/2 tsp black pepper 1/4 cup chopped cilantro *All amounts can be adjusted for personal preference. Sometimes I like extra spicy and add double jalapeno, other times I add tons of garlic! 1. Using a food processor or hand-held chopping tool, chop garlic, onion, tomatoes, and jalapenos roughly. 2. Open avocados and remove pit. Mash avocados with a fork and add lime juice. Mix well. 3. Add chopped veggies, salt and pepper, and cilantro to avocodos. 4. Cover with saran wrap directly on the guacamole (this will help to prevent browning) and refrigerate for at least an hour before serving. The flavors will develop after refrigeration. Taste and add more lime juice or salt to fit your personal preference. I could eat tortilla chips and guacamole every single day but guacamole is also great to use in many other ways. Try adding it to sandwiches (BLT's are my favorite), use it as a salad dressing, or even add it to toast for a delicious lunch! 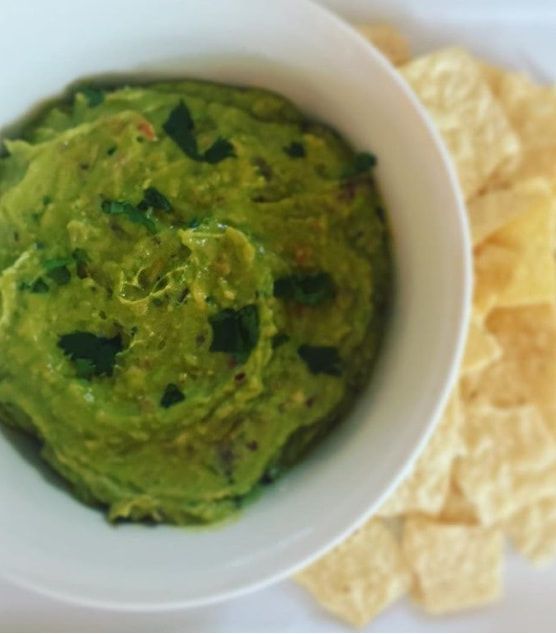 I know some people have mixed feelings about heading back to school but if the end of summer has to arrive, what better way to celebrate than with bright yellow pencils and brand new lunchboxes? If the mood should strike you and you decide to throw a back to school bash, I've got some quick and easy ideas for you! How fun would it be to have a back to school themed breakfast or dinner for your family? Or you could always surprise your fellow teachers with a back to school lunch in the lounge! Let's get started with some ideas! First up, paper goods. I love paper plates from the Dollar Tree; they're so affordable and come in a variety of great colors. I picked up the red plates and added some construction paper for the leaf and stem. The cute black and white napkins are also from Dollar Tree! 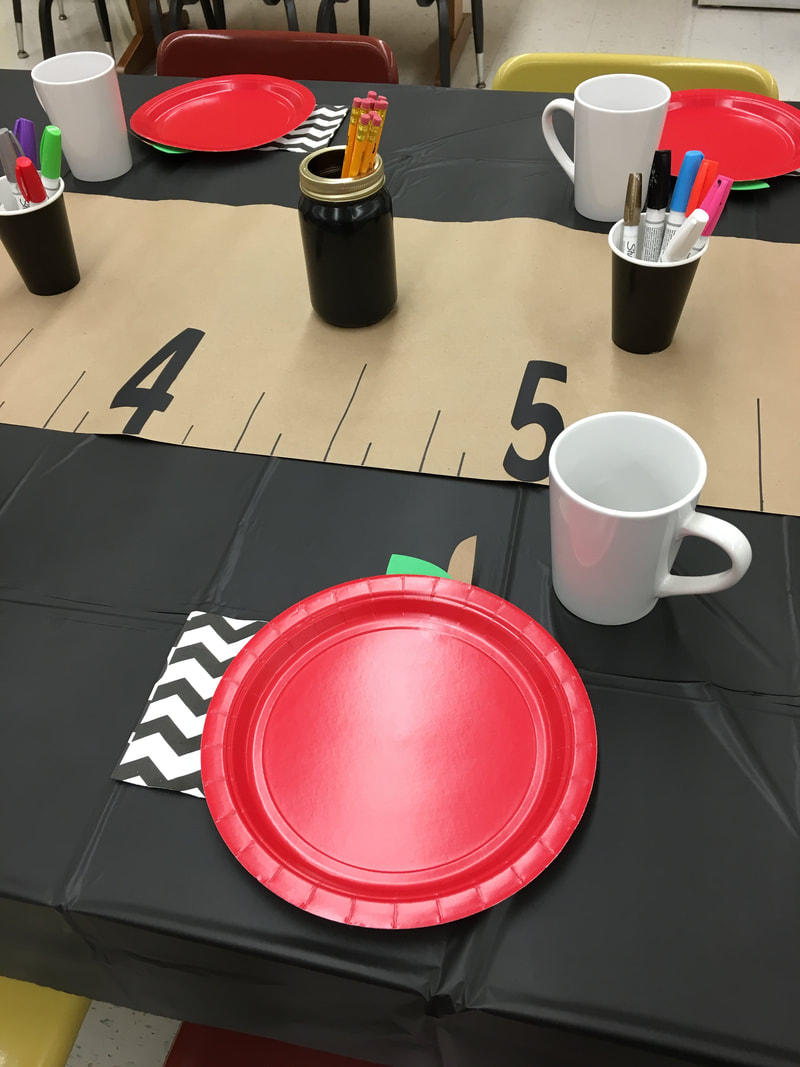 I created the table runners using brown kraft paper rolls from Dollar Tree. I love that stuff! You get so much paper for only $1 and it makes the best table runners! The mason jars are also from Dollar Tree - they were clear and I used inexpensive black spray paint to cover them. Throw some pencils in there and you have the perfect back to school centerpiece. Bonus points! It's a centerpiece that doesn't go to waste. Move that cute jar to your desk or homework area when your celebration is over and use it throughout the school year. 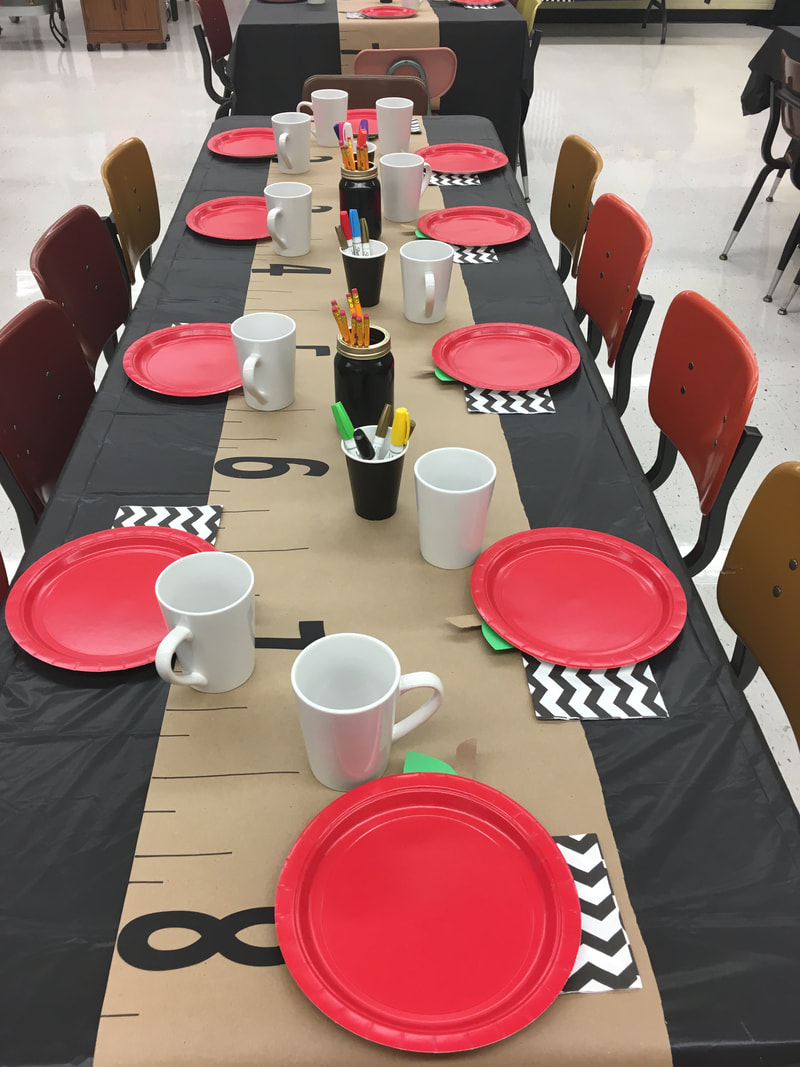 I think that black and white stripes is just the cutest pattern for a back to school party! Grab some black and white wrapping paper or fabric next time you're at the store and use it to decorate your snack table. The back to school banner was made with my silhouette machine and the sweet pencils are from the Target dollar spot. The oversized ABC letters and apple baskets are also from Target. Target always has a great back to school section. I spotted some adorable mason jars this year that are painted to resemble apples and pencils. Check Target early and often for some great deals! Tissue paper poms are still one of my favorite party decorating moves. The red ones below have construction paper stapled to the back to resemble apples. So simple and cheap and so cute! 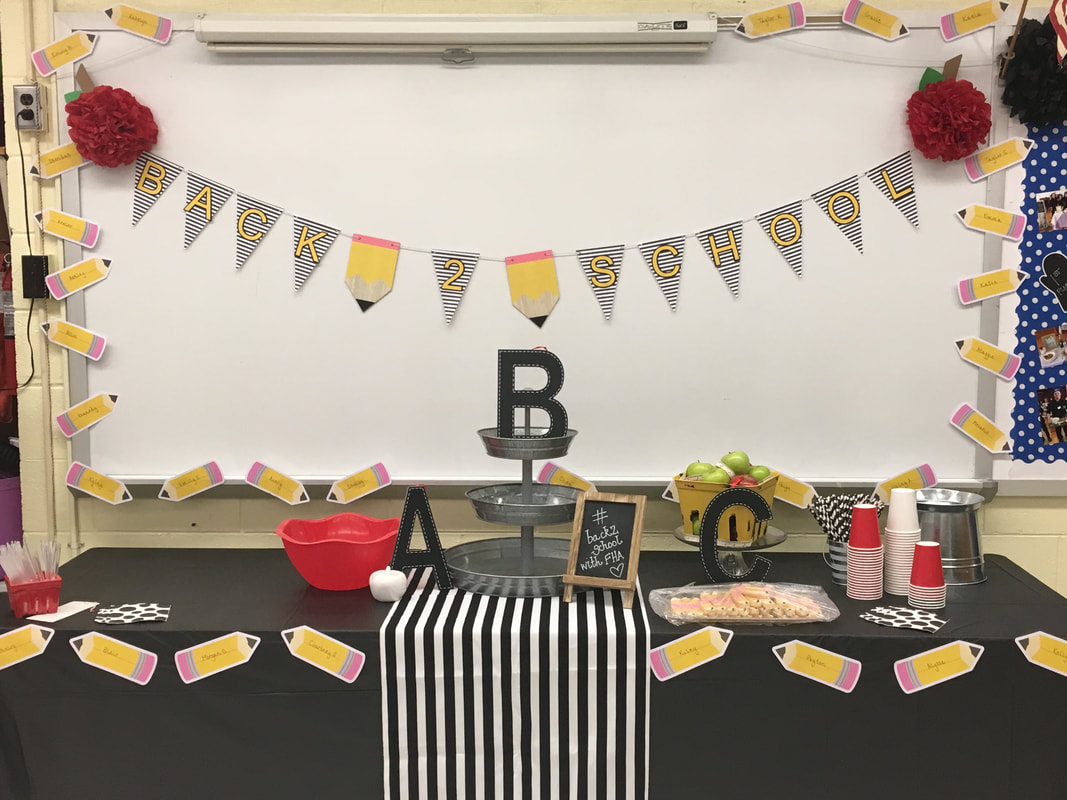 If you are in search of a treat, these "apple" cupcakes scream back to school. Grab a bag of tootsie rolls for the stems and green fondant for the leaves. Most cake decorating supply stores carry green fondant ready made but you could also purchase white and color it. Don't have time for that? The green sour straws in the candy aisle also work great! One of the best things about a back to school party is you may already have a lot of the "decorations" you need. Use school-themed items from around your house. Crayons, glue sticks, and rulers all make great vase fillers. Composition books and notebook paper look great stacked under serving trays and flash cards make perfect banners. Get creative and use those items you already have! If your school supply stash at home is looking a little depleted, head to Dollar Tree to stock up! 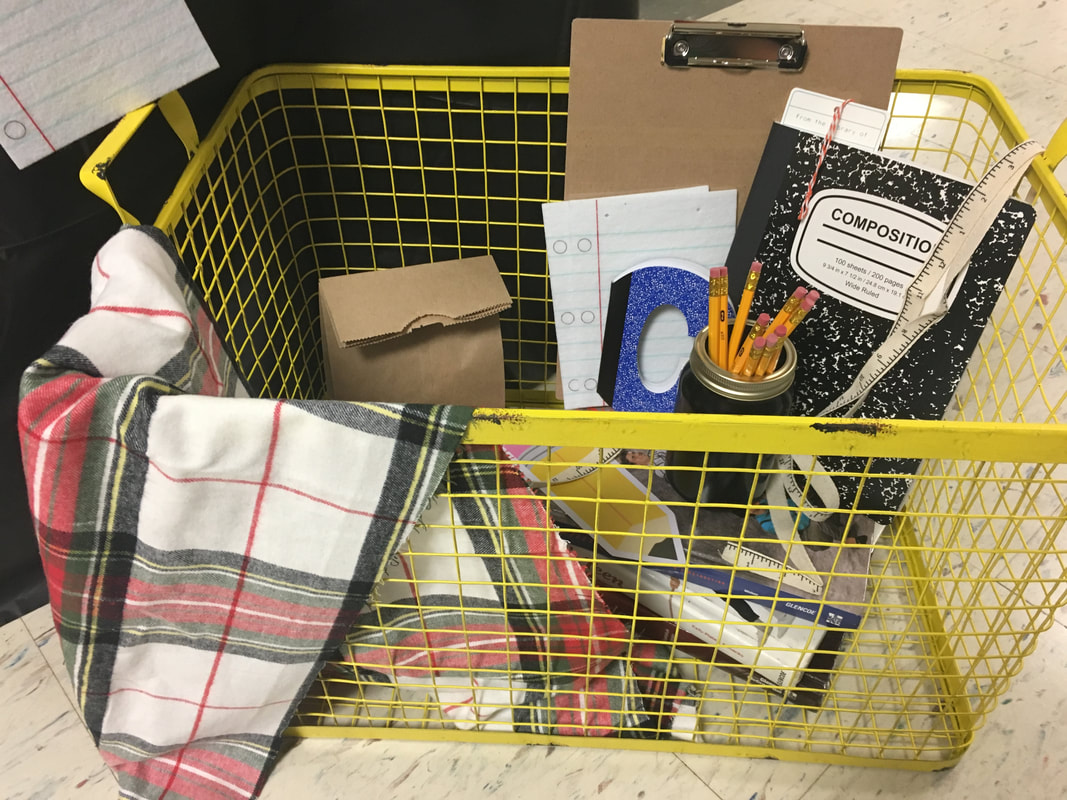 Last but not least, create a photo memory of the day! Whether it's the first day of kindergarten or high school, a photo booth is always a fun idea! I created this "school bus" using a a few cardboard boxes, some duck tape, and a lot of school bus yellow paint! I never imagined my high school students would have so much fun with it! 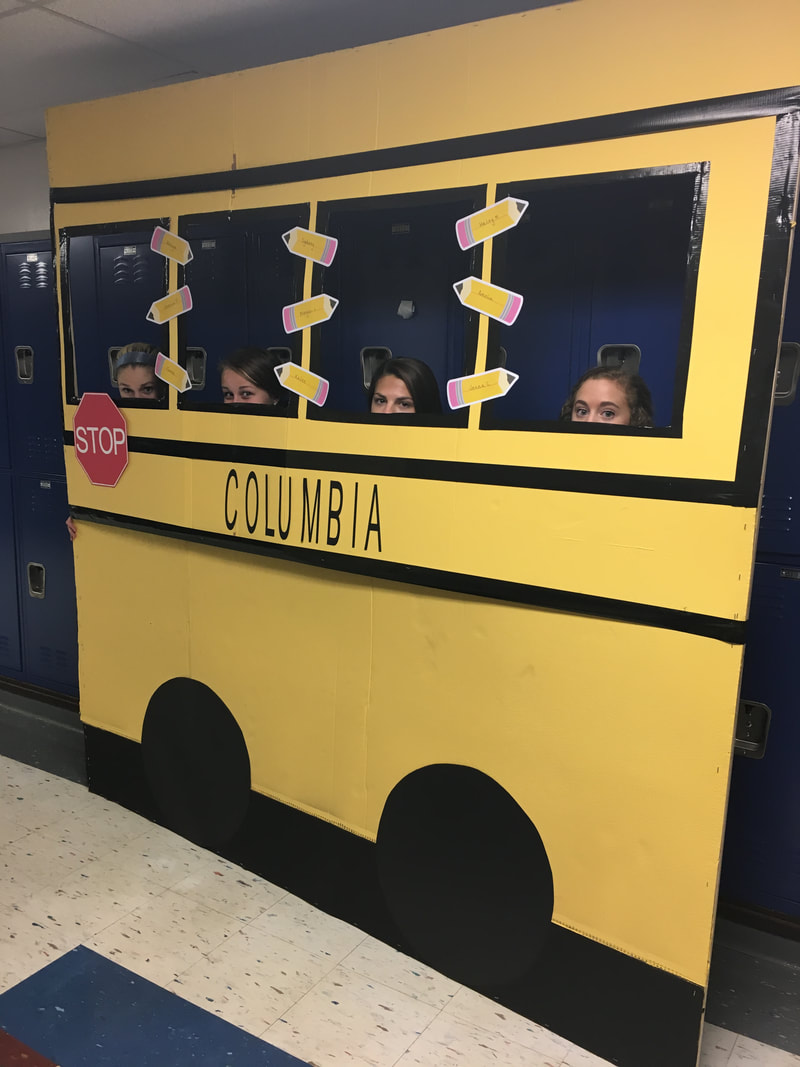 Whether we like it or not, school is on it's way so embrace it and have some fun with your people! A new school year is a great opportunity to make friends, learn something new, and most importantly start fresh. Wishing you the best year ever!
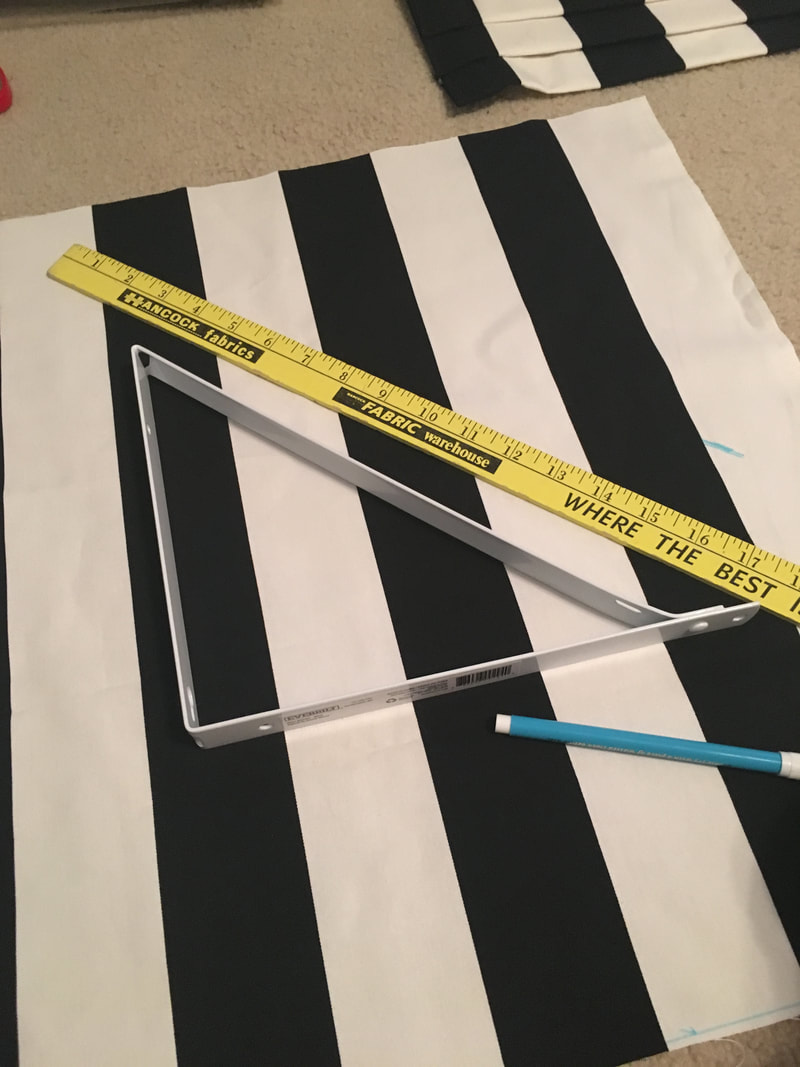
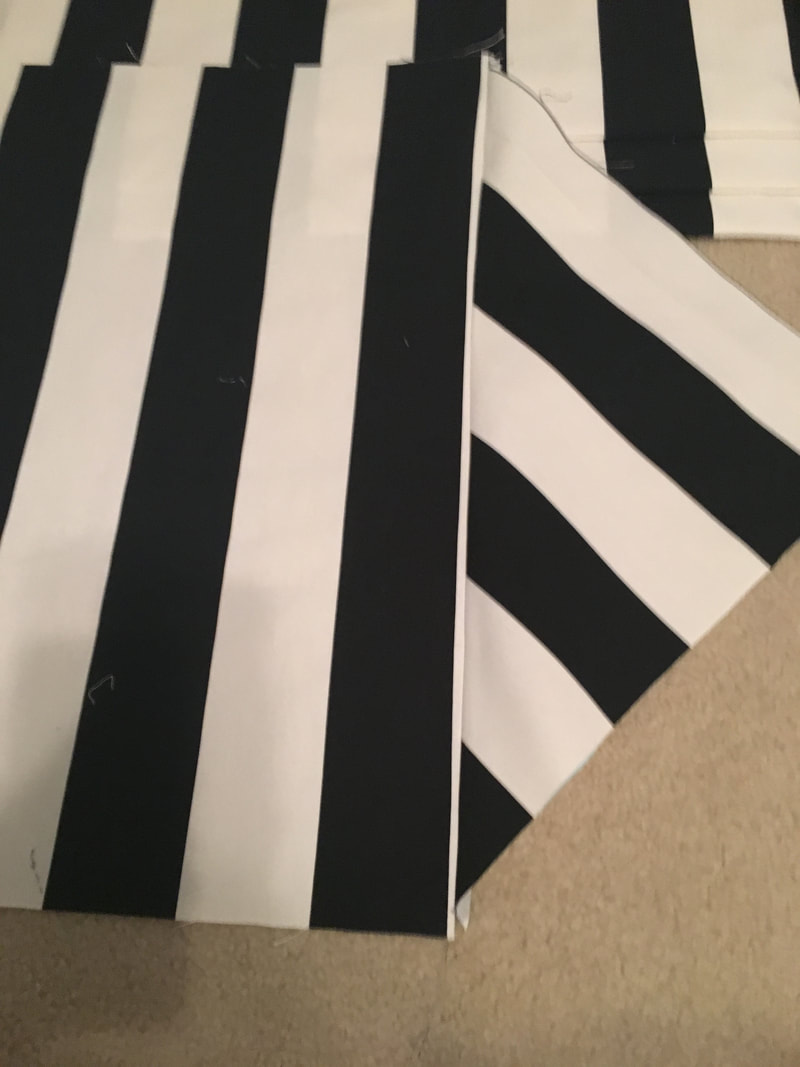
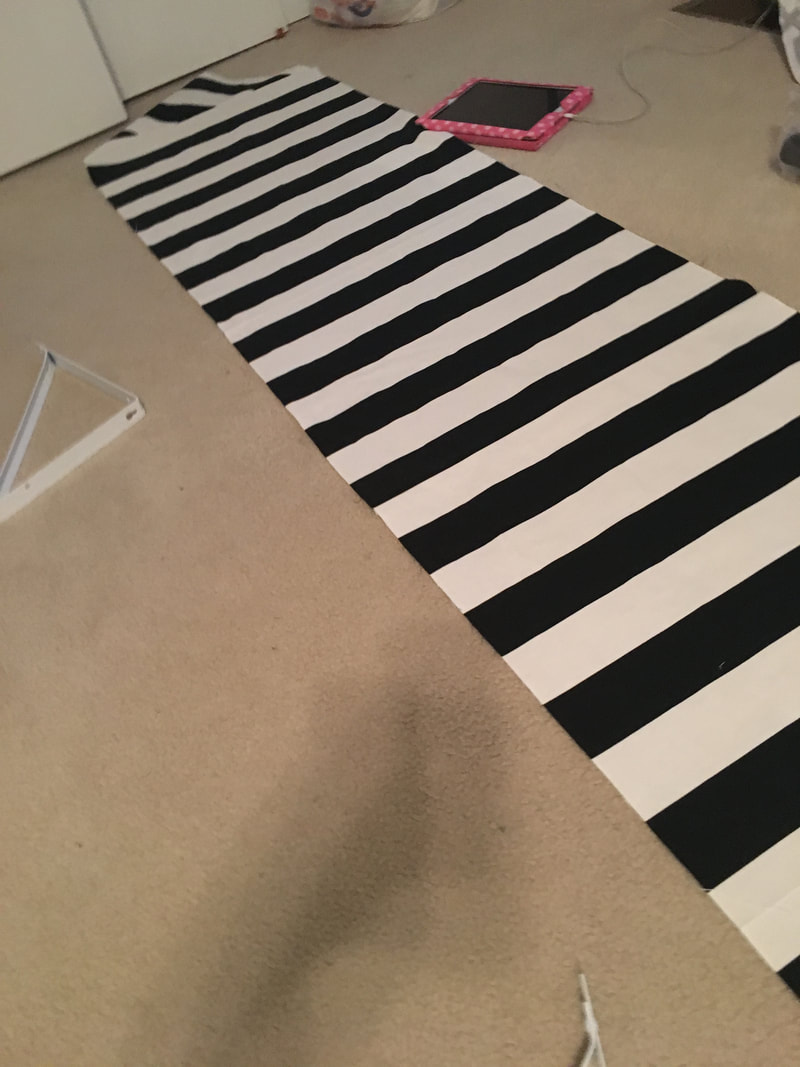
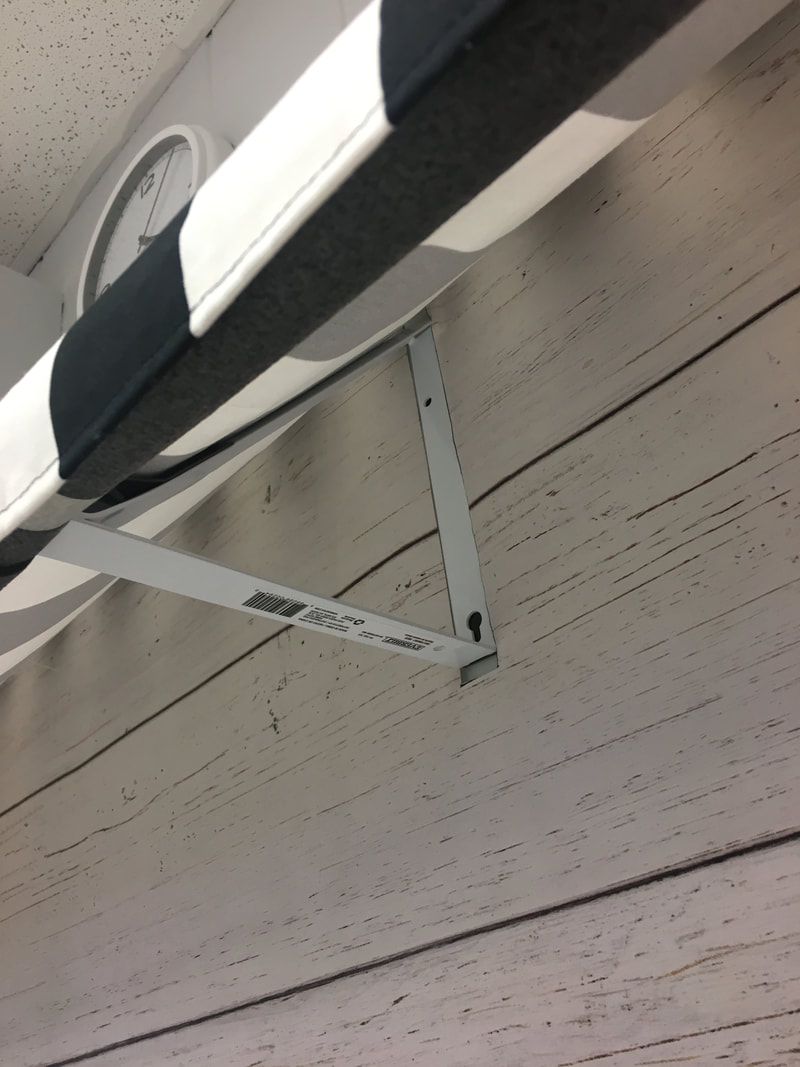
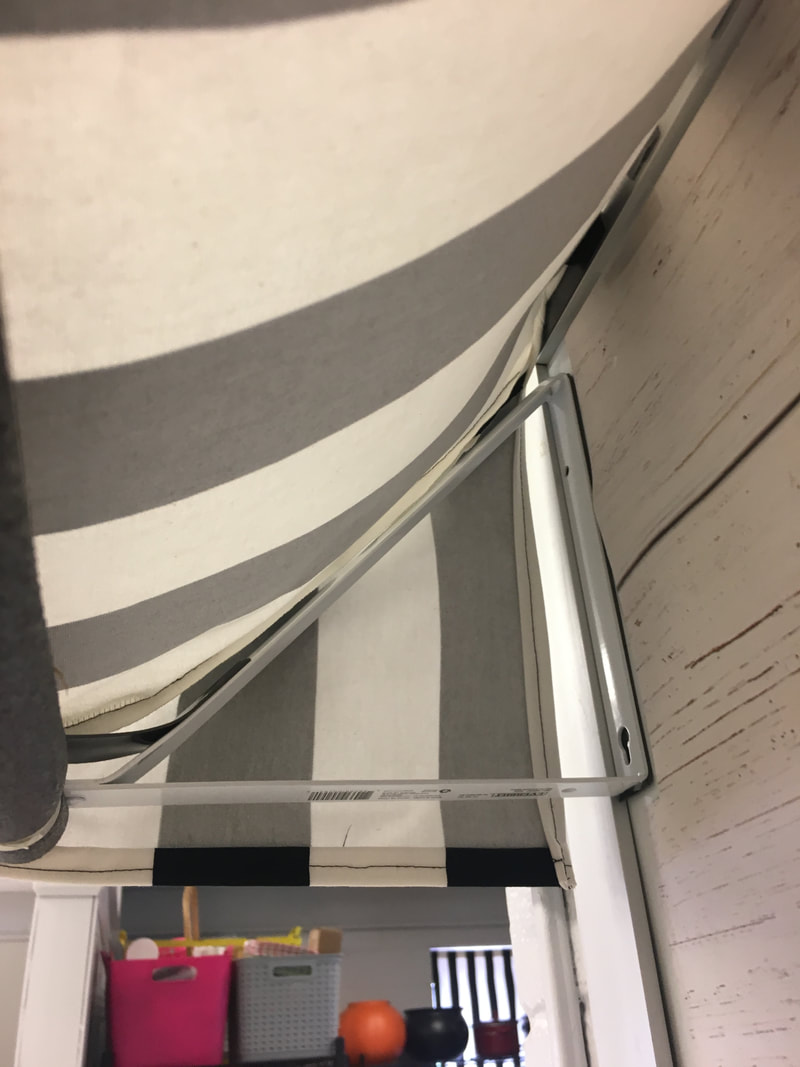
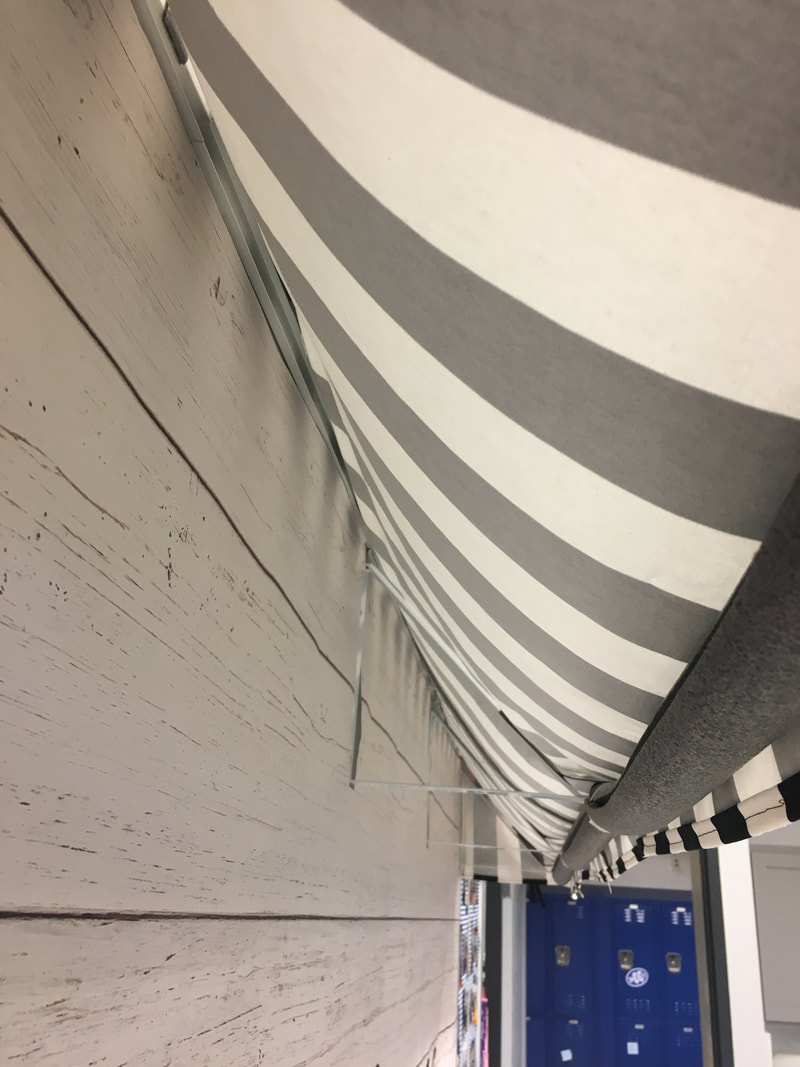
How do you plan on celebrating the new school year?? I have a dry erase board in my classroom kitchen that rarely gets used. It’s basically a giant white space that occasionally gets written on when students get ahold of a marker. Last summer I started thinking: if my classroom is getting a transformation, shouldn’t my dry erase board get a facelift too? I considered many options for the blank space including banners, garlands, and paper flowers but nothing really seemed to fit in the updated space. I had a moment of brilliance in the middle of Hobby Lobby and the awning idea was born. I was inspired by visions of sweet little French patisseries adorned with black and white stripes. It took a little planning but was actually very easy to put together! Supplies needed: 3-4 closet shelf brackets (depending on the length of your space. I used 4) fabric or paper of your choice mounting tape or screws to attach brackets to the wall (I used gorilla tape since this was going on my dry erase board) pvc pipe/insulation pipe/dowel rod - Any will work to support and create the correct shape. 1. Measure the length of your space. Add 1-2 inches to accommodate seam allowance. 2. I decided to have an awning with a length of 16 inches. My brackets were 14 inches tall. 3. Cut the fabric the length and width desired. To make the panels for the sides, I used the bracket as a diagram. Cut the triangle slightly larger that the bracket in order to have room for the seam allowances. 4. Attach the side panels to the main portion of the fabric. I placed mine right sides together and stitched. I aligned the side of the fabric with the long edge of the side panel. 5. I also hemmed all edges of the fabric for a finished look. If you are using paper, you can staple or glue paper to attach and finish edges. 6. To attach the awning, I taped the brackets to my dry erase board placing 1 on each end and 2 in the center of each half for additional support. 7. The fabric awning is taped directly to the dry erase board and rests against the brackets. 8. In order to create the correct "rolled edge" shape, I used a pipe insulator. It rests against the brackets and fabric and creates the appropriate shape. 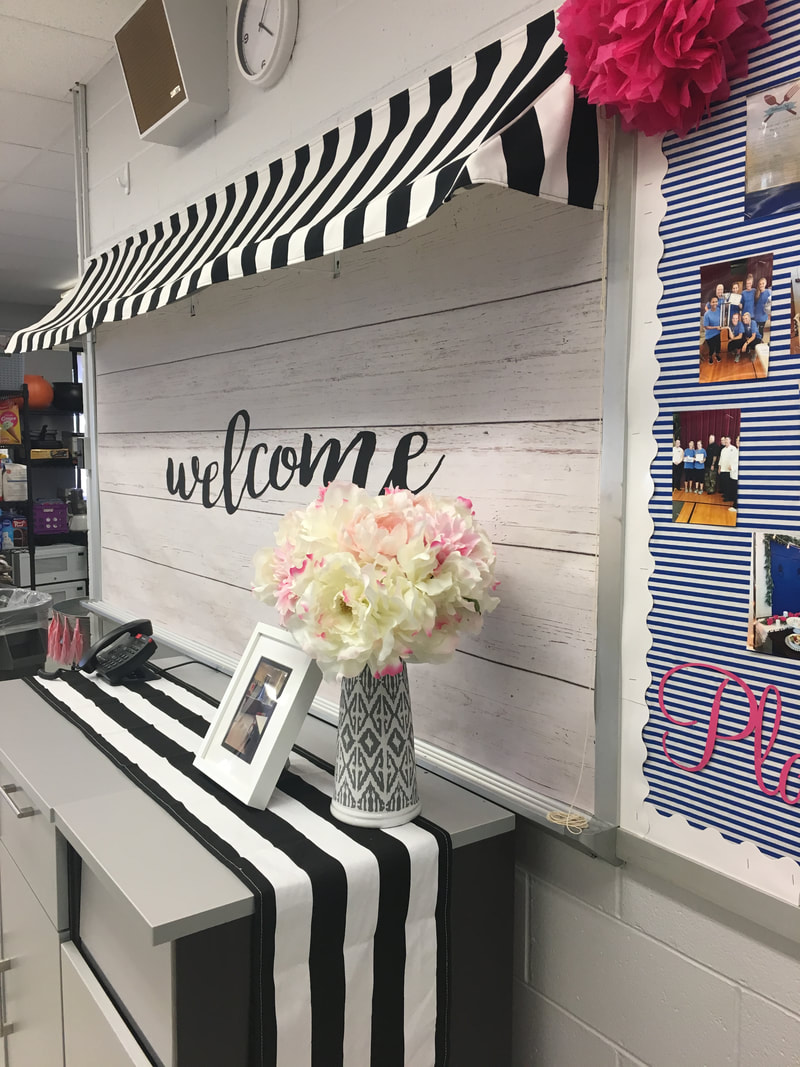 How easy was that? I'm so excited that it made such a big impact with a little price tag. Have you made your own classroom awning? Share your photos below!
|
Archives
April 2020
Categories
All
|
 RSS Feed
