|
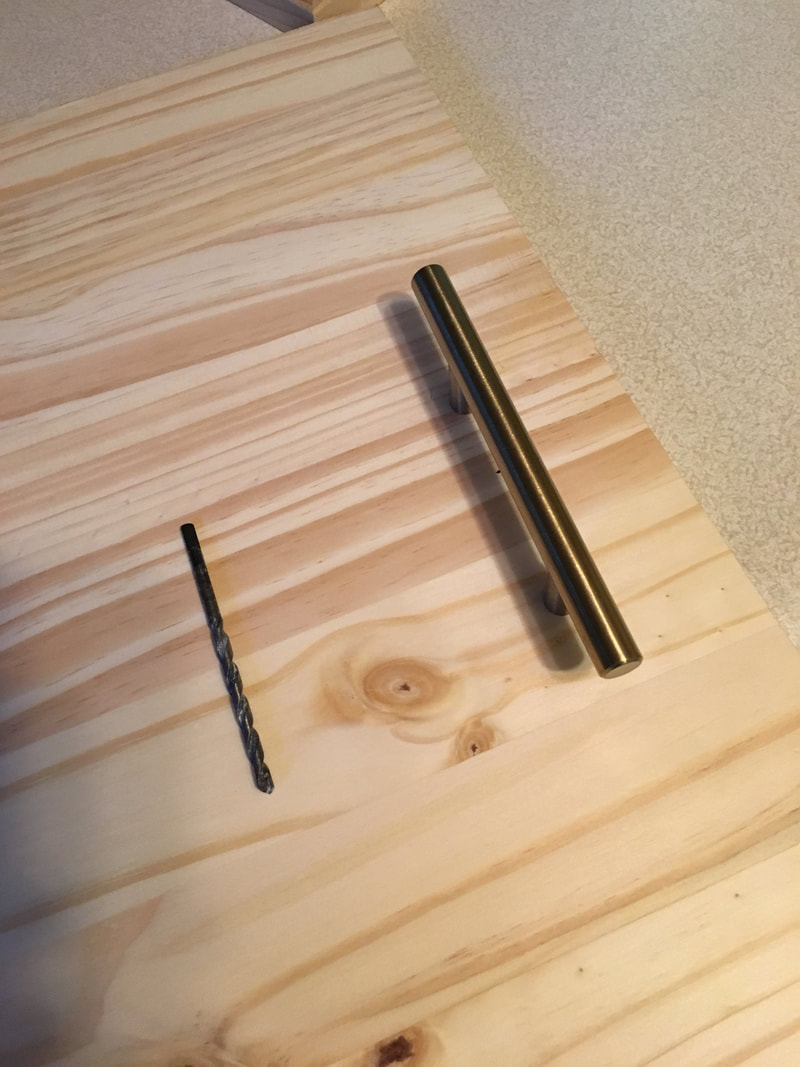
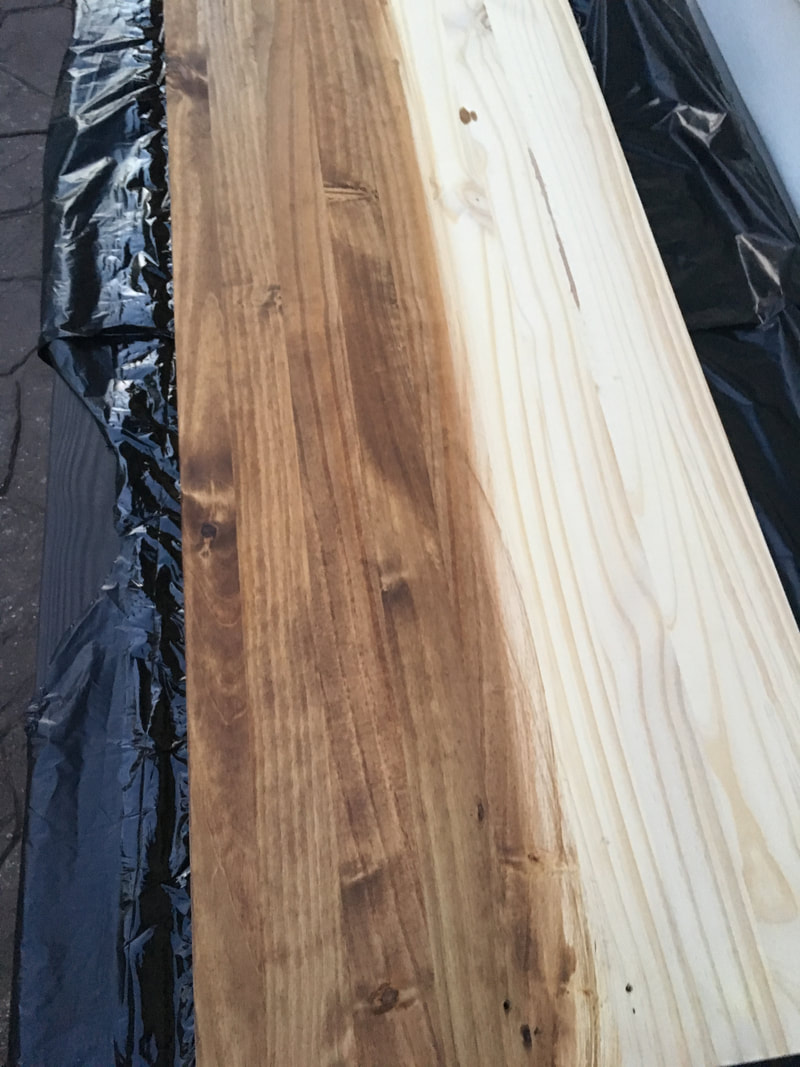
I don't know about you but I am 100% obsessed with wooden serving trays right now. I'm embarrassed to tell you how many I currently own. I think a wooden tray is a perfect styling piece - you can layer them, use them for height and contrast, and most importantly, they add so much warmth to your design. A couple months ago when I hosted brunch for my friends, I wanted to create a bar/drink area for my guests to serve themselves. After some other recent crafty projects, I discovered a section of edge-glued wood boards at Menards - they're inexpensive and come in a variety of sizes that are great for craft projects. I picked another one up and decided to make a wood serving piece for my drink station. Check out below how to make this quick project. Supplies needed: 1 edge-glued board (I selected pine in the 4 foot length) Stain or paint of your choice (I used Minwax in the color Early American) Polyurethane seal (if you plan on using water on the surface) Hardware for decoration Equipment: Brushes or rags for staining Electric drill for creating openings/installing hardware Drop-cloths or trash bags to cover your work surface  Let's get started! 1. Cover your workspace and make sure your area is well ventilated. 2. Lightly sand your board if necessary. Wipe clean. Mark and drill holes for your hardware if you are using any. 3. Stain your board using a staining cloth. Allow to dry. Flip, and stain opposite side. Let dry completely. 4. Lightly brush polyurethane seal on both sides (allowing to dry between sides). 5. Once dried and cured (at least 24 hours), place hardware on and enjoy your new serving piece! I loved using mine as the drink station for brunch and most recently, on my dining table as a fall centerpiece! I love quick and easy projects that fit my vision perfectly! 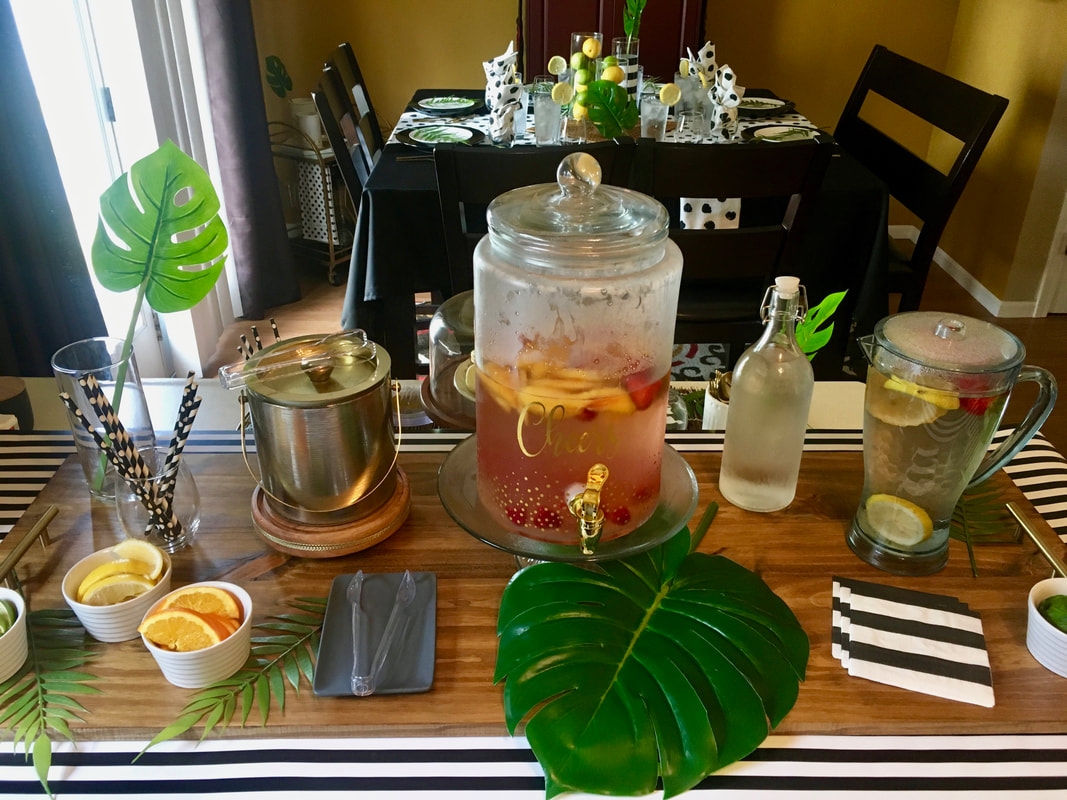
0 Comments
|
Archives
April 2020
Categories
All
|

 RSS Feed
